


Tessa’s Recipe Rundown
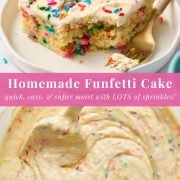
Taste: Rich, buttery, and not too sweet, this funfetti cake paired with the slightly tangy cream cheese frosting is seriously nostalgic perfection.
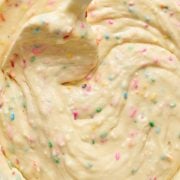
Texture: The cake is ultra moist, soft, and fluffy. The cream cheese frosting is ultra thick and smooth.
Ease: Ridiculously easy. The cake batter comes together quickly and it’s easy to frost, transport, and serve.
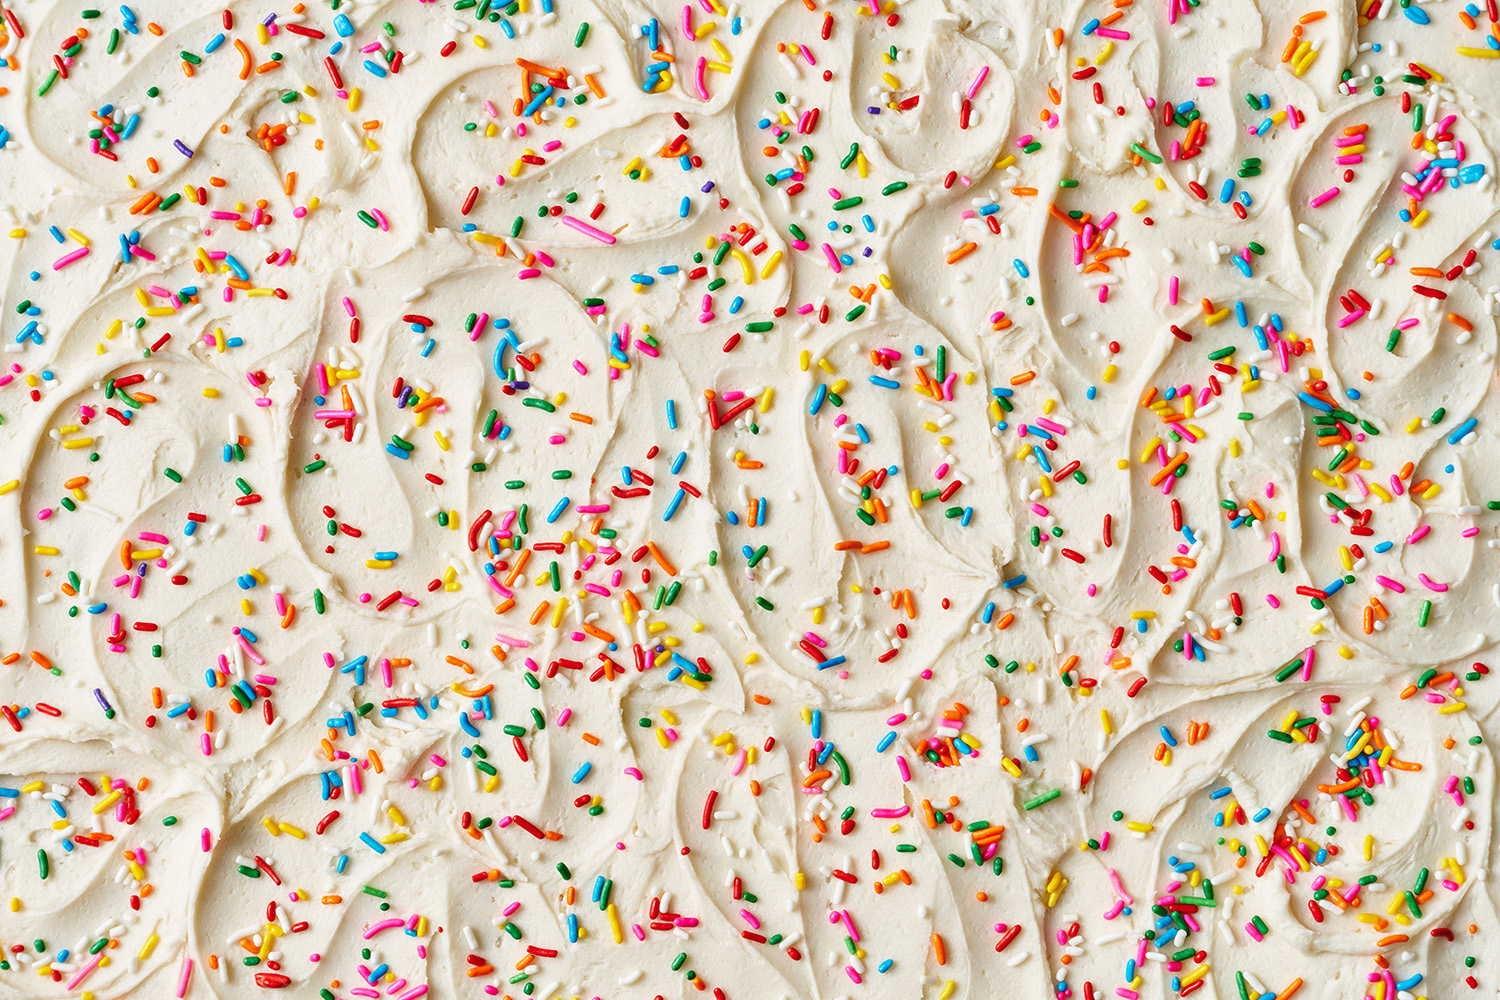
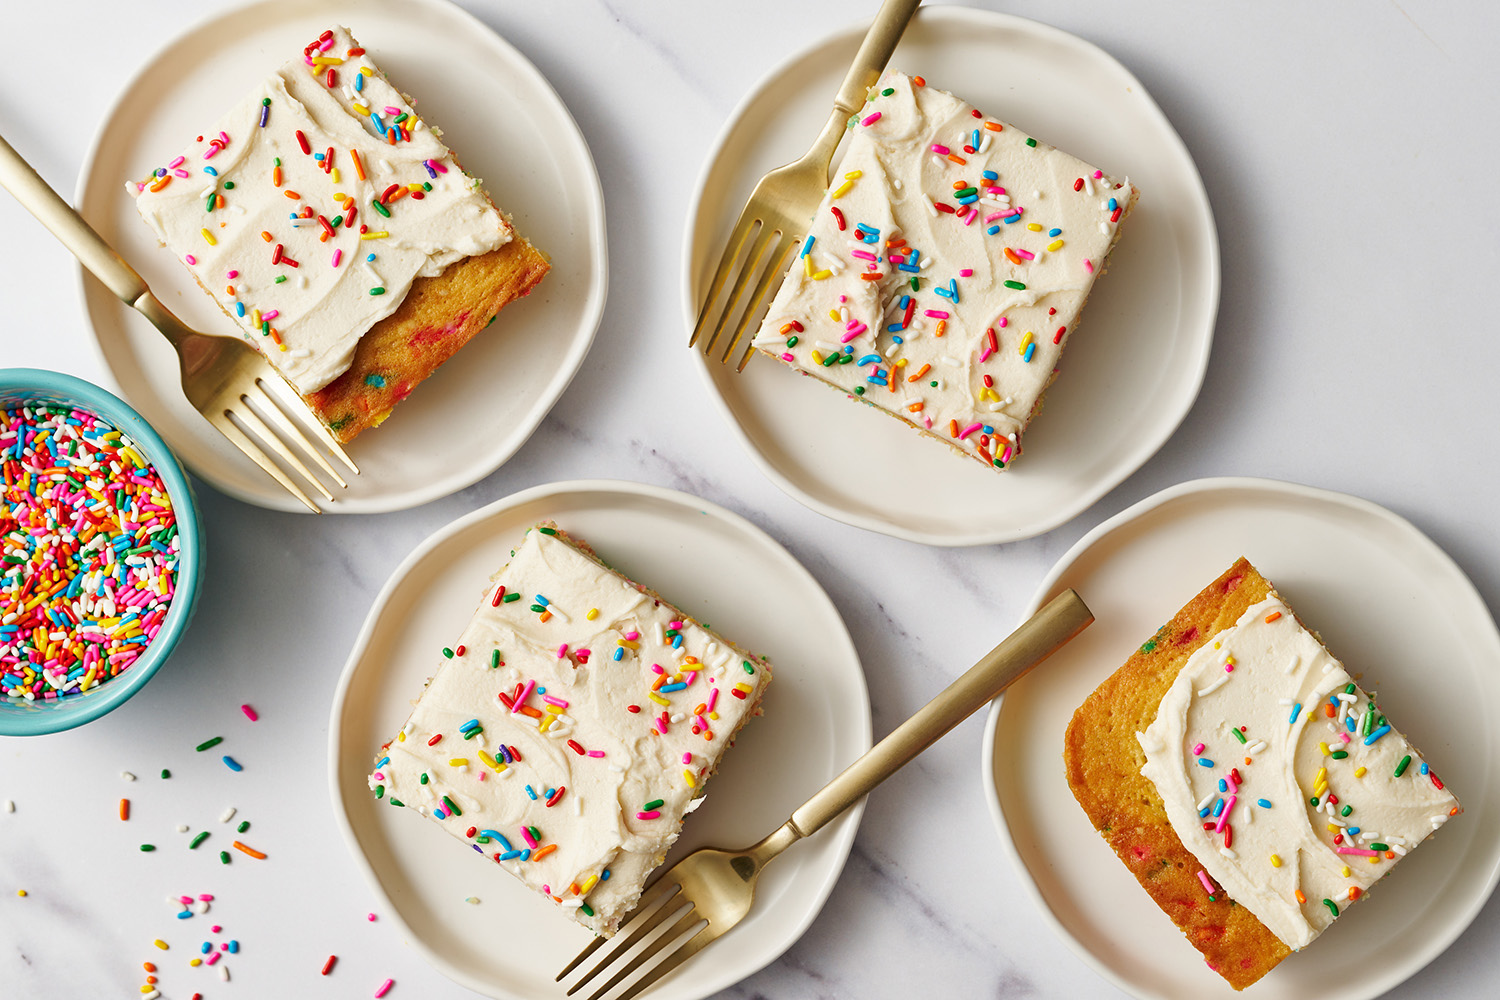
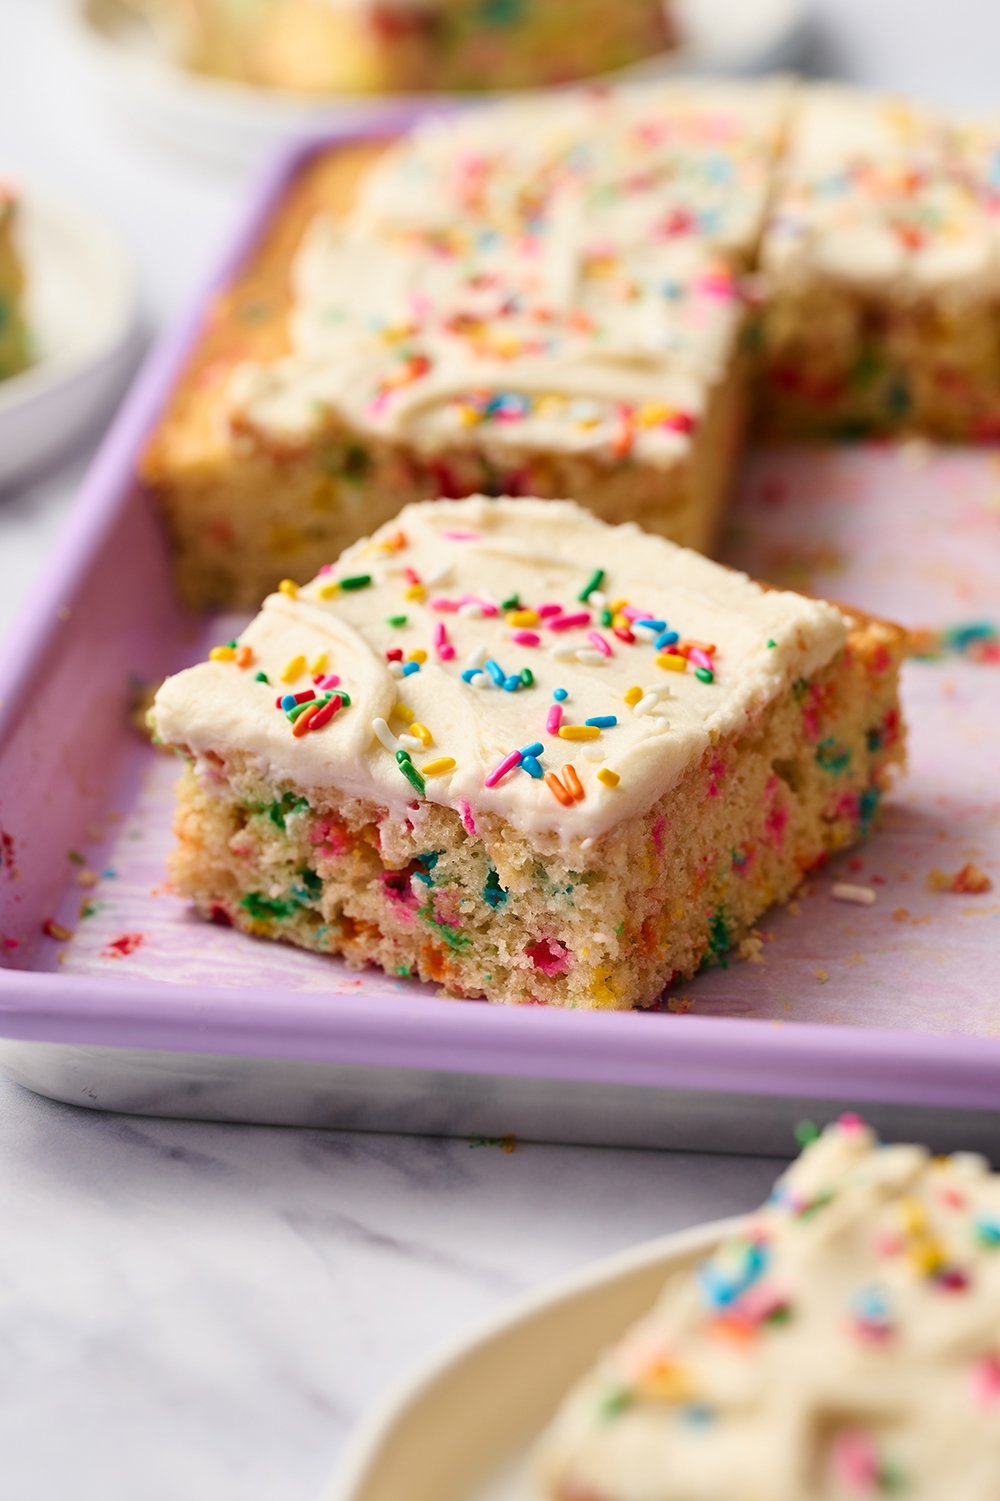
Appearance: So bright and happy.
Pros: The perfect dessert for a crowd for any occasion! It’s easy to slice up and serve, too.
Cons: None.
Would I make this again? Yes!
This post may contain affiliate links. Read our disclosure policy.


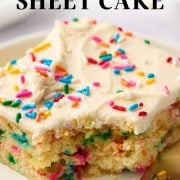
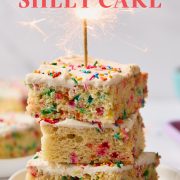
Cakes don’t get more fun than this Funfetti Sheet Cake. It’s right there in the title – fun!
This cake is absolutely delicious and full of nostalgic flavors. It’s also ridiculously easy to make. No assembling or decorating skills required, unlike a layer cake.

It tastes similar to boxed cake mixes you see in the baking aisle… but without being sickly sweet or bland.
This Funfetti Sheet Cake is easy to transport, slice, and serve, so it’s the perfect dessert to bring to any party. It’s the ideal birthday cake to serve a crowd.
No one will be able to resist this super fun Funfetti Sheet Cake!


Sprinkle of Science
How to Make Funfetti Sheet Cake
What is a Funfetti Cake?
Also sometimes called a Confetti Cake, Funfetti is a soft vanilla cake with sprinkles mixed into the batter. It’s the cake most Americans would associate with childhood birthday parties – but this one is homemade, so you know it’ll be 100x better than a boxed cake mix in every way possible.
How to Make a Moist, Fluffy Funfetti Cake
- Measure your flours correctly – Too much flour will result in a heavy, dry cake, so I recommend using a digital scale, or the spoon and level method – learn about that here. More on the flours used below.
- Sour cream – Full-fat sour cream adds richness and flavor and helps create a tender crumb. Full-fat plain Greek yogurt will also work just fine.
- Buttermilk – Real buttermilk helps create a rich, tender, light cake. More on buttermilk below.
- Don’t reduce the sugar – Sugar does so much more in baking beyond sweetening. Read more about sugar’s role in baking.
What Kind of Pan Should I Use?
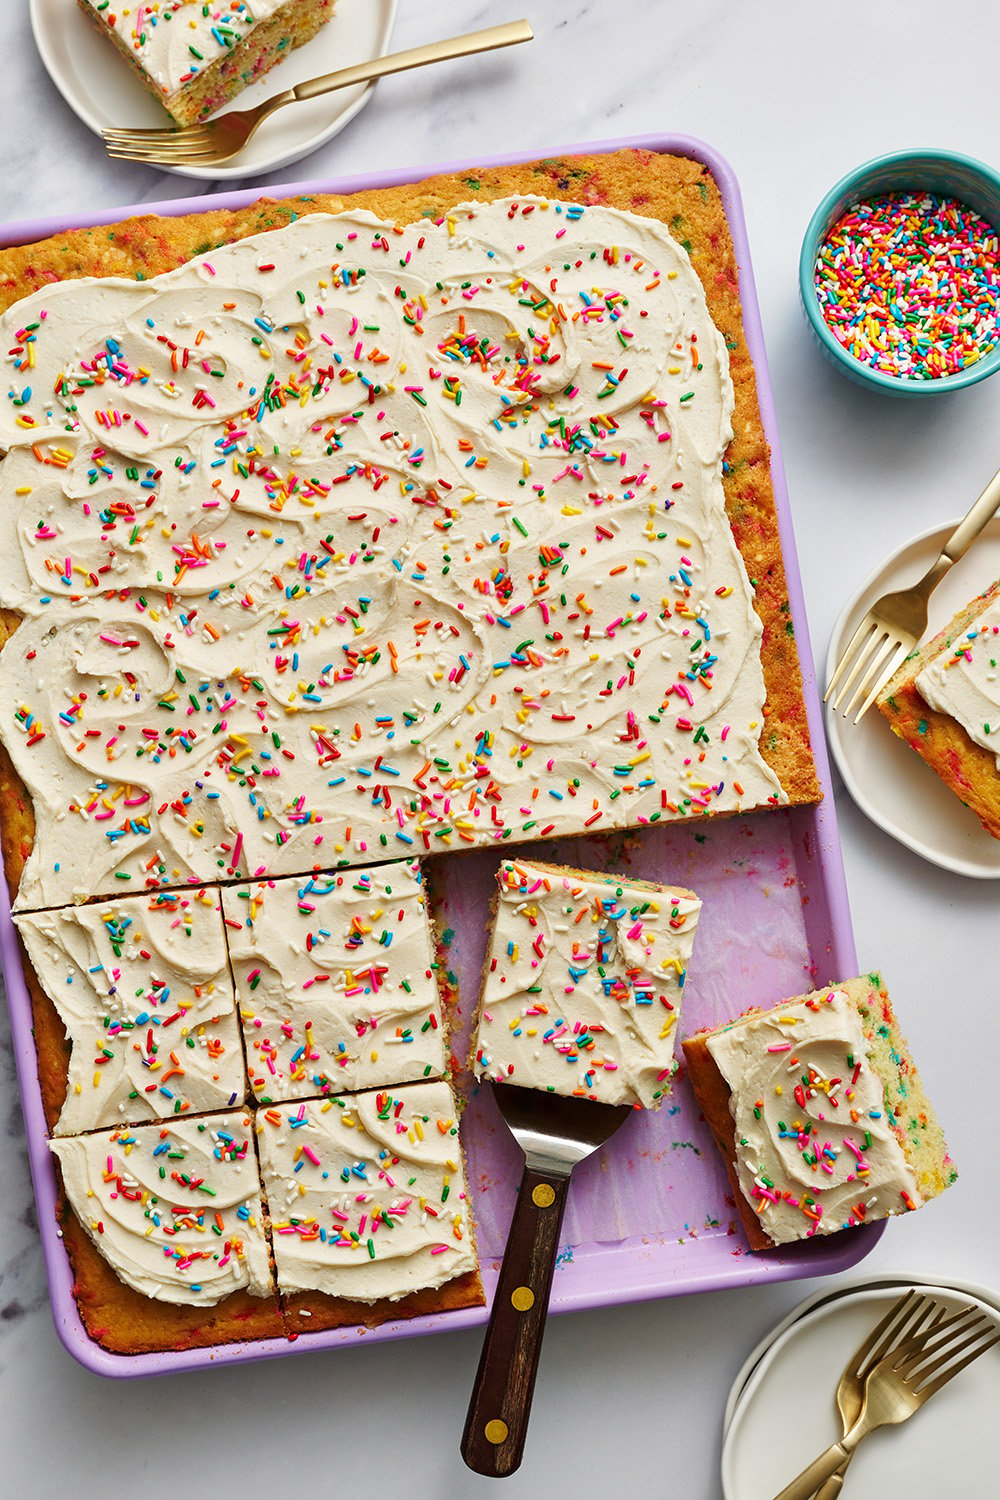
This recipe was written for a 12×17-inch half sheet metal pan. This is the pan I recommend (it even comes with a lid for super easy transportation). However, if you want something absolutely adorable, this is the pan used in these photographs. Options for pans of different sizes are listed below.
Can I Bake This in a 9×13 Cake Pan?
Yes, with a few adjustments.
- If baking in a 9×13-inch metal pan, after 25 minutes of baking at 350°F, you will need to tent the cake with foil to prevent over-browning on the top and sides. If your oven has hot spots, rotate your pan at this point as well.
- Bake for an additional 10 minutes, or until the cake is slightly pulling away from the edges, the top is lightly golden brown, and a toothpick inserted in the center comes out clean.
If the center of your cake still appears a little greasy and doesn’t spring back up when pressed, that’s normal! The residual heat from the pan will continue to bake your cake after removing it from the oven. If you wait until the center of your cake springs back when pressed, your cake will be overbaked and dry.
Can I Use a Glass Pan for This Cake?
If you’re baking the 9×13-inch variation I described above, I still recommend using a metal pan such as this one. Glass is not a great conductor of heat, so the edges of the cake will become overcooked and dry before the center can cook through. Aluminum baking pans conduct heat faster and more evenly, and will give your cake a nice even bake, without drying it out.
If you absolutely must use a glass 9×13-inch pan for this funfetti sheet cake, here’s what to do:
- Drop the temperature to 325°F and tent with foil after 35 minutes.
- Bake an additional 15-20 minutes, or until the cake is slightly pulling away from the edges, the top is lightly golden brown, and a toothpick inserted in the center comes out clean.
Can I Halve This Recipe?
Yes! Bake in a quarter sheet metal pan for 18-20 minutes, or until the top is lightly golden brown and a toothpick inserted in the center comes out clean.
Can I Make Cupcakes Using This Recipe?
I have a Funfetti Cupcakes recipe! Watch how they’re made in this video.
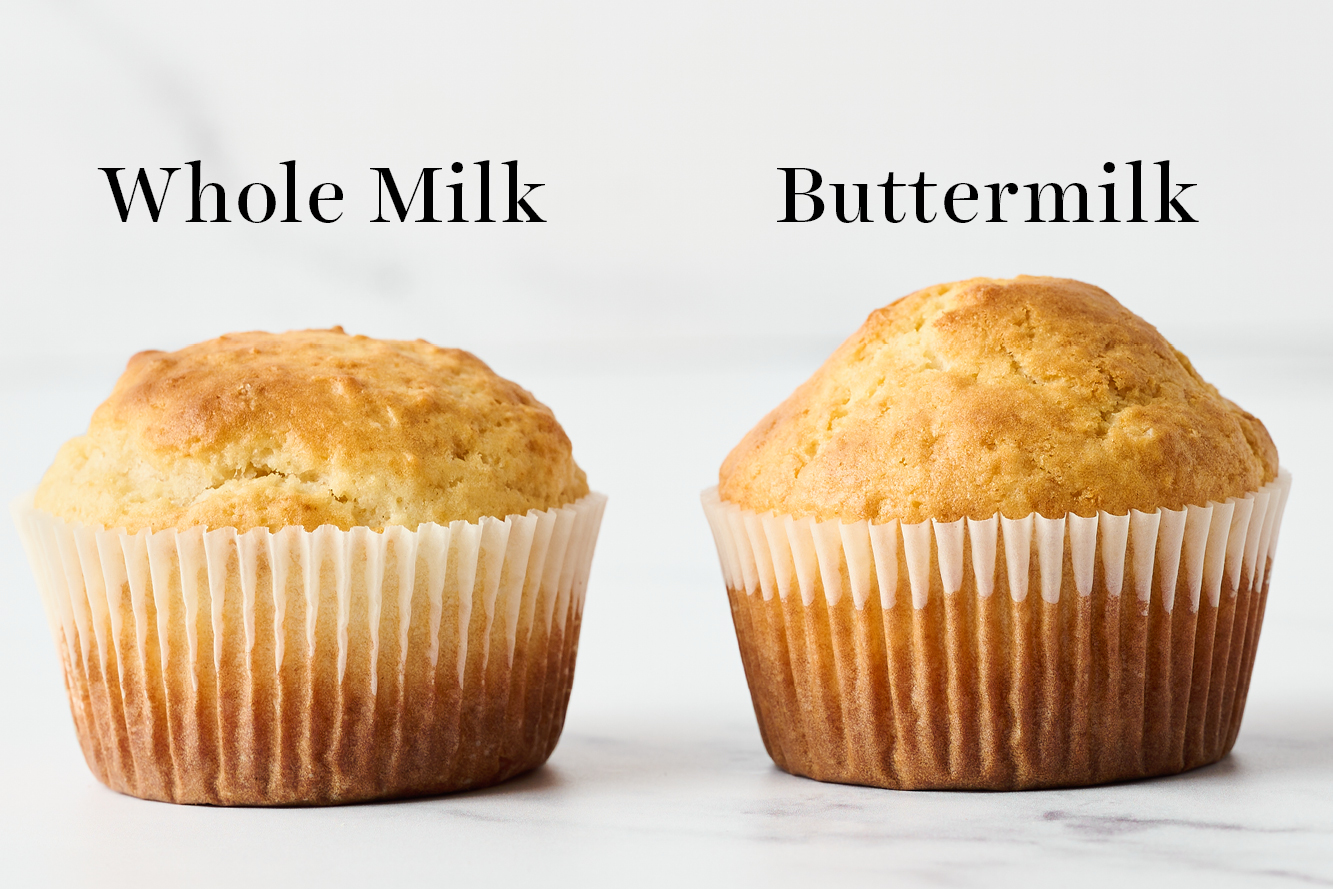
What if I Don’t Have Buttermilk?
Buttermilk works best in this recipe to provide a rich and tender funfetti sheet cake. You can learn more about buttermilk in my Buttermilk 101 article here. I would not recommend using a buttermilk substitute, for best results. If you must, use whole milk instead – but your cake’s taste and texture will be different.
Cake Flour + All-Purpose Flour
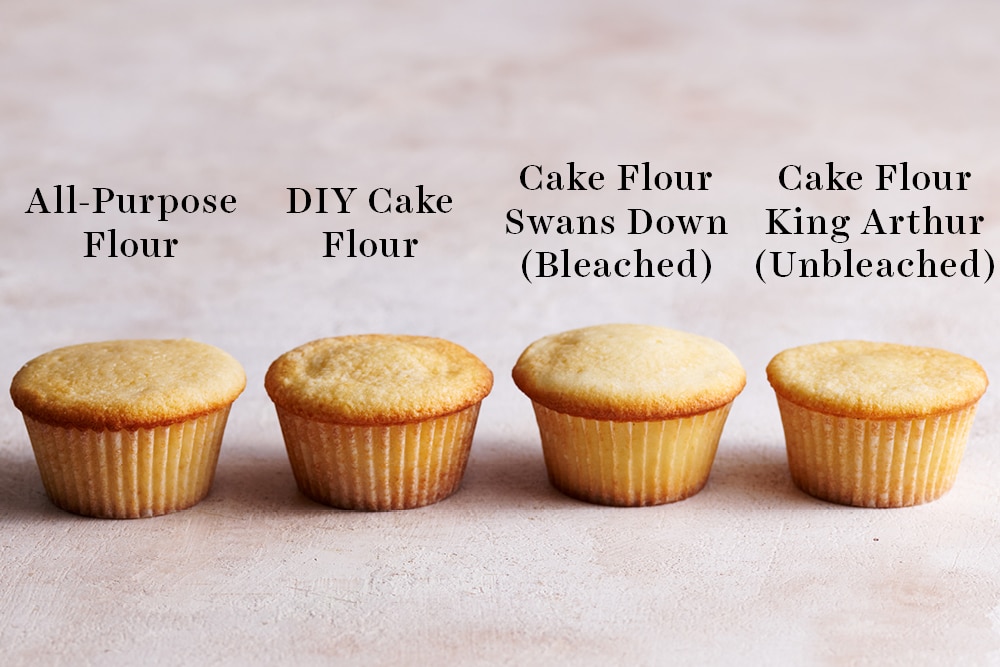
To give this funfetti sheet cake a nice, soft texture but still ensure it has some structure, I went with a mix of cake flour and all-purpose flour. I really recommend sticking with this combination to achieve the best texture. If you don’t have access to cake flour or wish to avoid purchasing it, you can probably use all-purpose flour only – but please note that we haven’t tested this to know how well this will work, and the cake will be heavier as a result.
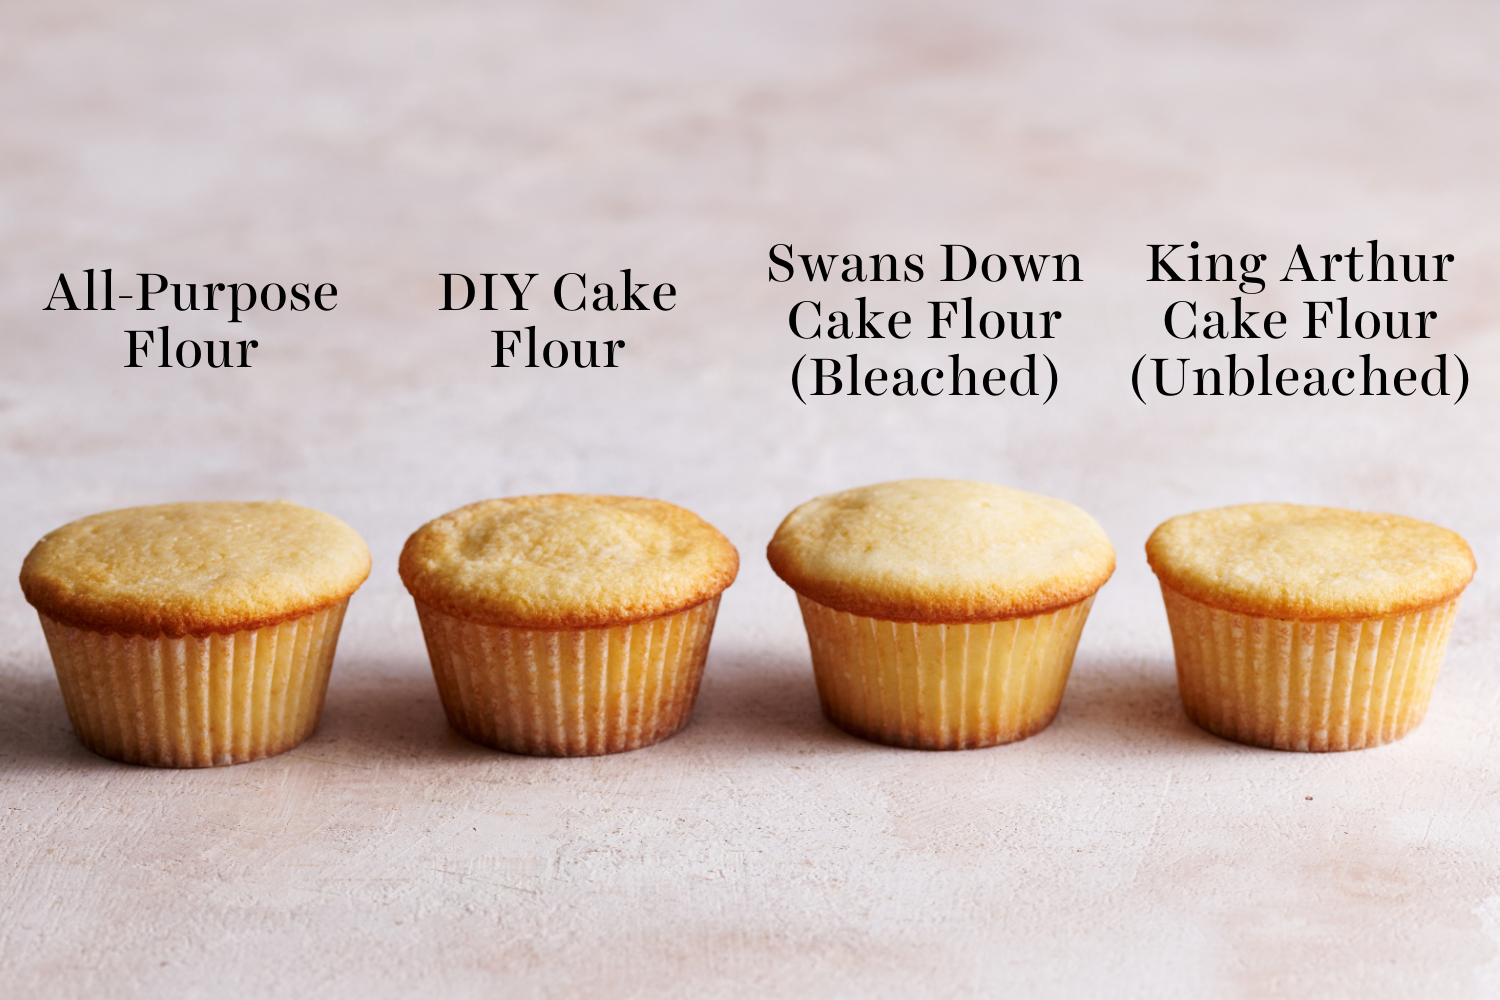
I never recommend using DIY cake flour substitutions, as they simply don’t work as well. Check out my Cake Flour 101 article here to learn why, and see more of my side-by-side experiments like the picture below:
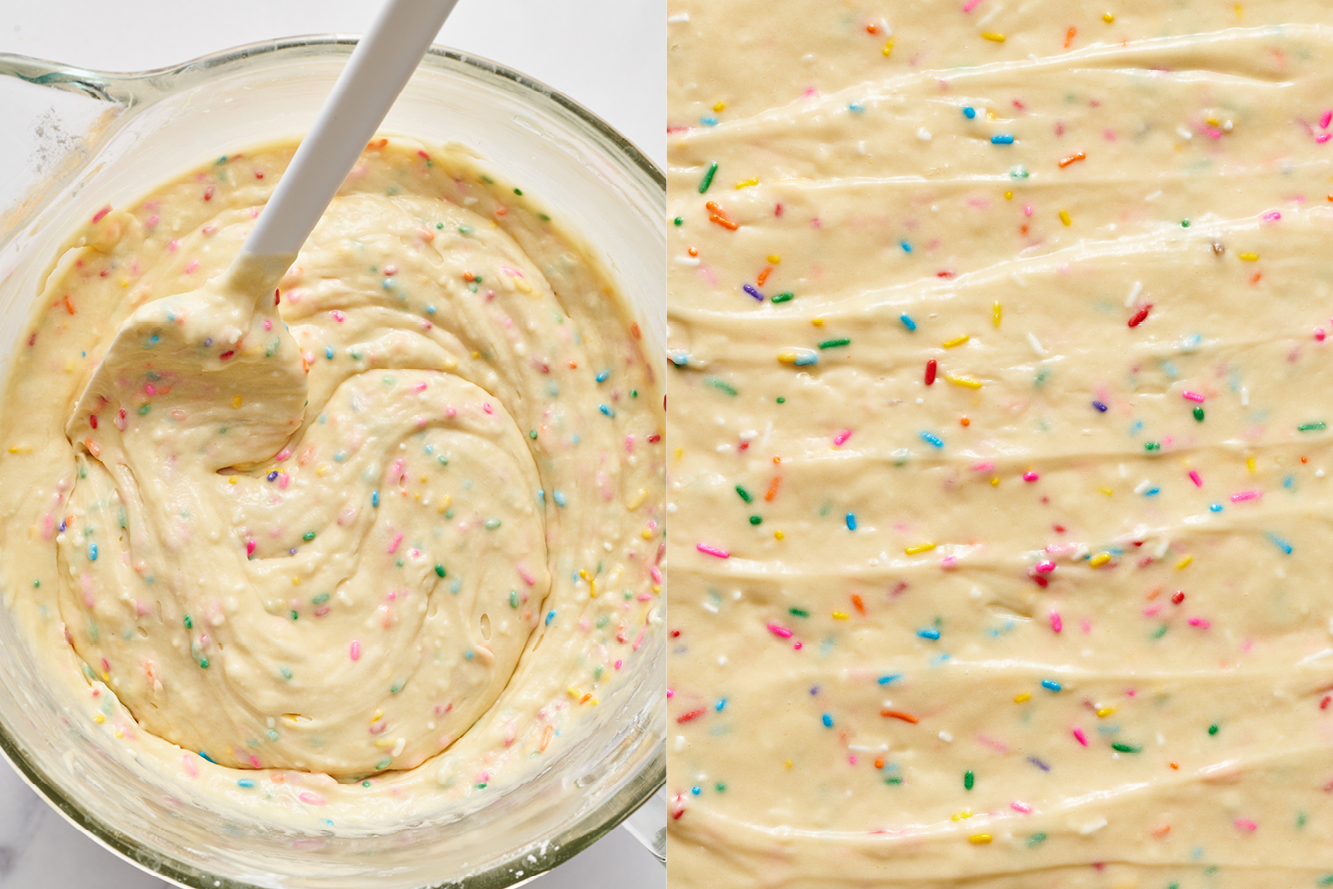
The Best Sprinkles for Funfetti Cake
- I used rainbow jimmies for this funfetti sheet cake.
- I don’t recommend using nonpareils (the tiny round sprinkles) in the batter as they remain hard and crunchy in cake and often bleed into the batter, leaving you with streaks of color, sometimes even muddy colored batter. It’s for these reasons I recommend using jimmies, which are made with a food-grade colorful and waxy coating that prevents them from melting quickly, reducing bleeding.
- If you love the texture of nonpareils, they’ll work perfectly as decoration.
- Tip: Smell and taste your sprinkles if they’ve been in your cupboard for a while before adding them to the batter to ensure they’re not expired! Expired sprinkles will have a slight smell to them and leave a wax that sticks to the roof of your mouth. They will, unfortunately, affect the flavor of your cake.
The Cream Cheese Frosting
I adore cream cheese frosting to balance the sweetness of the funfetti sheet cake. Use full-fat bricks of cream cheese, not the cream cheese that comes in a tub for bagels and not reduced-fat cream cheese. If you don’t prefer cream cheese frosting, use a batch of my regular Vanilla Buttercream frosting instead.
How to Store Funfetti Cake
- Store the cake tightly wrapped in plastic wrap or placed in an airtight container in the fridge for up to 3 days.
- If you’ve already sliced the cake into individual portions, the exposed cake will dry out much faster than if it’s stored unsliced. Place each slice in to-go containers (like these) or an airtight container with a piece of wax paper or parchment under each slice to come up the sides.
Can I Make This Funfetti Sheet Cake Ahead of Time?
Yes! After the funfetti cake has completely cooled, cover the unfrosted top with parchment to prevent the top from getting sticky. Wrap the entire pan with plastic wrap before storing overnight at room temperature.
While best enjoyed on the day the cake is frosted, this cake can also be baked and frosted up to 2 days ahead of time – just be sure to store the cake inside an airtight container or wrapped well in plastic wrap to avoid it drying out.
Can You Freeze Funfetti Sheet Cake?
We haven’t tried that, but I don’t see why not! Wrap slices of funfetti cake well in plastic wrap and store inside a ziptop bag or an airtight container for up to a month. I recommend freezing without the frosting, and frosting once the cake is thawed. Thaw the funfetti sheet cake overnight in the fridge before decorating for best results.
More Sheet Cake Recipes You’ll Love:
- Salted Caramel Apple Sheet Cake
- Easy Chocolate Sheet Cake
- Butter Pecan Sheet Cake
- Vanilla Sheet Cake with Grilled Strawberries
- Easy Chocolate Zucchini Cake
- Christmas Funfetti Sheet Cake
Email This Recipe
Enter your email, and we’ll send it to your inbox.
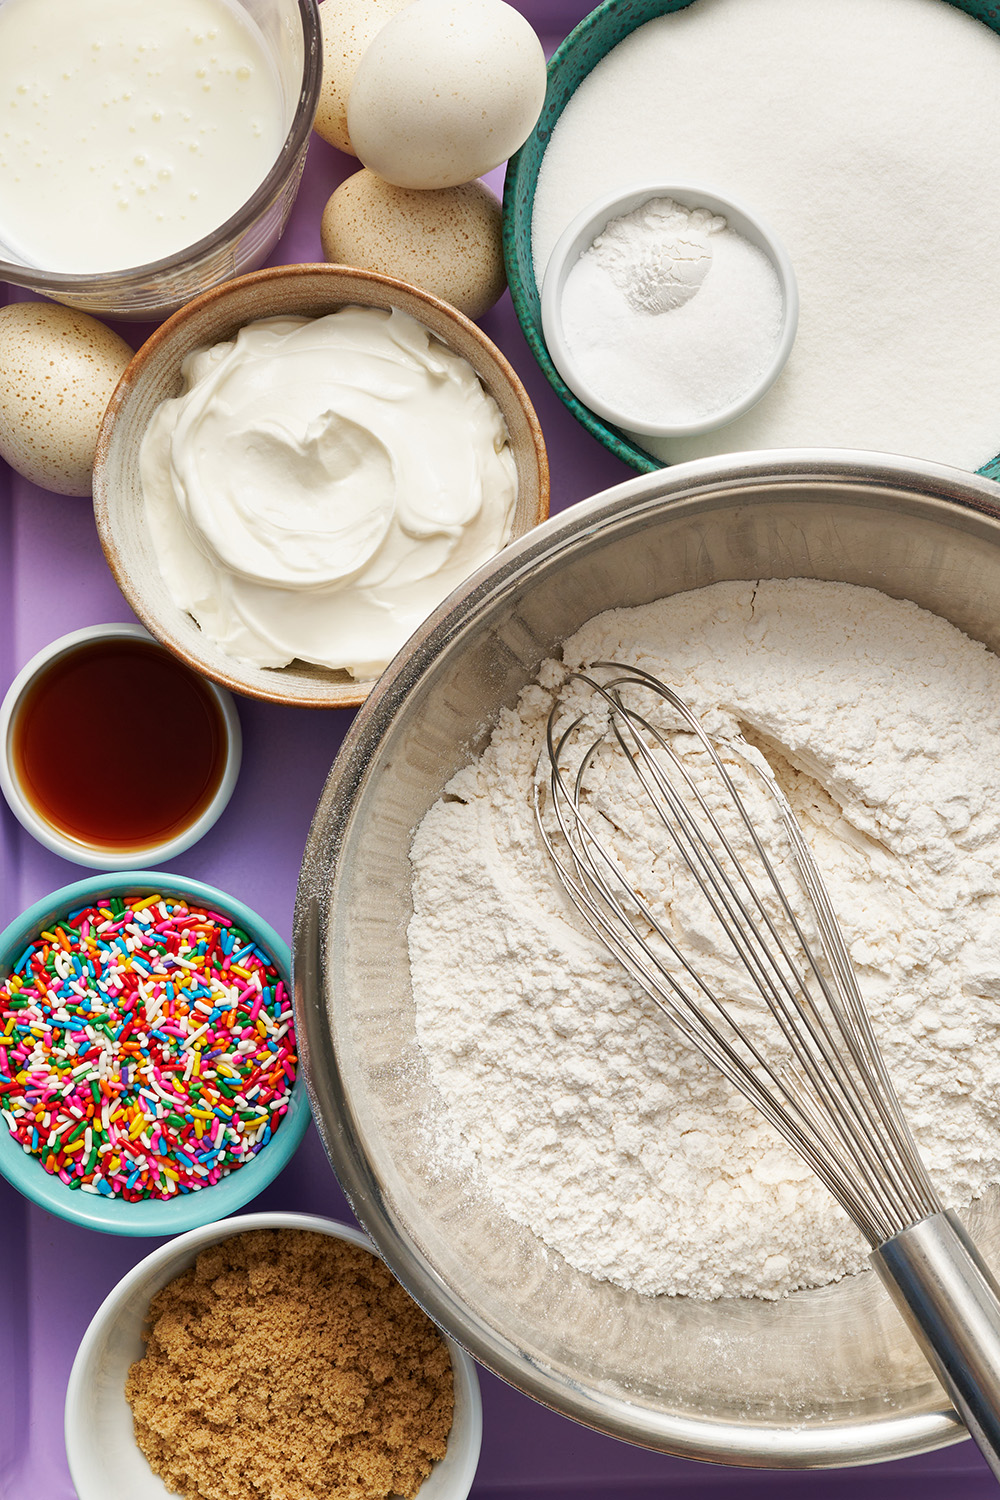
Ingredients
For the cake:
- 2 sticks (226 grams) unsalted butter
- 2 cups (254 grams) all-purpose flour
- 2 cups (226 grams) cake flour, sifted
- 1 teaspoon baking soda
- 1 1/2 teaspoons baking powder
- 1 ½ teaspoons fine sea salt
- 1 cup (240 grams) sour cream, at room temperature
- 1 cup (237 grams) buttermilk, at room temperature
- 2 cups (400 grams) granulated sugar
- ¼ cup + 1 tablespoon (63 grams) lightly packed light brown sugar
- 4 large eggs, at room temperature
- 1 tablespoon vanilla
- 1 teaspoon almond extract (optional – if not using, add 1 additional teaspoon of vanilla)
- ¾ cup
(144 grams) rainbow sprinkles, plus more for decoration*


For the frosting:
- 1 stick (113 grams) unsalted butter, at cool room temperature
- 4 ounces cream cheese, at room temperature
- 1 ½ teaspoons vanilla
- ½ teaspoon fine sea salt
- 4 cups (500 grams) powdered sugar, sifted
- 1-2 tablespoons heavy cream or full-fat milk, as needed
Instructions
Make the cake:
- Preheat the oven to 350°F. Line a 12×17-inch half sheet pan** with parchment paper and generously spray with nonstick cooking spray, making sure to spray the edges of the pan. Set aside.
- In a microwave-safe bowl, heat butter in 30-second increments until melted. Set aside, cooling until just warm.
- In a medium-sized bowl, whisk together all-purpose flour, sifted cake flour, baking soda, baking powder and salt. Set aside.
- In a 2-cup measuring glass or medium-sized bowl, gently whisk together the sour cream and buttermilk. Set aside.
- In the bowl of an electric stand mixer fitted with the paddle attachment, add the melted butter and both sugars. Cream together on medium speed for 2 minutes, until light and creamy. Add eggs one at a time, blending on medium-low speed after each addition until just combined, then scrape down the sides of the bowl. Add the vanilla and almond extract (if using), and mix on medium-high speed until light and fluffy, about 3 minutes.
- Alternating between wet and dry ingredients, add half of the sour cream/buttermilk mixture and half of the flour mixture to the mixer, mixing on medium-low speed after each addition until just combined. Repeat this step twice. Be careful not to overmix. Scrape down the bottom and sides of the bowl.
- Using a spatula, gently fold in the sprinkles. Pour the batter onto the prepared baking sheet and smooth out evenly. Bake the cake for 20-22 minutes, or until the top is lightly golden brown and a toothpick inserted in the center comes out clean. Place the pan on a cooling rack and let the cake come to room temperature before frosting.
Make the frosting:
- While the cake is baking, in the bowl of a stand mixer fitted with the paddle attachment, add the butter and cream cheese. Mix together on medium-high speed until light, creamy and smooth, about 3 minutes. Scrape down the bowl, then add in the vanilla and salt and mix until just combined. Add in the sifted powdered sugar one cup at a time, scraping down the sides of the bowl to prevent any clumps. Beat on medium-high speed for about 1 minute, until light and fluffy. If your frosting is too thick to spread easily, add 1-2 tablespoons of heavy cream or milk and mix on medium-high speed until combined.
- Spread frosting evenly over the cooled cake with an offset spatula, then top with rainbow sprinkles.
- Store the cake tightly wrapped in plastic wrap or placed in an airtight container in the fridge for up to 5 days
Notes
Photos by Joanie Simon.


Delicious and most cake, great for a crowd!
This was more complicated than previous recipes, but it was fun to make. The cake looks fabulous; I don’t want to cut it! But we’ll celebrate a birthday and Easter tomorrow, and the funfetti will be exciting! I’m looking forward to it.
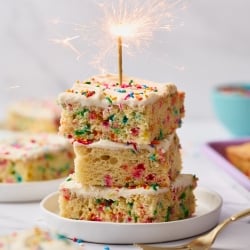
it’s delicious! my oven is tiny so I had to do two quarter sheet pans of cake, so I ended up just making a layer cake! so good!
I made the funfetti cake as 24 cupcakes and 24 mini cupcakes. Will triple the frosting recipe next time to have enough to swirl the frosting on all (doubling the frosting was short – 4 regulars and all the minis got only a sparing flat of frosting).
This recipe was easy to follow with great tasting batter and frosting!
best funfetti recipe ever! love love love
The directions are easy to follow – super sweet! I made it in. 13 x 9 pan and it took quite a while to cook. Think I’ll half the recipe next time and give that a try.
Hello! Love your site! My question is: I have read that with this particular recipe you are using a combo of flours, and I was wondering if this would produce an equal result in a layer cake? I have made many, many vanilla cakes, specifically, searching for the perfect combo of taste and texture. One recipe did use both flours, and I did like it. I have since experimented with both flours on my current go to vanilla recipe. What do you think about a combo of flours for a vanilla layer cake? Thank you!
Hi Paula! Check out the pink tip box (above the recipe) for more information on the combination of flours used here, and tips for the alternate pans and cupcake instructions. Unfortunately, we haven’t tried baking this recipe into a layer cake ourselves, as it was designed to be an easier sheet cake recipe – but a couple of our readers have had success with this, so feel free to experiment yourself and let us know how it goes! Happy baking 🙂
The sprinkles/jimmie’s in the picture and video seem more colorful and bolder colors than the Wilton rainbow sprinkles that were linked, can you share the ones from the video? They look so beautiful in/on the cake.
Thanks!
Hi Meghan! The Wilton sprinkles linked above were the same ones used inside the cake in the video and the pictures! In the video, we used these sprinkles to top with. The Wilton ones don’t tend to bleed as the cake bakes, and still provide fun, bright colors – but feel free to top the frosted cake with any sprinkles you like 🙂 let us know what you think once you have given this cake a try!
I’d like to make this for the April challenge, but I would like to cut it in half and make it in a 9 by 9 cake pan. Does this recipe cut in half well?
Hi Amanda! We have not tested half this recipe in a 9×9-inch pan, but there are instructions for halving and also for making into cupcakes! Check out all the info in the pink tip box above the recipe 🙂
Everything about this cake is so good. Such a crowd pleaser. It’s not a box cake mix but the homemade recipe has nostalgic flavors that kept my kids saying, “it tastes like a funfetti cake but better.” Follow the tips; use almond extract and don’t over mix. Next time I’ll use a light colored sheet pan as my bottom got dark fast. I hung my parchment over the side of my cooking tray so I was able to lift my cake out to trim off the sides and dark bottom. This is a keeper! I will be experimenting with different Jimmie/Sprinkler colors depending on the holiday or occasion.
This cake was easy to make and feeds a crowd. So much better than the box!