


Tessa’s Recipe Rundown
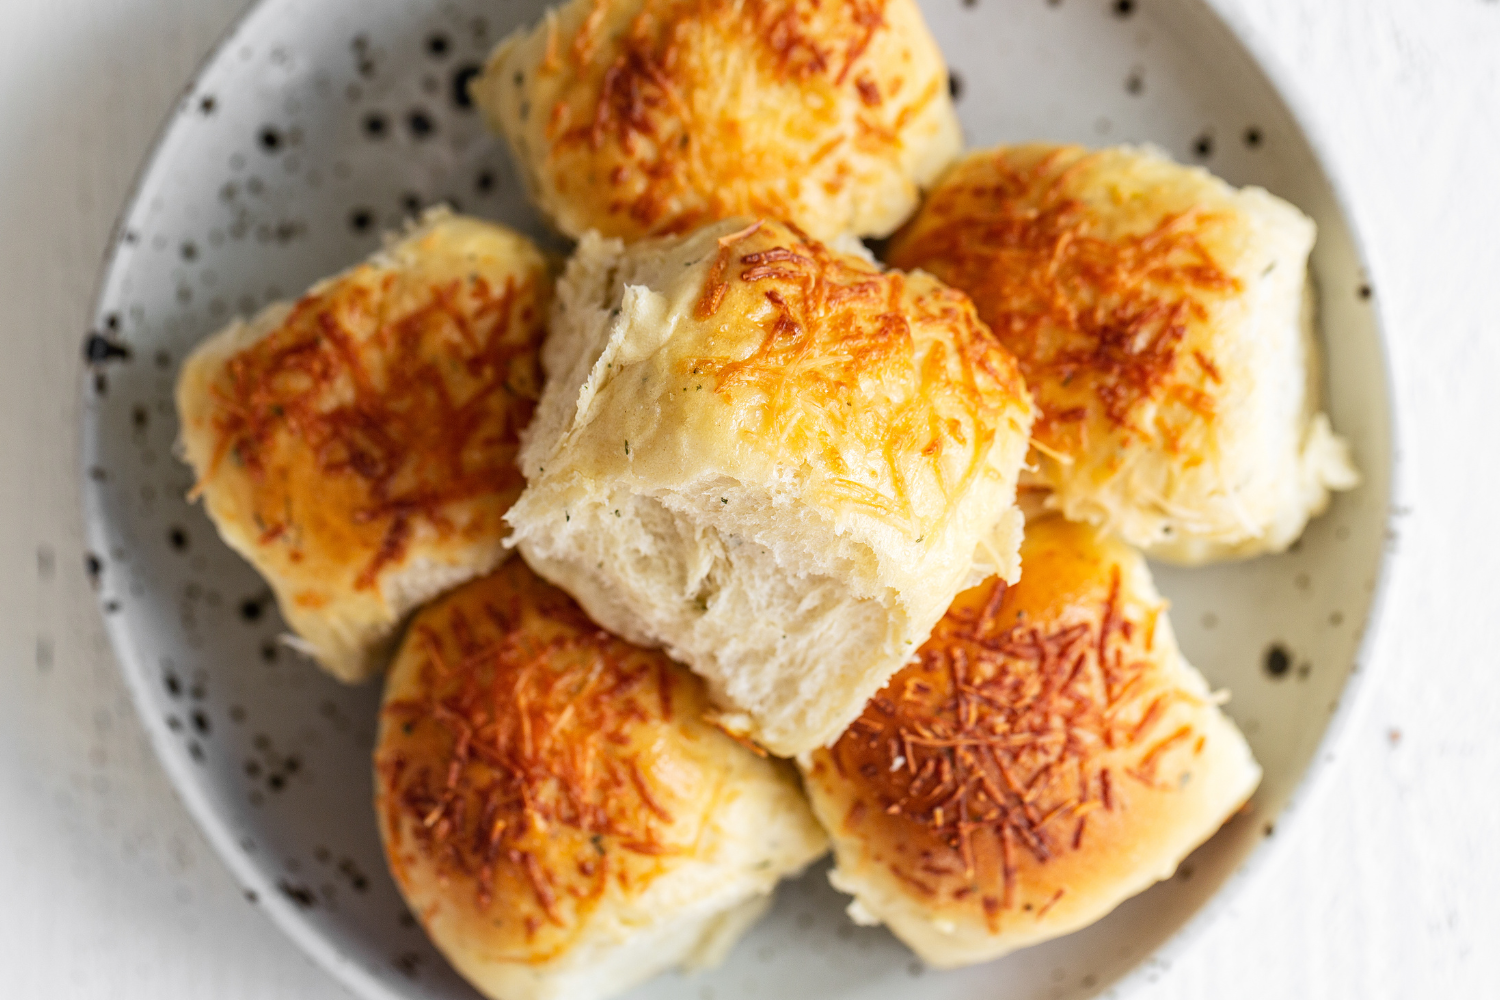
Taste: These rolls have all of my favorite flavors. There isn’t much better than garlic + rosemary + thyme + Parmesan. Seriously.
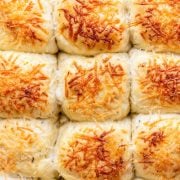
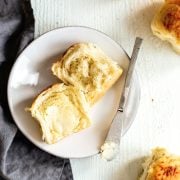
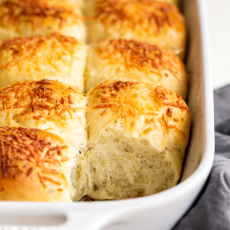
Texture: Soft and fluffy on the inside, slightly crunchy, chewy, and cheesy on the outside.
Ease: Even if yeast intimidates you, this recipe is totally doable.
Why You’ll Love This Recipe: So crave-worthy. They smell AMAZING while baking.
This post may contain affiliate links. Read our disclosure policy.
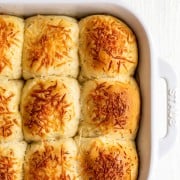

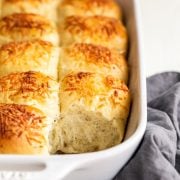
These Garlic, Herb, and Cheese Bread Rolls are the perfect addition to any dinner table.
I love baking bread. I find creating a dough, watching it transform, and then filling your whole house with that wonderful baking bread aroma so enjoyable.
This garlic, herb, and cheese bread roll recipe is super straightforward and simple. No crazy steps, no super long processes – just a beautiful, easy dough.
Even if working with yeast intimidates you, I encourage you to give this recipe a try.


Sprinkle of Science
How to Make Garlic, Herb, and Cheese Bread Rolls
Which Yeast Is Best to Use For Rolls?
This recipe was written to use instant yeast. Think of instant yeast as a sort of foolproof shortcut ingredient that allows you to skip proofing (the step where you combine the yeast with warm liquid for 5 minutes). It may be labeled rapid rise or quick rise yeast and is available at most grocery stores, or can buy my all-time favorite instant yeast on Amazon.
If you don’t have or can’t find instant yeast, you can easily use active dry yeast instead. Simply combine it with the warm liquid called for in the recipe and allow it to proof for 5 minutes before adding into the bowl with the other ingredients. Skipping the proof will lengthen the rising period as it will take the yeast longer to get moving.
Tips for Fluffy Bread Rolls
- Avoid adding too much extra flour to the dough. This dough is enriched with milk, butter, oil, eggs, and sugar. These ingredients slow down gluten development and can make the dough a little sticky. Your instinct might be to add extra flour, however, any extra flour will create a denser, tougher roll instead of the light, fluffy roll we want. If you’re having trouble with handling the dough, dampen your hands slightly instead of adding extra flour.
- Measure your flour correctly. I highly recommend using a digital kitchen scale for accuracy, but if you don’t have one, be sure to use the spoon and level method to ensure you’re not accidentally compacting too much flour in your measuring cups.
- Don’t skip the sugar. There’s just a touch in these herbed dinner rolls, to help make the rolls tender and golden brown. Learn more about sugar’s role in baking here.
Can I Knead This Dough by Hand?
Yes! I call for a stand mixer to make easy work of kneading in this recipe, but you can also knead by hand. Be sure to knead the dough properly, until the dough is smooth and elastic, to get rolls that hold their shape and bake up nice and fluffy. You can find my full tutorial on how to knead dough here.
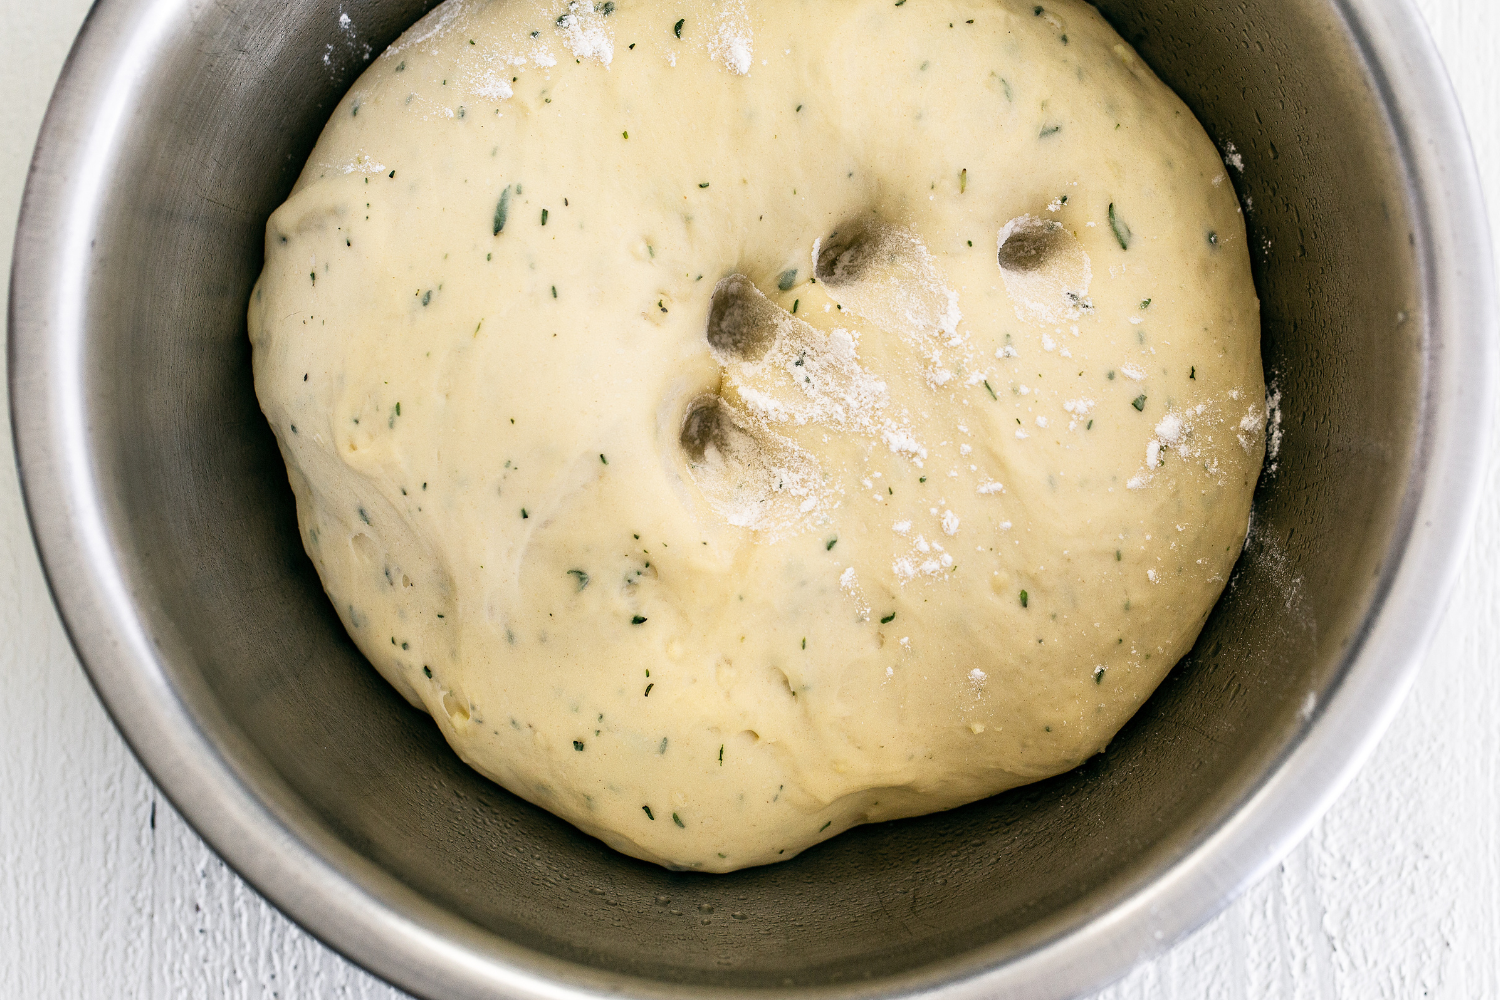
How to Tell When Dough Is Risen
- A lot of factors will influence when your dough is done rising and ready to be shaped – particularly the temperature and humidity level in your kitchen.
- Place two fingers in the risen dough up to the second knuckle and then take them out. If the indentations remain, the dough is ready to be shaped. If not, cover and let the dough rise longer until the indentations remain.
- The same test can be done again for the second proof before baking.
How to Shape Bread Rolls
- Once the dough is risen, press it down to gently deflate.
- Place the dough onto a clean surface (not a floured surface).
- Use a bench scraper to section the dough into 15 equal pieces. Don’t worry if they’re not perfectly equal in size. However, if you’re a perfectionist, you can weigh the entire mass of dough, divide that number by 15, and then portion each piece perfectly by weight.
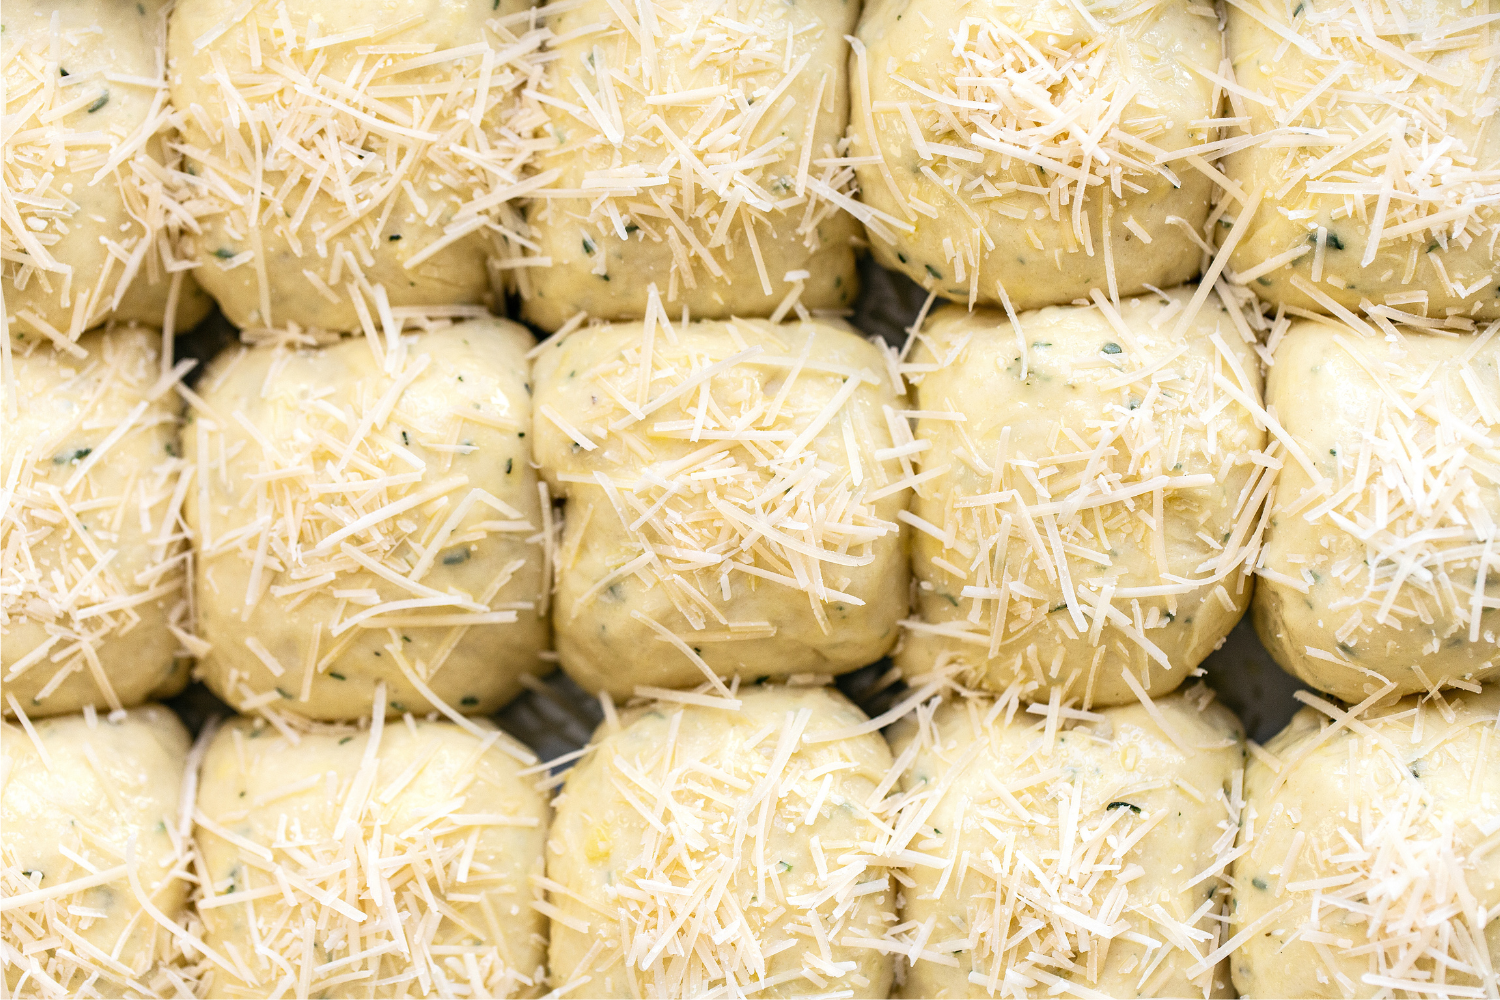
- As you’re shaping each piece into a round, make sure to pinch the dough into one central point to create a tight ball. This will help the rolls rise beautifully. Don’t flour your work surface when shaping the rolls because you want some resistance to roll them into taut balls.
You can also get creative with the shapes. Check out my video post on 5 ways to shape bread rolls here.
What Type of Pan for Baking Bread Rolls?
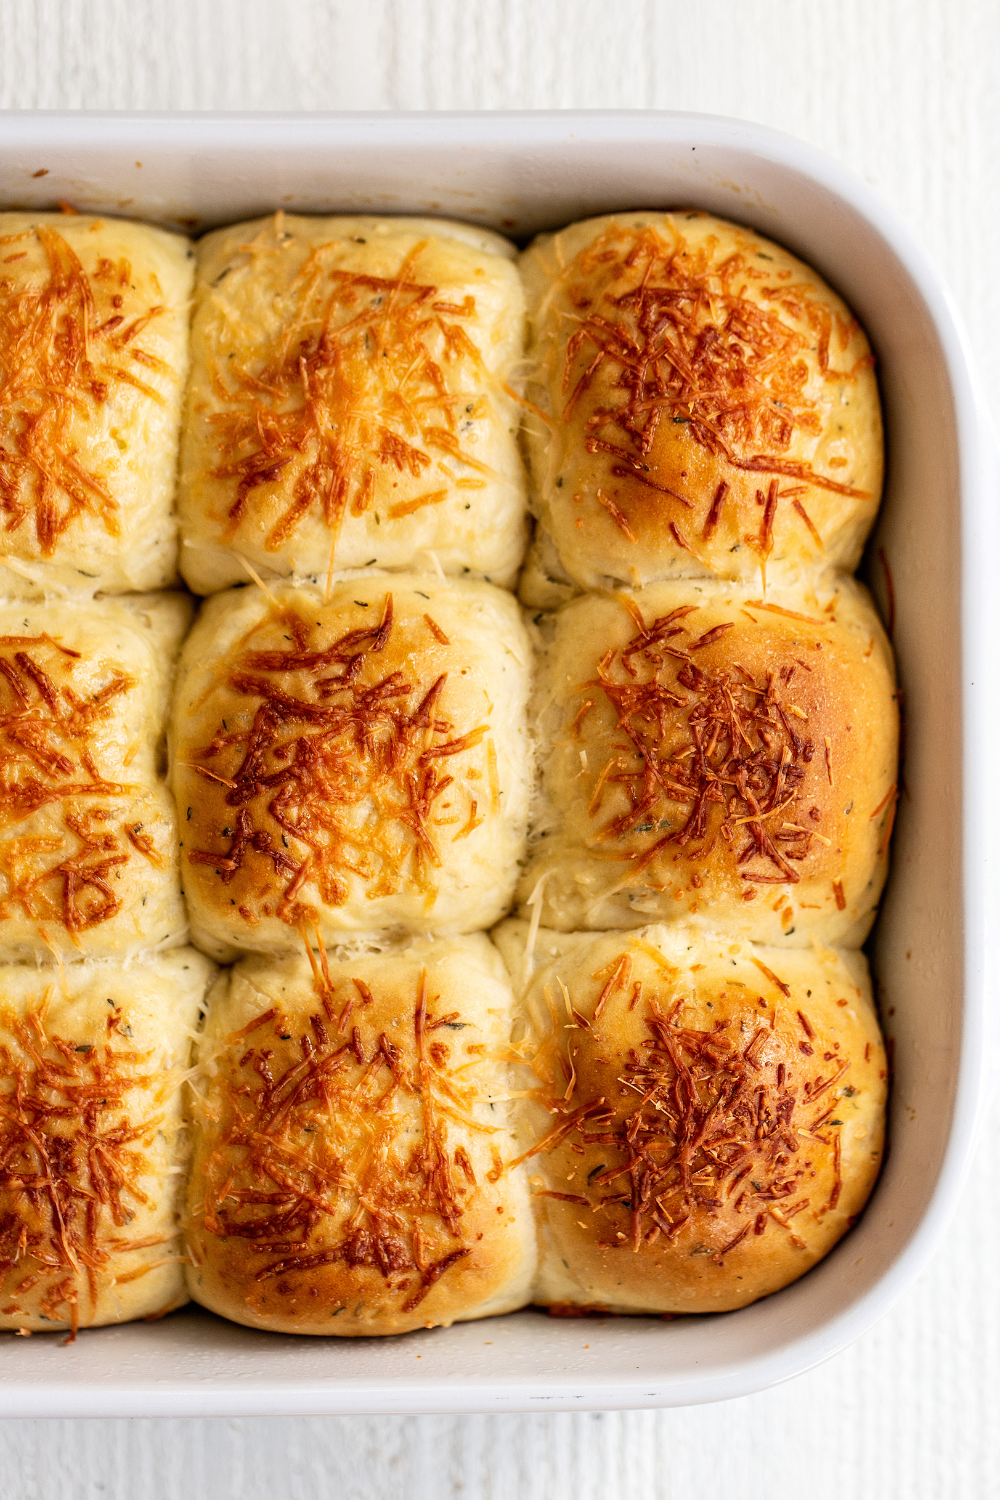
This recipe uses a 9×13-inch baking pan. While I usually prefer metal baking pans over glass or ceramic (see my Glass vs. Metal Pans post here), I prefer the table presentation ceramic pans offer when making dinner rolls.
How to Make Bread Rolls Ahead of Time
- Make the dough all the way through to rising once and shaping into rolls.
- Once the rolls are shaped, cover the pan well with plastic wrap and place in the refrigerator for up to 24 hours.
- When ready to bake, bring to room temperature as the oven preheats before baking as the recipe directs.
- If the rolls haven’t doubled in size yet, allow to sit at room temperature until they do.
- The rolls are best served the day they’re baked.
- Store leftover Garlic, Herb, and Cheese Bread Rolls in an airtight container for up to 3 days.
- Reheat the rolls briefly in the oven or toaster oven at 300°F until warmed through to refresh before serving, if desired.

More Recipes You’ll Love:
Email This Recipe
Enter your email, and we’ll send it to your inbox.
Ingredients
For the rolls:
- 1 cup warm milk (100 – 110°F)
- 1 tablespoon olive oil
- 2 whole eggs, at room temperature
- 2 tablespoons granulated sugar
- 1 1/2 teaspoons fine sea salt
- 1 teaspoon garlic powder
- 2 garlic cloves, minced
- 1 tablespoon fresh rosemary, minced
- 1 tablespoon fresh thyme, minced
- 2 1/4 teaspoons (1 packet) instant yeast
- 4 cups (508) all-purpose flour

For the topping:
- 1 large egg
- 1/3 cup Parmesan cheese, grated
Instructions
- Combine the milk, olive oil, eggs, sugar, salt, garlic powder, garlic, rosemary, thyme, and yeast in the bowl of a stand mixer. Add 2 cups of the flour and stir with a wooden spoon until the dough forms a rough, shaggy mass.
- Attach the dough hook to the mixer, turn to medium-low speed, and gradually add the remaining flour, kneading until a mass of dough begins to form. Only add as much flour as needed to bring the dough together. Continue kneading on medium-high speed for 4 to 5 minutes until a soft, smooth ball of dough is formed. The dough should feel elastic and slightly tacky to the touch. Only add additional flour if the dough is unbearably sticky.
- Lightly spray a large clean bowl with cooking spray and place the dough in the bowl. Cover the bowl lightly with plastic wrap. Let rise for 1 hour at room temperature or until the dough is big, puffy, and about doubled in size.
- Spray a 13×9-inch baking pan with cooking spray. Gently deflate the dough. Use a bench scraper, knife, or pizza wheel to divide the dough into 15 equal pieces.
- Shape each piece into a tight ball and place in the prepared pan. Lightly cover the dough with plastic wrap and let the rolls rise for 1 hour, or until about doubled in size.
- Preheat the oven to 375°F.
- In a small bowl, whisk the egg then gently brush over the risen rolls. Sprinkle the rolls evenly with grated parmesan cheese.
- Bake the rolls for 20 minutes, or until golden brown. Serve warm. Store leftovers in an airtight container or ziptop bag for up to 3 days.
This post was originally published in 2014 and has been updated with recipe improvements, additional baking tips, and new photos. Photos by Ashley McLaughlin.


The beginning of the directions say “water” but water is not in the ingredients list. How much water should I put in the bowl? Thank You!
I please answer where does the water go and how much.thanks
Thanks Tess – just came across this page and made a 1/2 batch to go with our dinner tonight. Easy to make and yummy to eat. Will definitely be trying more of your recipes.
Hi, I found your site recently and tried&bought your cookie book. These look amazing and can’t wait to try. I searched through your recipes looking to see if you had one that incororates herbes, veggies and cheese in a bread. When we lived in Seattle years ago there was a bread we bought that had these items in them. I can’t find a receipe or it anywhere. Could you please come up with one or if anyone knows where one is point me in that direction. Love your videos, recipes and am gong to be making my way through them. I think I will be taking your cooking class soon also! : ) Thank you for the receipts.
Thank you so much for such a delicious and easy recipe. The texture was so soft and fluffy!
Thank you for sharing such a delicious yet fuss free recipe. My family loves it. The dough is perfect! So soft and fluffy even on the 3rd day, especially after warming them up in the oven. The only tweek was I added filling.I pan fried some grated garlic n mixed them with soften butter, spreaded a dollop on each after the 1st proof plus adding some ham inside each of them. Its yummmy! Best part about this bread is that it doesn’t have the smell of yeast like some homemade bread recipes. Definitely a keeper!! Thank u!! 🙂
lovely will try to make it later…thank you
Could I use a bundt tin when the rolls have proved? I would like to make shaped rolls to pull apart.
Higher-protein bread flour helps all loaves—from soft white sandwich bread to whole-grain loaves—rise their highest. You will notice that bread flour has a finer texture. I use it when I make rolls. Eggs and milk in bread recipes offers a more protein enriched bread and heavier. French and Italian breads do not use eggs and milk and you will notice they are lighter in texture.
Just made these and it is so fluffy and and delicious! Thank you for the recipe!
How much water did you use, because there is none listed in the ingredients?
Thanks very much.
Oh, my goodness!!
What is bread flour ?
Thanks for allowing me to join….