

This post may contain affiliate links. Read our disclosure policy.


Tessa’s Recipe Rundown
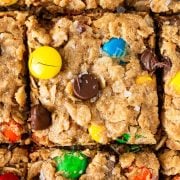
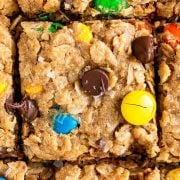
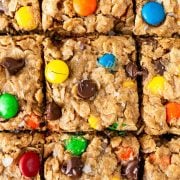
Taste: Tons of peanut butter with oats, gooey chocolate chips, and M&Ms.
Texture: Wonderfully chewy thanks to the oats and PB, with a slight crunch from the chocolate chips and M&Ms throughout.
Ease: Easier than cookies!
Why you’ll love this recipe: Quick to make and easy to transport and serve!
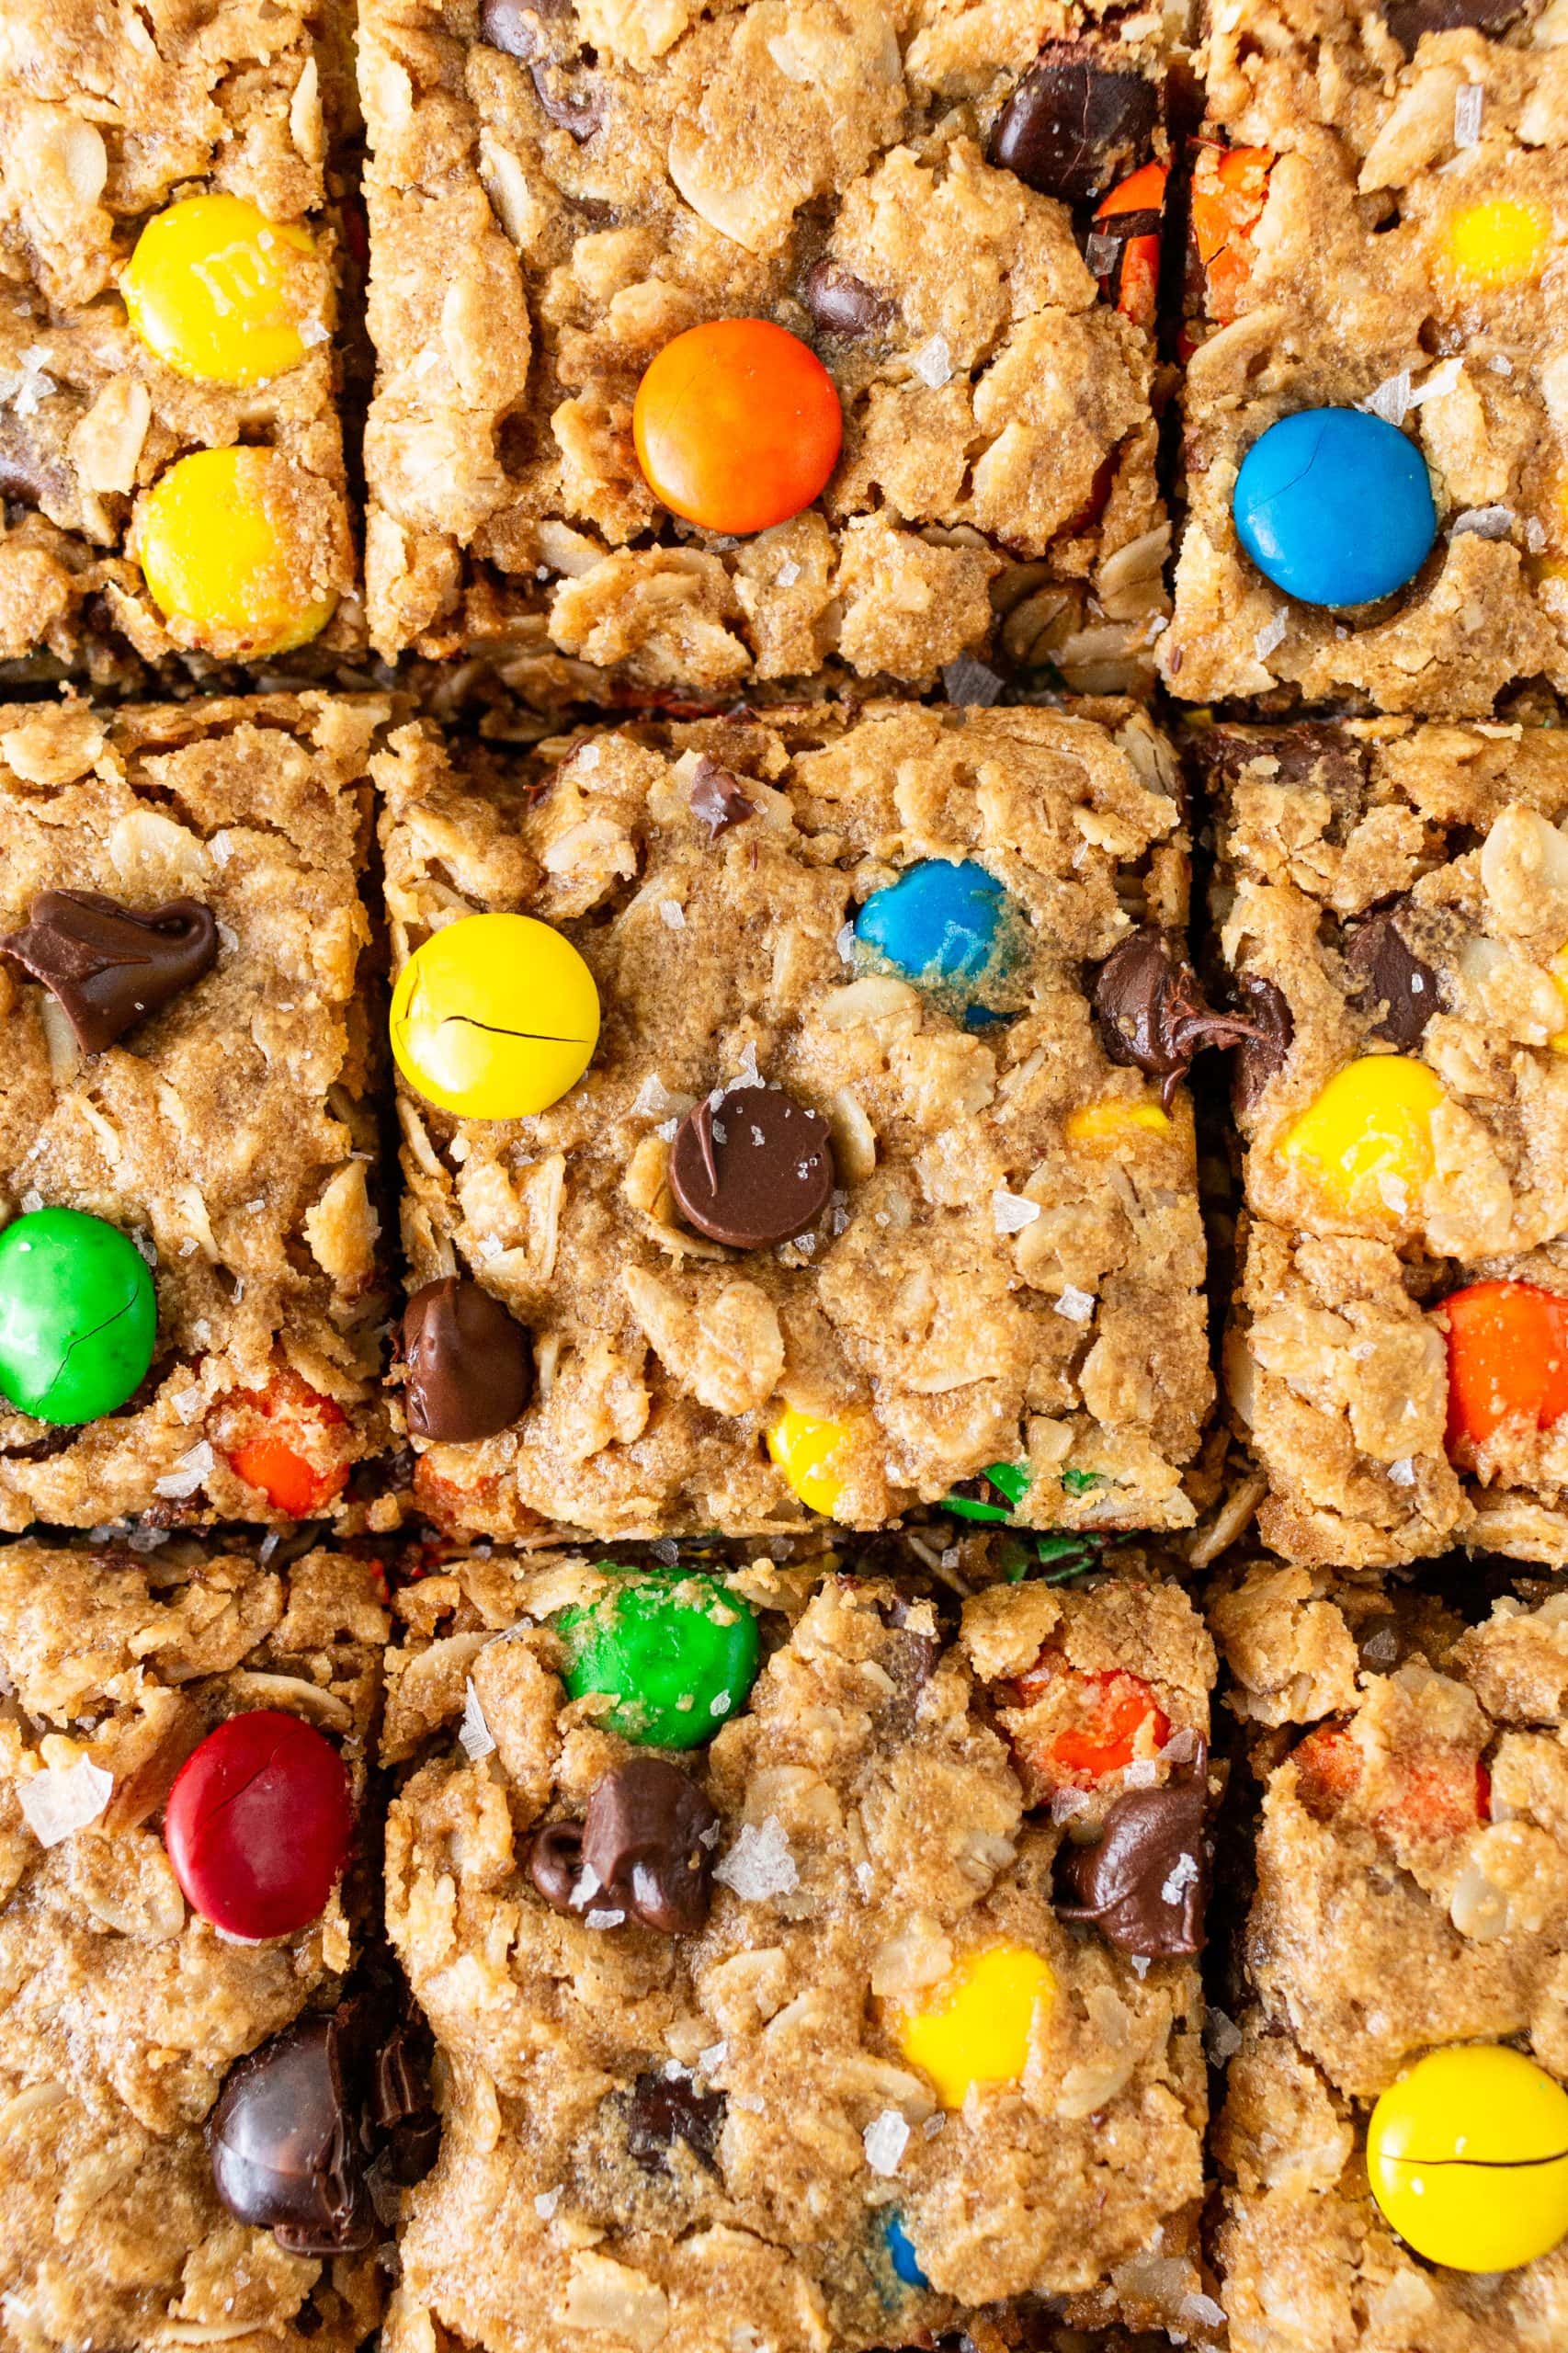
Monster Cookie Bars are the chewiest, most flavor-packed cookie bars ever. Perfect for all the peanut butter lovers out there!

There’s something really satisfying about biting into a thick, chewy cookie bar – especially when it’s loaded with peanut butter and chocolate!
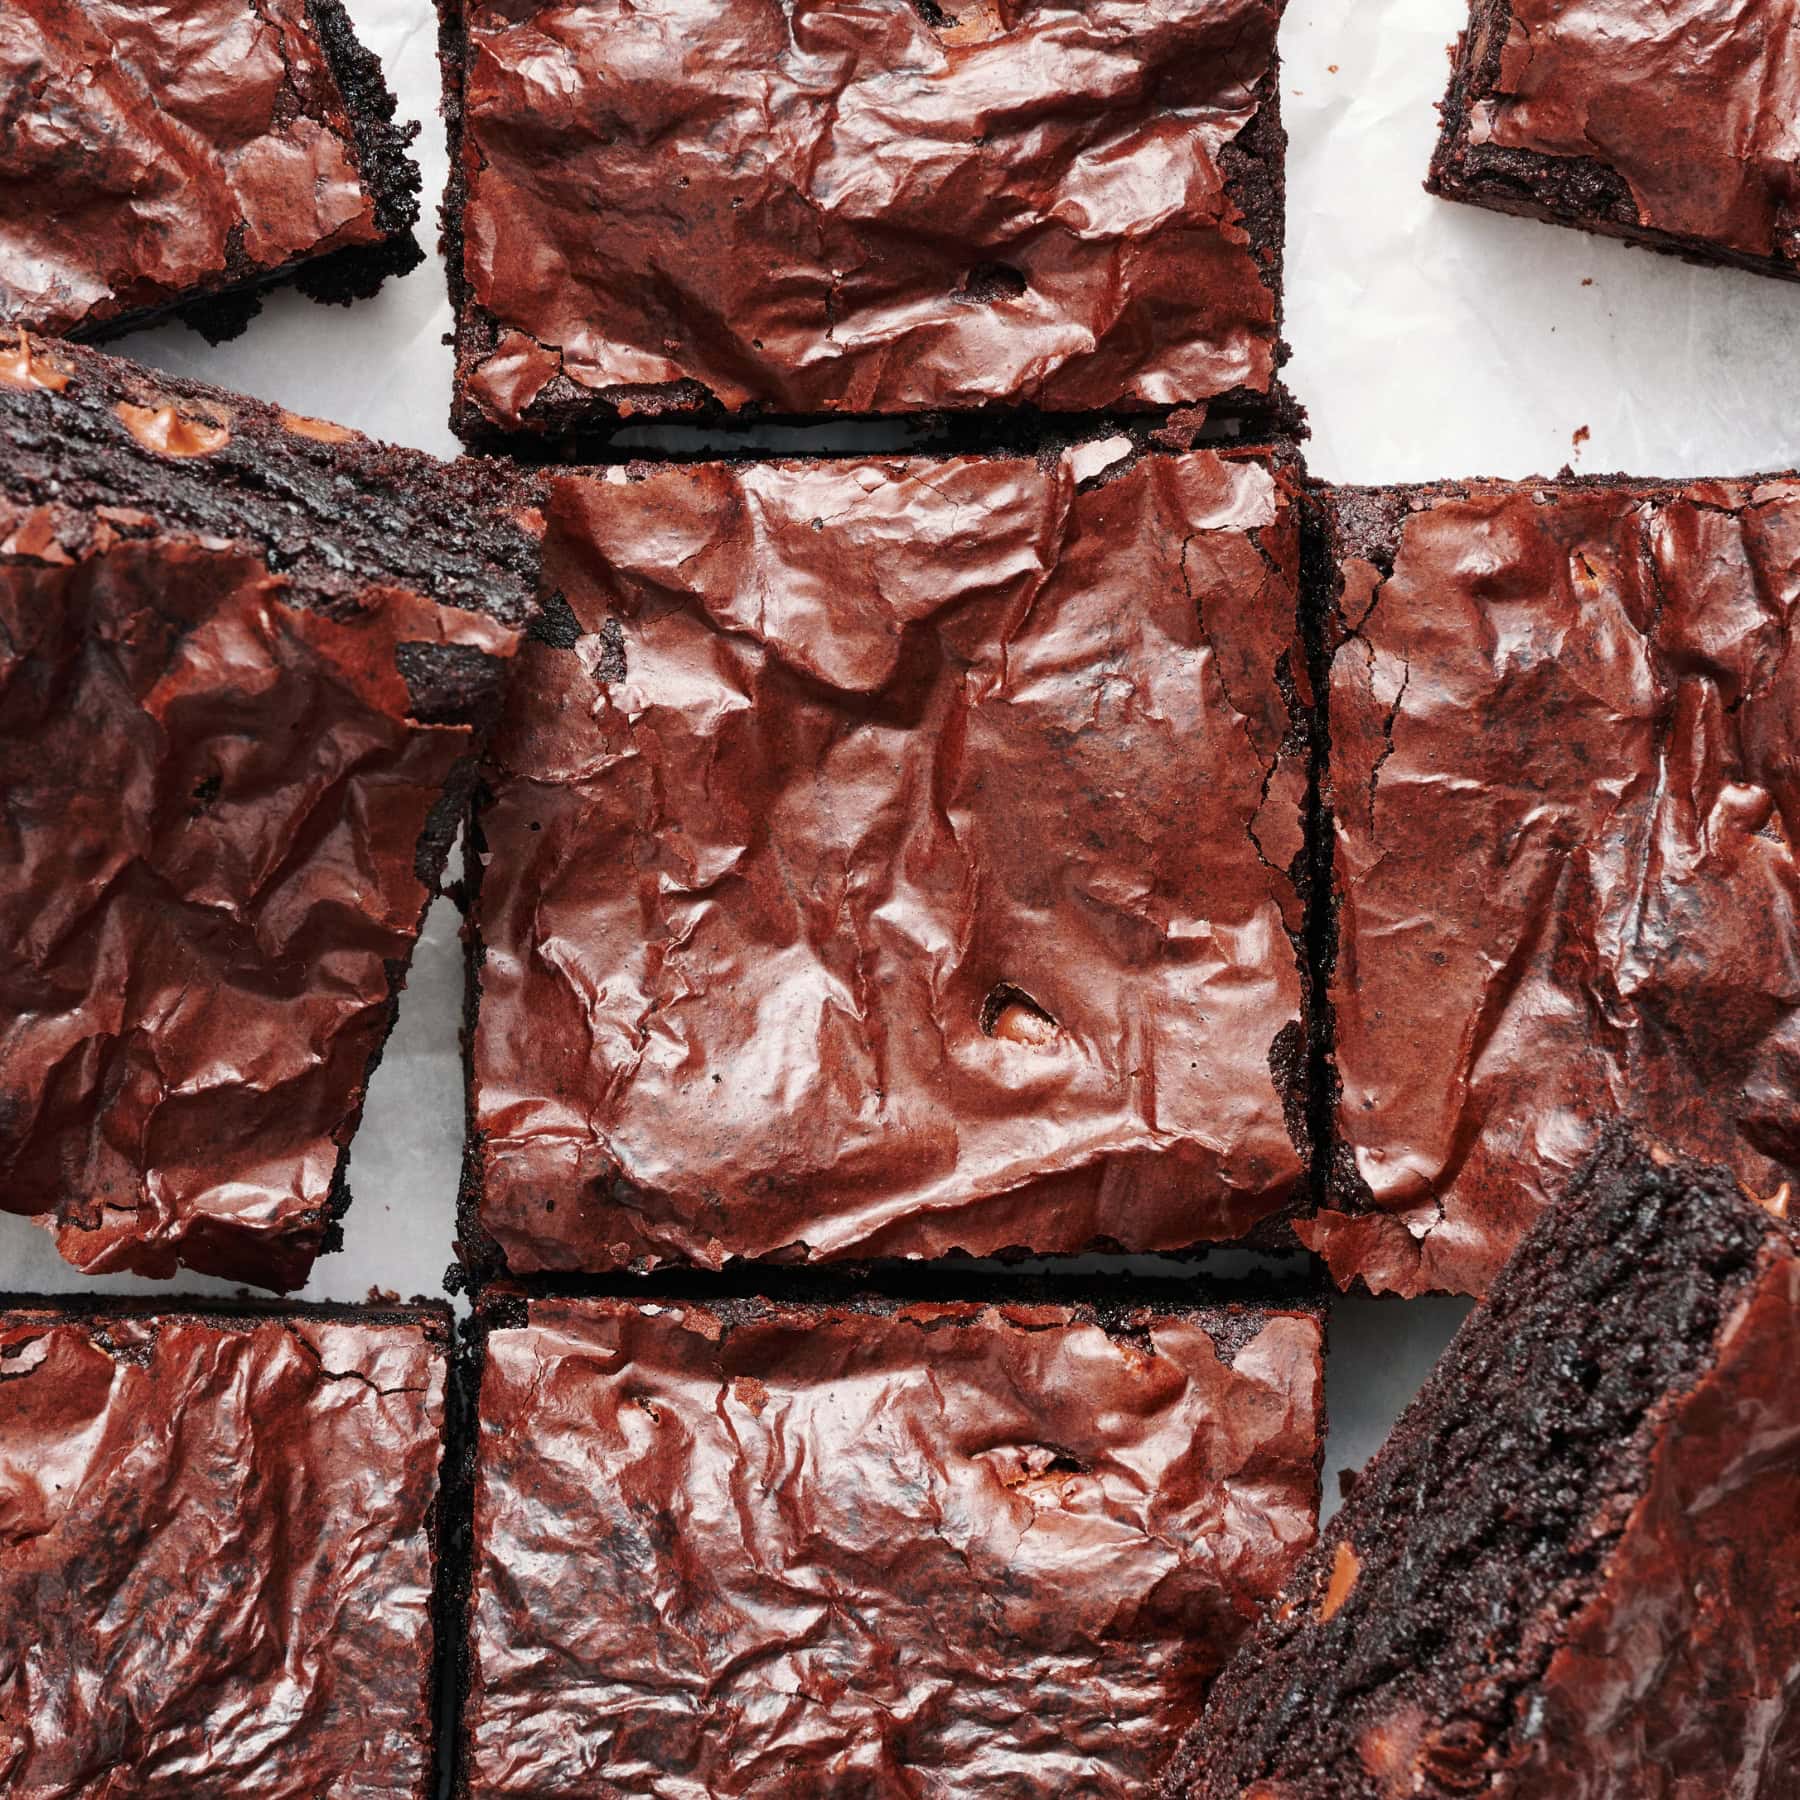
If I’m not bringing my go-to Best Ever Chewy Brownies to a party or potluck, it’s because I’m bringing cookies or bars. Recipes like my Peanut Butter Toffee Chocolate Chunk Bars or Chocolate Frosted Sugar Cookie Bars are so easy to transport and serve and don’t take up precious fridge space.
These monster cookie bars are addictive! With every bite you get a taste of each key ingredient. Easy to make following Tessa’s recipe and tips. Approved for two thumbs up!
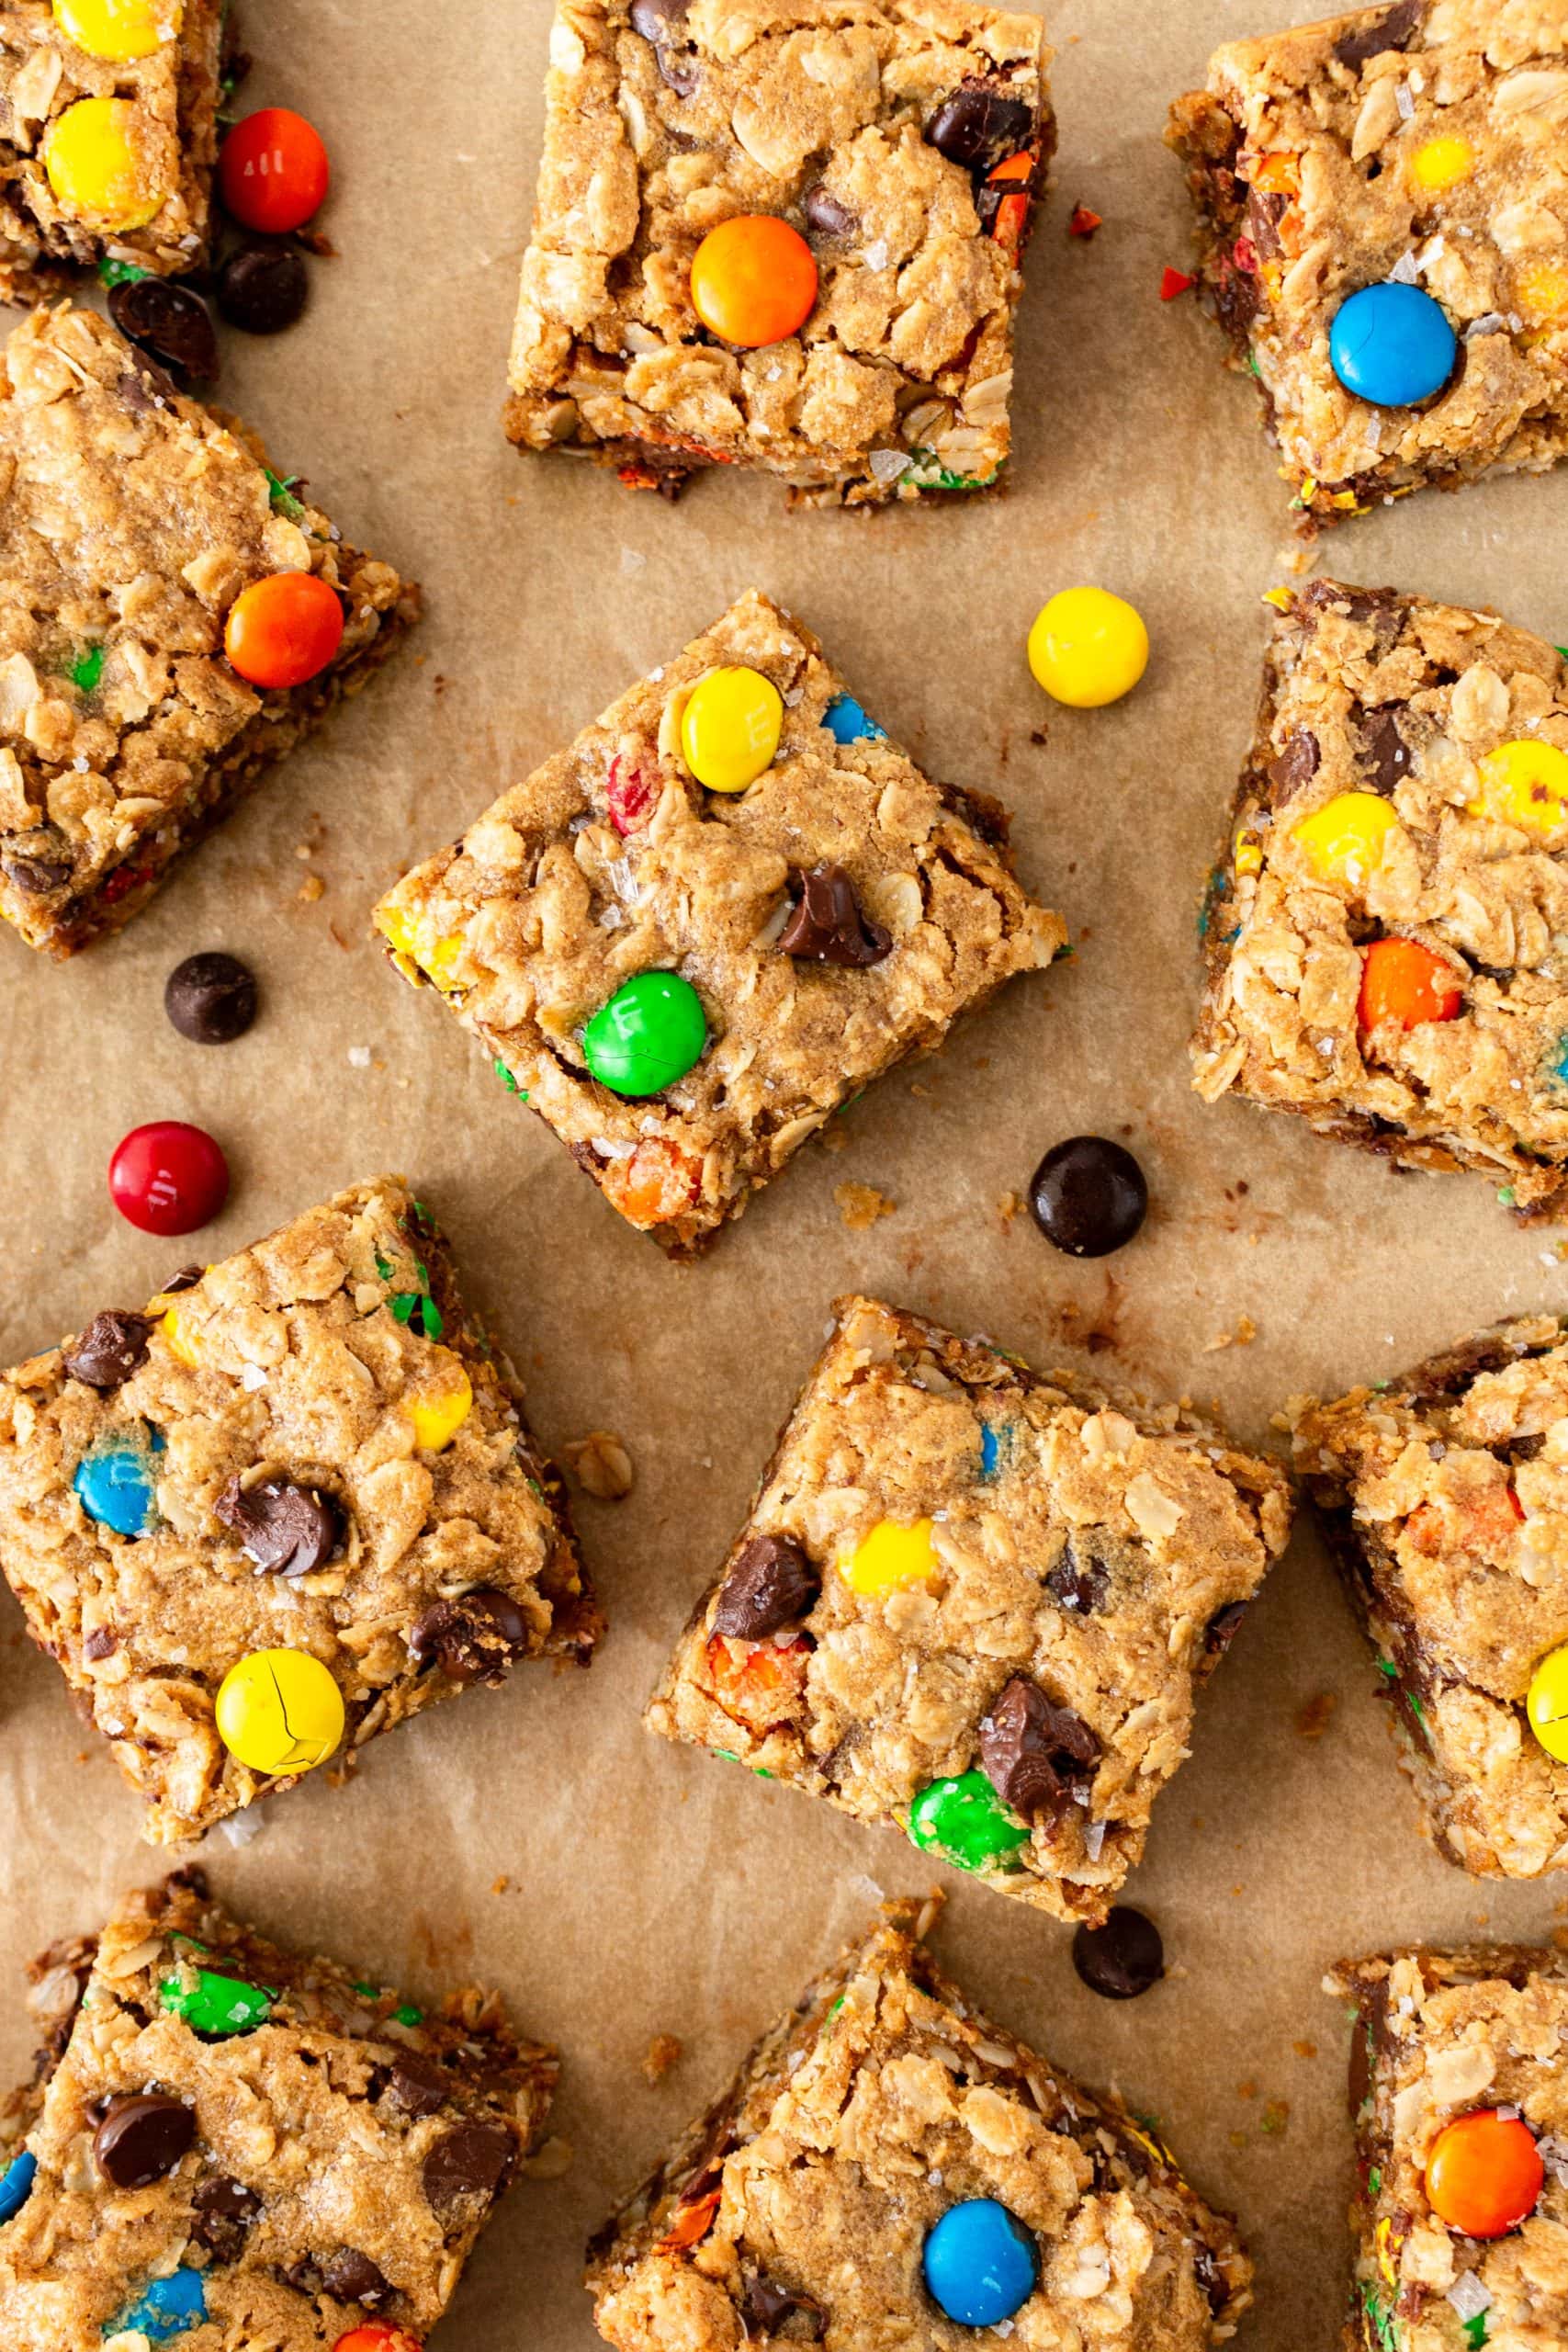
These Monster Cookie Bars are a staple in my holiday baking! They’re naturally gluten-free (when you buy certified gluten-free ingredients), so they’re an easy solution if you’re serving a crowd with dietary restrictions.
Because, really, who can resist a peanut butter-packed cookie bar loaded with oats, chocolate chips, and M&Ms? They’re a guaranteed crowd-pleaser!
Key Ingredients

No flour? Nope! There’s enough structure from the peanut butter, oats, and egg + egg yolk to hold everything together and bake into a chewy, delicious cookie bar.
Peanut Butter: I recommend using VERY well-stirred natural peanut butter here. My favorite is Kirkland Organic (it’s cheaper at Costco!). Natural peanut butter provides a much bolder PB flavor. If you don’t have any, conventional peanut butter (Jif/Skippy) will work too.
Oats: Use old-fashioned rolled oats and not quick oats, which can make the cookie bars less chewy and more mushy. Be sure to measure correctly, as accidental over-measuring can cause dry, hard cookie bars. Learn more about how to measure ingredients correctly here.
- Gluten-Free Note: If making gluten-free monster cookies, use certified gluten-free oats if serving to someone with a severe gluten allergy. Some people with celiac cannot tolerate even gluten-free oats.
Brown Sugar: I recommend dark brown sugar for the best flavor, moisture, and chewiness.
- Swap: You can use the same amount of light brown sugar, but note that your cookie bars may turn out lighter in color and slightly less moist.
Storage & Make ahead
Storage: Store in an airtight container at room temperature for up to 3 days. The cookie bars will soften the longer they sit. To keep them from drying out, store them with a tortilla.
Make-Ahead: This is such a quick and easy recipe that I’ve never felt the need to make the dough ahead, but you can prep it up to 48 hours in advance. Refrigerate the dough in the parchment-lined pan. When ready to bake, bake directly from the fridge, adding a few minutes to the bake time if needed.
Freeze: Freeze baked, cooled cookie bars as a whole slab or individual pieces. Wrap well in plastic wrap and store in a freezer container for up to 1 month. Thaw at room temperature for a few hours before serving.

Frequently Asked Questions
I haven’t tested that specifically in this recipe, but a 1:1 swap of almond butter for peanut butter works perfectly in my Peanut Butter Chocolate Chip Cookies recipe. I’d love to hear how it turns out if you try it here!
Sure! Use peanut butter chips, Reese’s Pieces, or any combination of festive mix-ins you like. Whatever you use, just keep the total weight/volume the same for best results. If using leftover Halloween candy or chocolate bars, chop them into small pieces before adding. Around Easter time, you can use Cadbury mini eggs instead of M&Ms for an easy Easter dessert recipe.
Yes! Use a 9 by 13-inch metal pan like this one and double all ingredients. Bake at the same temperature, adding a couple minutes to the bake time.
I have a recipe for that! Check out my Monster Cookies recipe here.
My favorite pan for brownies, blondies, and cookie bars is this light-colored metal 8 by 8-inch pan. Glass or ceramic pans take longer to heat, and the edges often overcook before the center finishes baking. If it’s all you have, drop the temperature by 25°F and increase the bake time anywhere from 5 to 15 minutes. Learn more about Glass vs. Metal Baking Pans here.

Email This Recipe
Enter your email, and we’ll send it to your inbox.
Ingredients
- 4 tablespoons (57 grams) unsalted butter, at cool room temperature
- 3/4 cup (203 grams) natural peanut butter, very well stirred*
- 1/2 cup (100 grams) granulated sugar
- 1/2 cup (100 grams) lightly packed dark brown sugar**
- 1 large egg plus 1 egg yolk, at cool room temperature
- 1½ teaspoons vanilla extract
- 2 cups (198 grams) old-fashioned rolled oats
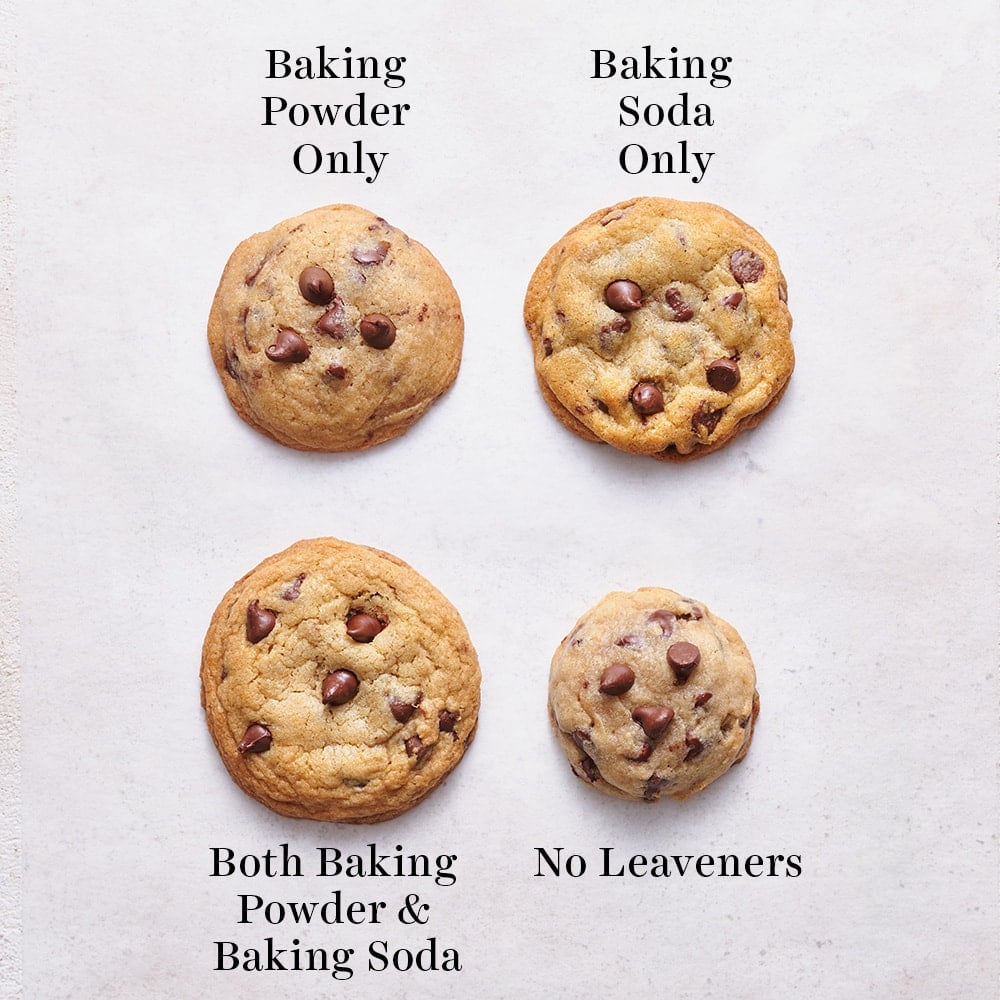
- 1 teaspoon baking soda
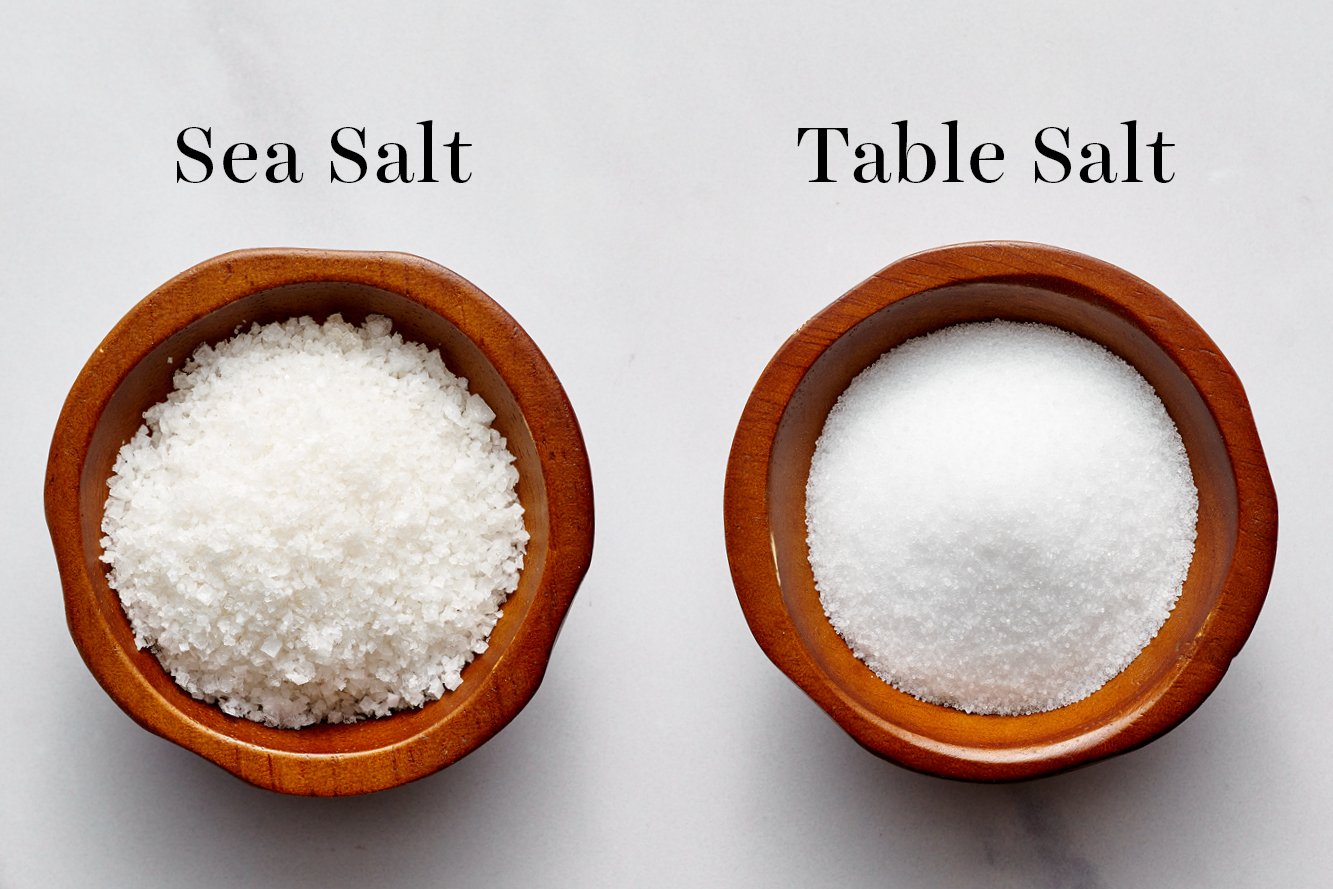
- 1/4 teaspoon fine sea salt
- 1/2 cup (85 grams) semisweet chocolate chips, plus extras to top cookie bars, optional
- 1 cup (200 grams) M&M candies, plus extras to top cookie bars, optional
- Flaky sea salt, for topping, optional
Instructions
- Preheat the oven to 350°F. Line an 8 by 8-inch metal baking pan with foil or parchment paper. Spray with nonstick cooking spray.
- In the bowl of an electric mixer, beat the butter, peanut butter, granulated sugar, and brown sugar on medium-high speed until smooth and creamy, 2 to 3 minutes. Scrape down the bottom and sides of bowl. Beat in the egg, egg yolk, and vanilla. Add the oats, baking soda, and salt, mixing on low speed until combined. Fold in the chocolate chips and M&Ms with a rubber spatula.
- Press dough evenly into prepared pan. Optional: Dot the tops of the bars with additional M&Ms and/or chocolate chips before baking.
- If time permits, cover pan with plastic wrap and refrigerate for 24-48 hours to yield a chewier, more flavorful bar.
- Bake for about 23-25 minutes, or until the bars no longer look wet on top, the center appears set, and the top is golden brown. Set pan on a wire rack and sprinkle flaky sea salt on top, if desired. For best texture and to allow the peanut butter flavor to fully develop, let bars sit until completely cooled before slicing and enjoying. It’s worth it, promise!
- Cookie bars can be stored in an airtight container at room temperature for up to 3 days.
Notes
This post was originally published in 2013 and has been updated with recipe improvements, additional baking tips, and new photos. Photos by Ashley Barbey.


Question: if I refrigerate these bars before baking, do I bake them straight from the frig (cold) or first warm the dough to room temperature? Thank you! I love soooooo many of your recipes, trying this one next.
Thanks for your kind comment, Debra! 🙂 You can bake these straight from the fridge, you might just need to add a few minutes to the bake time.
These monster cookie bars are addictive! With every bite you get a taste of each key ingredient. Easy to make following Tessa’s recipe and tips. Approved for two thumbs up!
Thank you so much! This is a really old post so some of the links to Imperial Sugar’s Halloween recipes from 2013 aren’t there anymore lol; however, I have corrected the link directly to the recipe!
Thanks for the recipe! I used to make monster cookies for my kids all the time. This is a quicker way to make a batch for the office crew. Yummy!
I made these bars last night and I love them. My coworkers and my teenage niece and nephew are huge fans!! I plan on making them regularly 🙂
Looks like the perfect late night snack!!
These are rad! I’m such a bar or cookie kinda guy 🙂