




This post may contain affiliate links. Read our disclosure policy.



Tessa’s Recipe Rundown
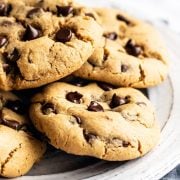
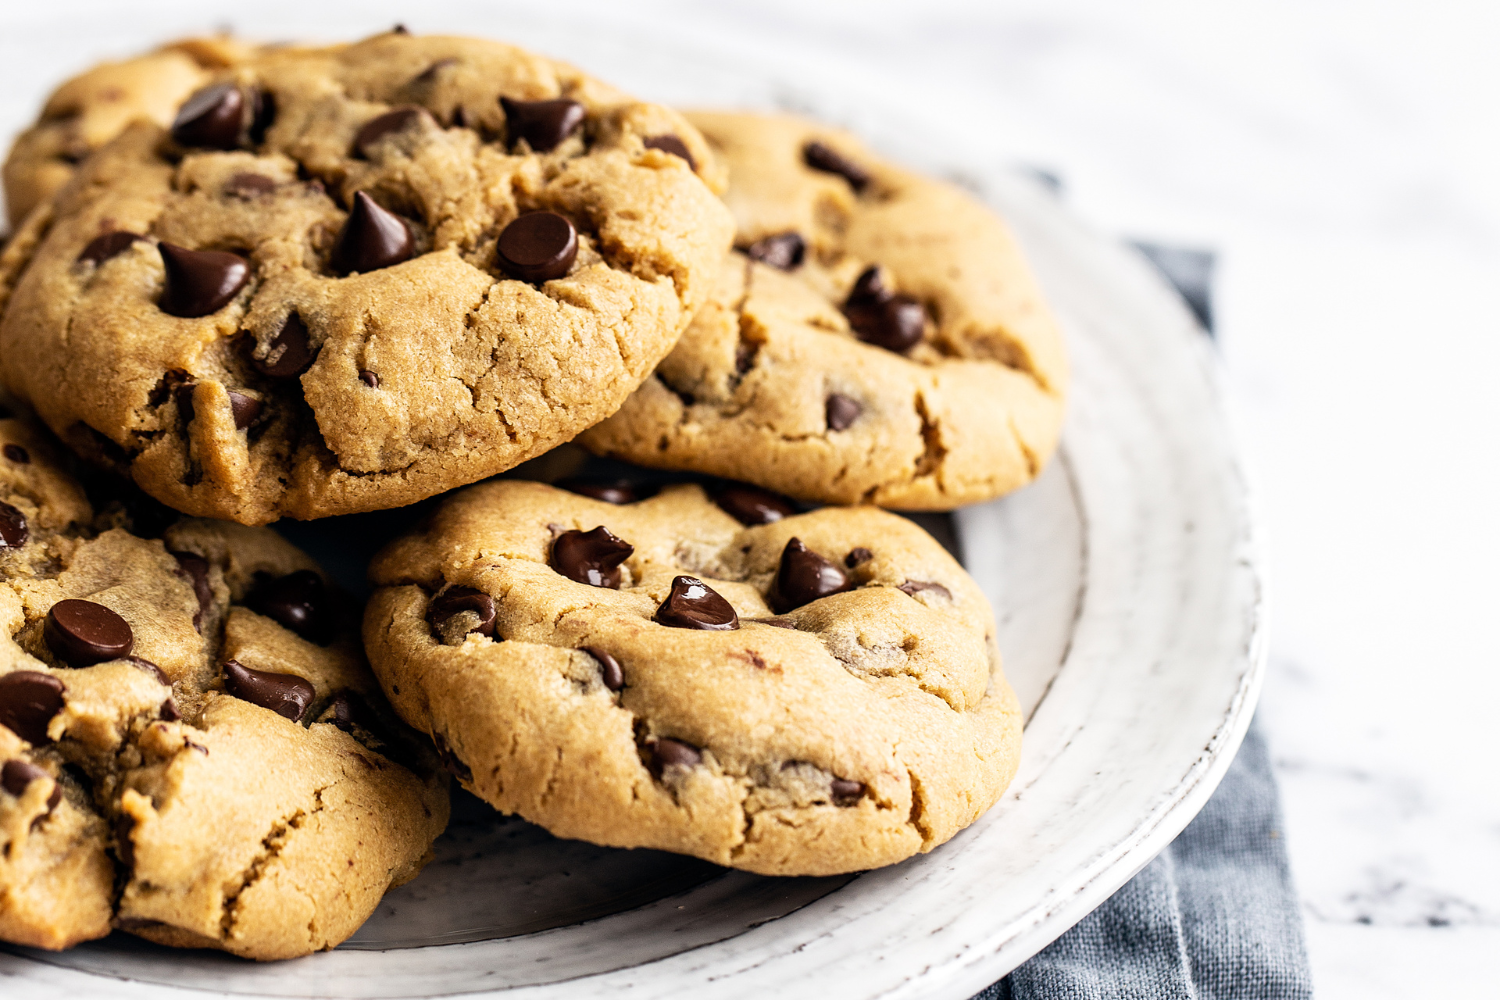
Taste: These cookies are packed full of peanut butter flavor and plenty of gooey chocolate chips studded throughout.
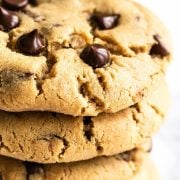
Texture: Thick, chewy, soft, melty, and wonderful.
Ease: Very simple, made with pantry staples, no mixer, and ready in 30 minutes.
Why you’ll love this recipe: These are the perfect PB Chocolate Chip Cookies!
These Peanut Butter Chocolate Chip Cookies are one of my absolute favorite desserts on the planet. I’ve always got a batch of these sitting in my freezer, ready to bake off whenever the craving strikes!
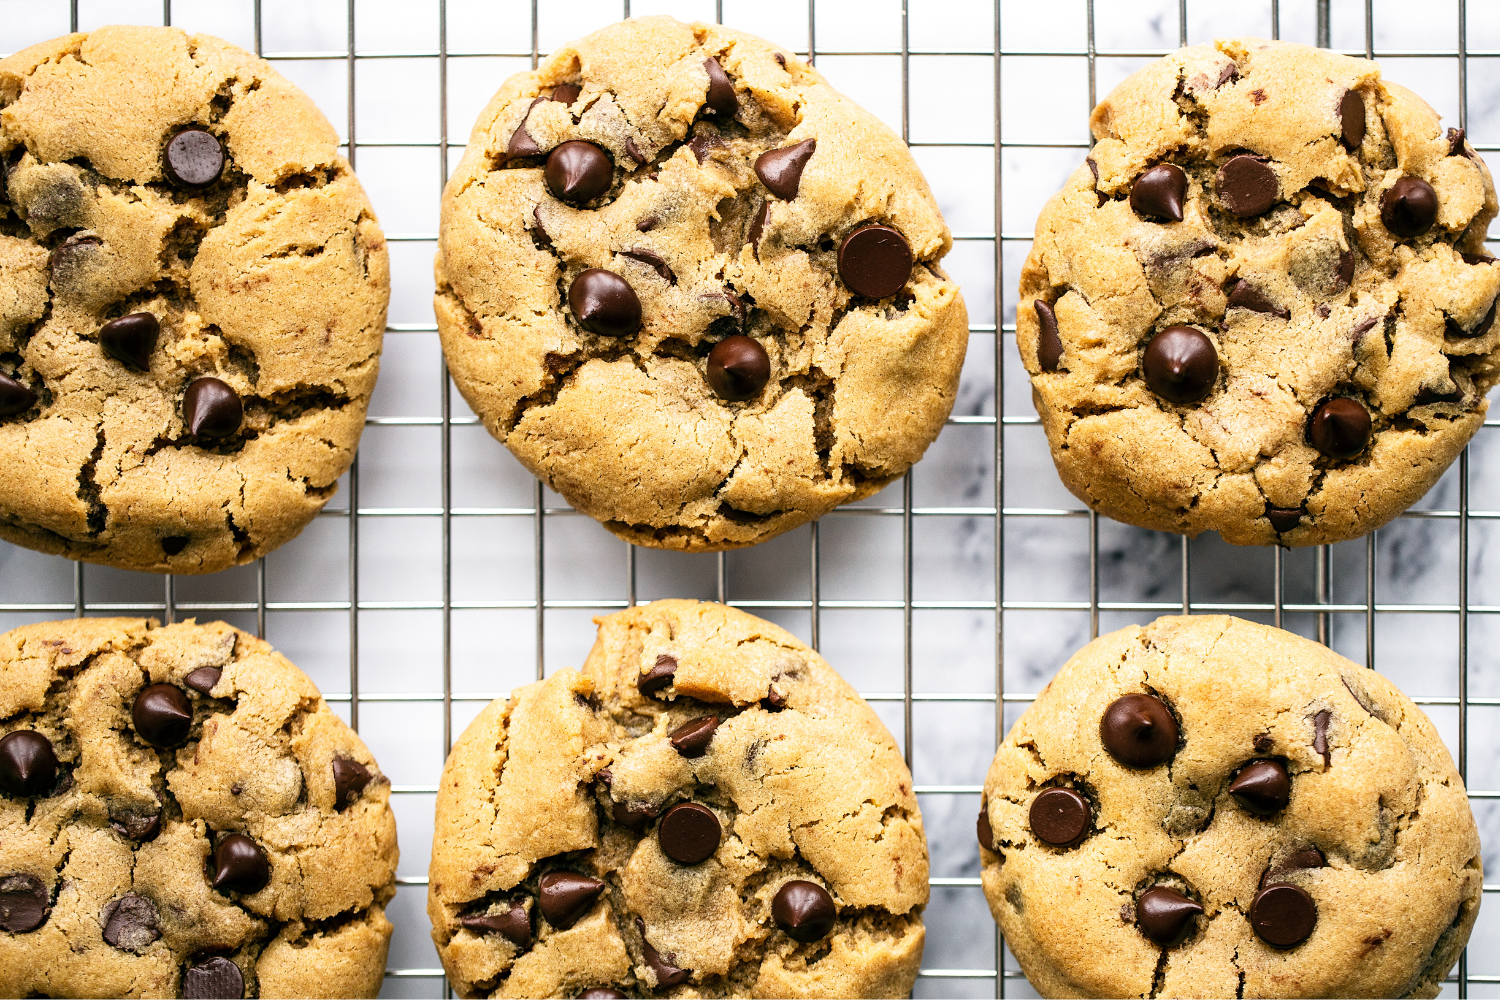
I’ve loved the flavor combination of chocolate and peanut butter since before I could remember. And these cookies showcase that combination perfectly.
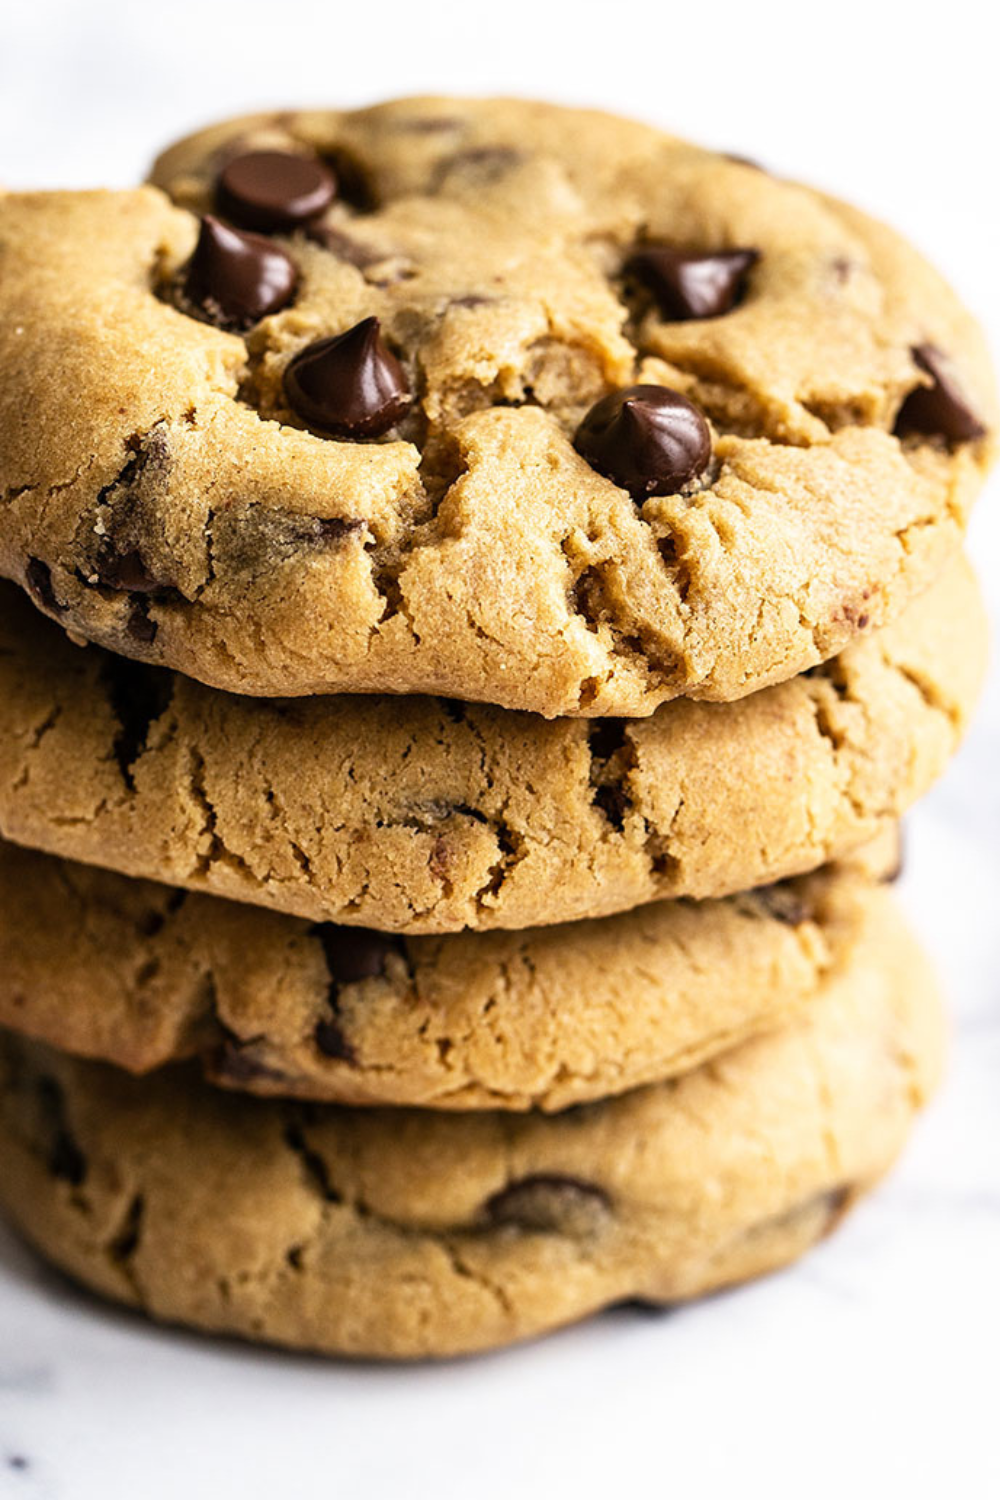
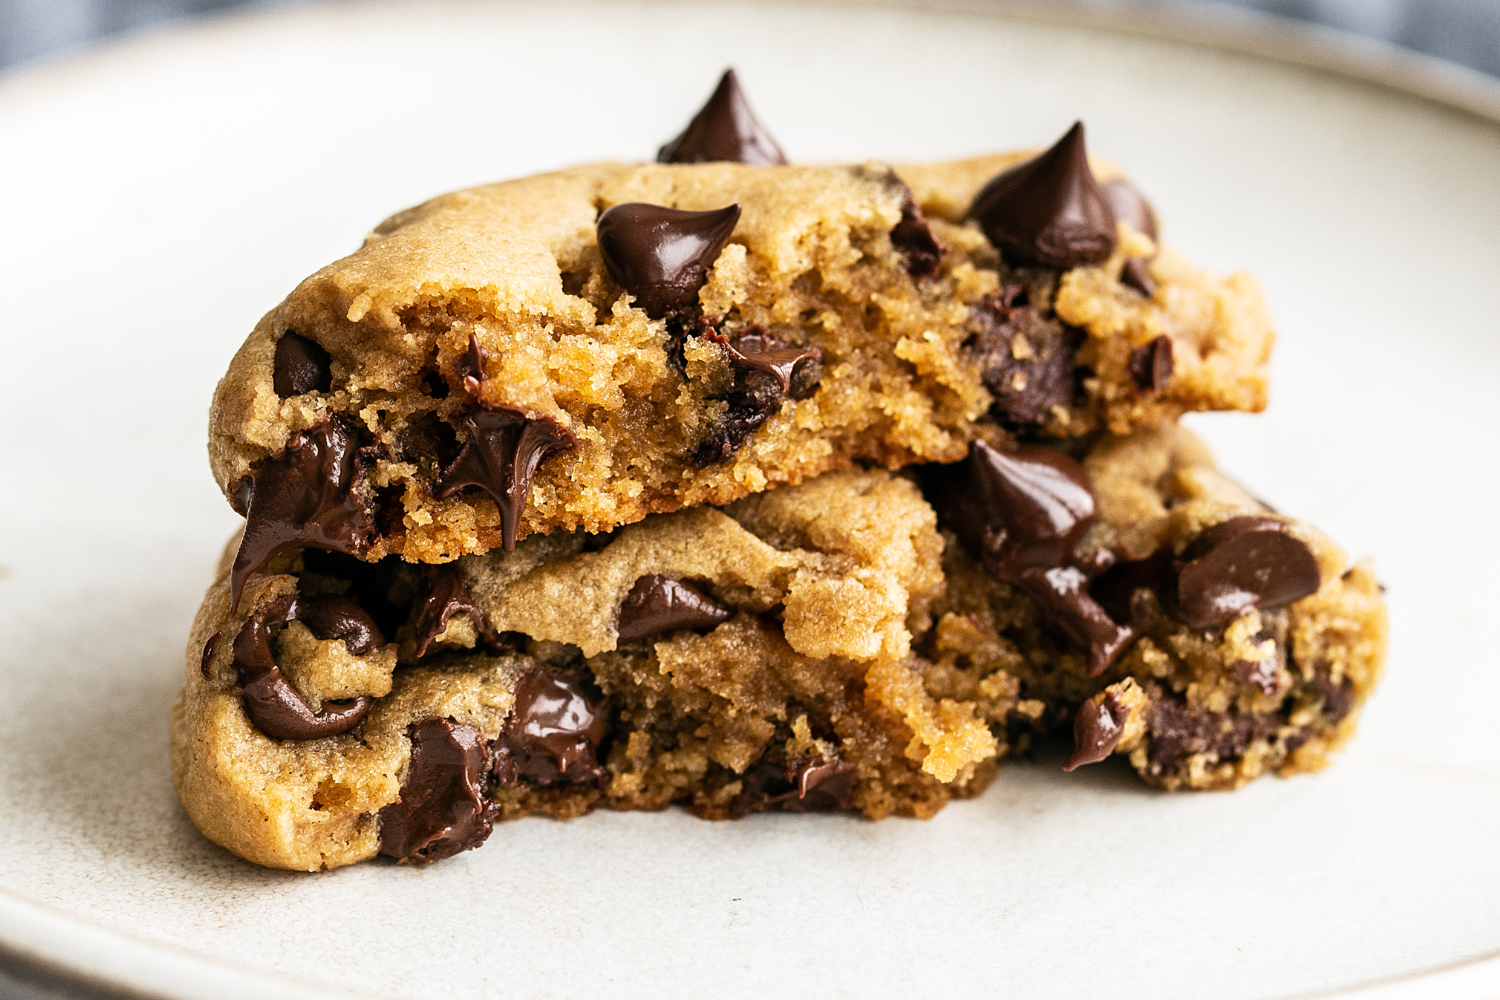
These cookies are ridiculously thick and chewy yet soft, and are heavenly with a glass of cold milk.
The best part? These Peanut Butter Chocolate Chip Cookies are so quick and easy to make – you don’t even need a mixer!
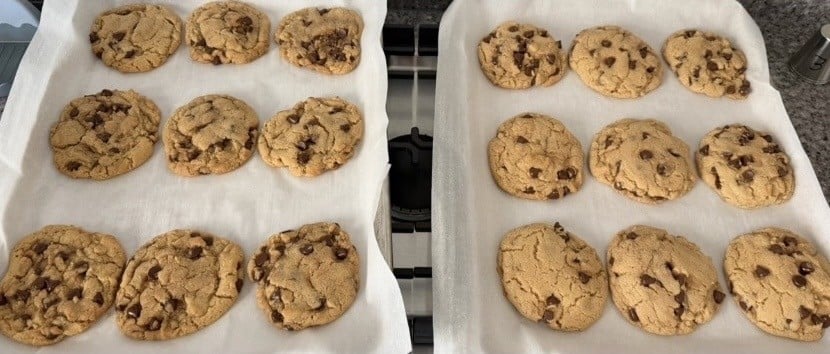
Absolutely delish!! I made them a bit larger (18 total instead of 24) and they are amazing!! I made them for Father’s Day, but the whole house approved. This is by far my favorite texture I’ve ever seen in a cookie. Perfectly crunchy on the edges, soft and chewy insides.
If you’re cookie-obsessed like me, you’ll love making cookies that’ll rival your favorite bakery (just like these!) with my second cookbook, The Ultimate Cookie Handbook: Your Guide to Baking Perfect Cookies Every Time – now available on Amazon!
Key Recipe Ingredients
Peanut Butter: I prefer natural peanut butter (well-stirred with no oily or dry bits) for a bolder peanut butter flavor, but conventional peanut butter (like Skippy or Jif) works too. Check out my peanut butter experiment here!
Dark Brown Sugar: Helps create a chewy texture and adds rich flavor. You can substitute light brown sugar if it’s all you have, but the color, texture, and flavor will be different.
Egg Yolk: The extra yolk contributes to a rich, chewy cookie.
Chocolate Chips: Semisweet is my favorite, but you can substitute milk chocolate, dark chocolate, chocolate chunks, or peanut butter chips for even more peanut butter flavor.
Sprinkle of Science (open me!)
- Brown sugar and an extra egg yolk help create a rich, chewy, and thick texture with lots of flavor.
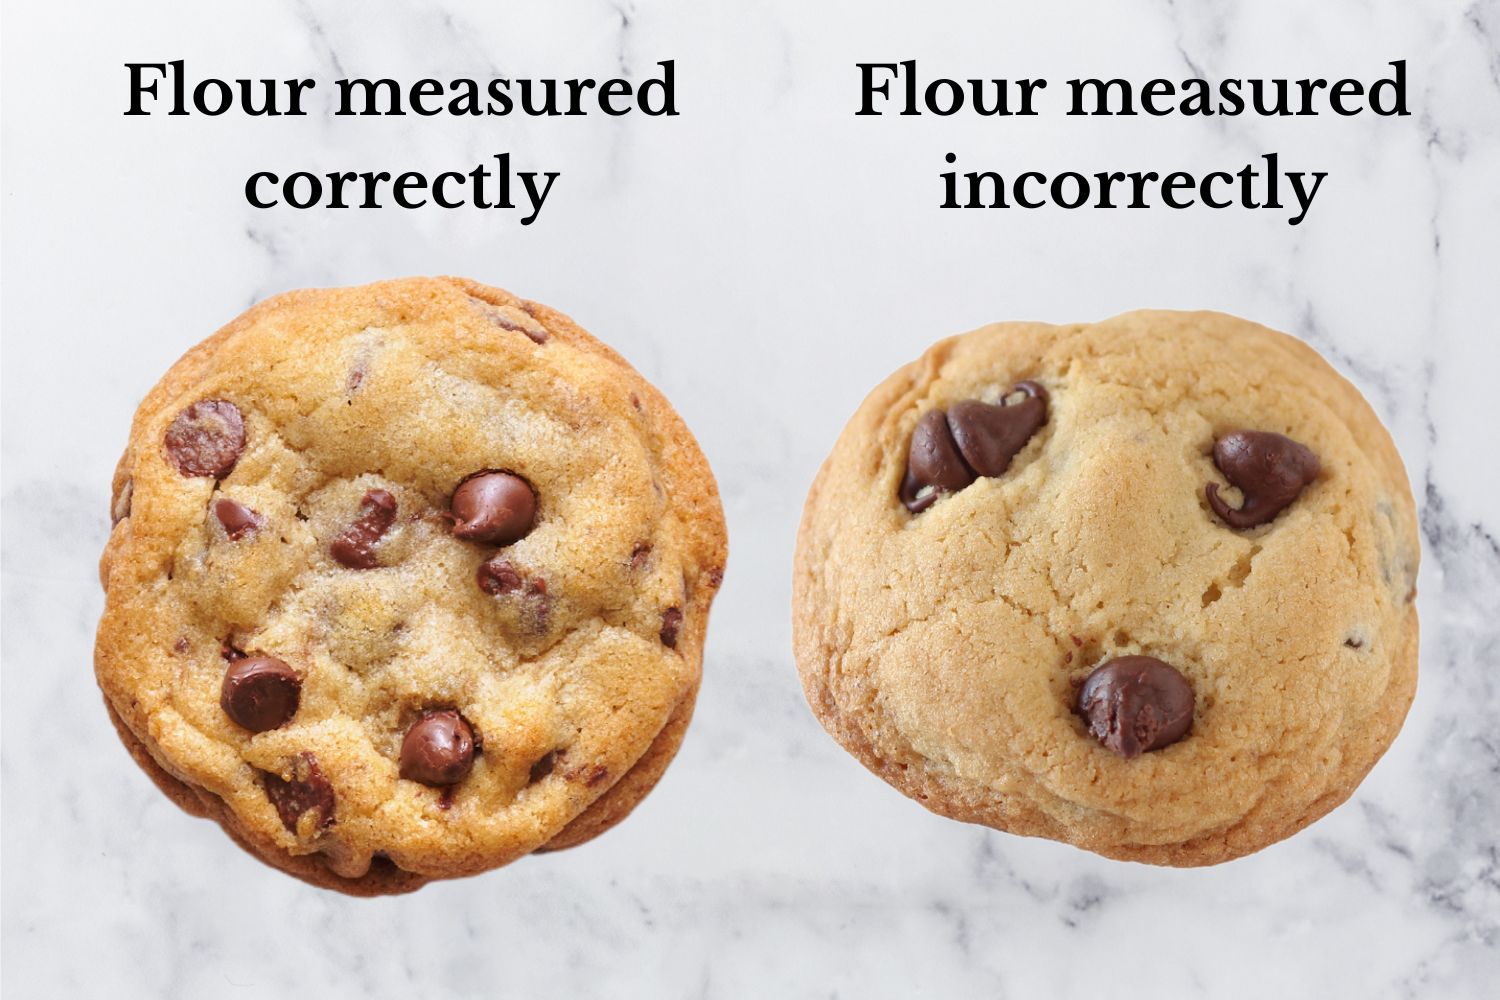
- Be sure to measure your flour correctly (by weighing with a digital scale or the spoon and level method) to avoid cakey, dense, or tough cookies that don’t spread.
- If You Don’t Measure Your Flour Correctly, you may end up with crumbly dough and dry, hard cookies lacking flavor. Just check out the image showing the difference between correctly and incorrectly measured chocolate chip cookies.
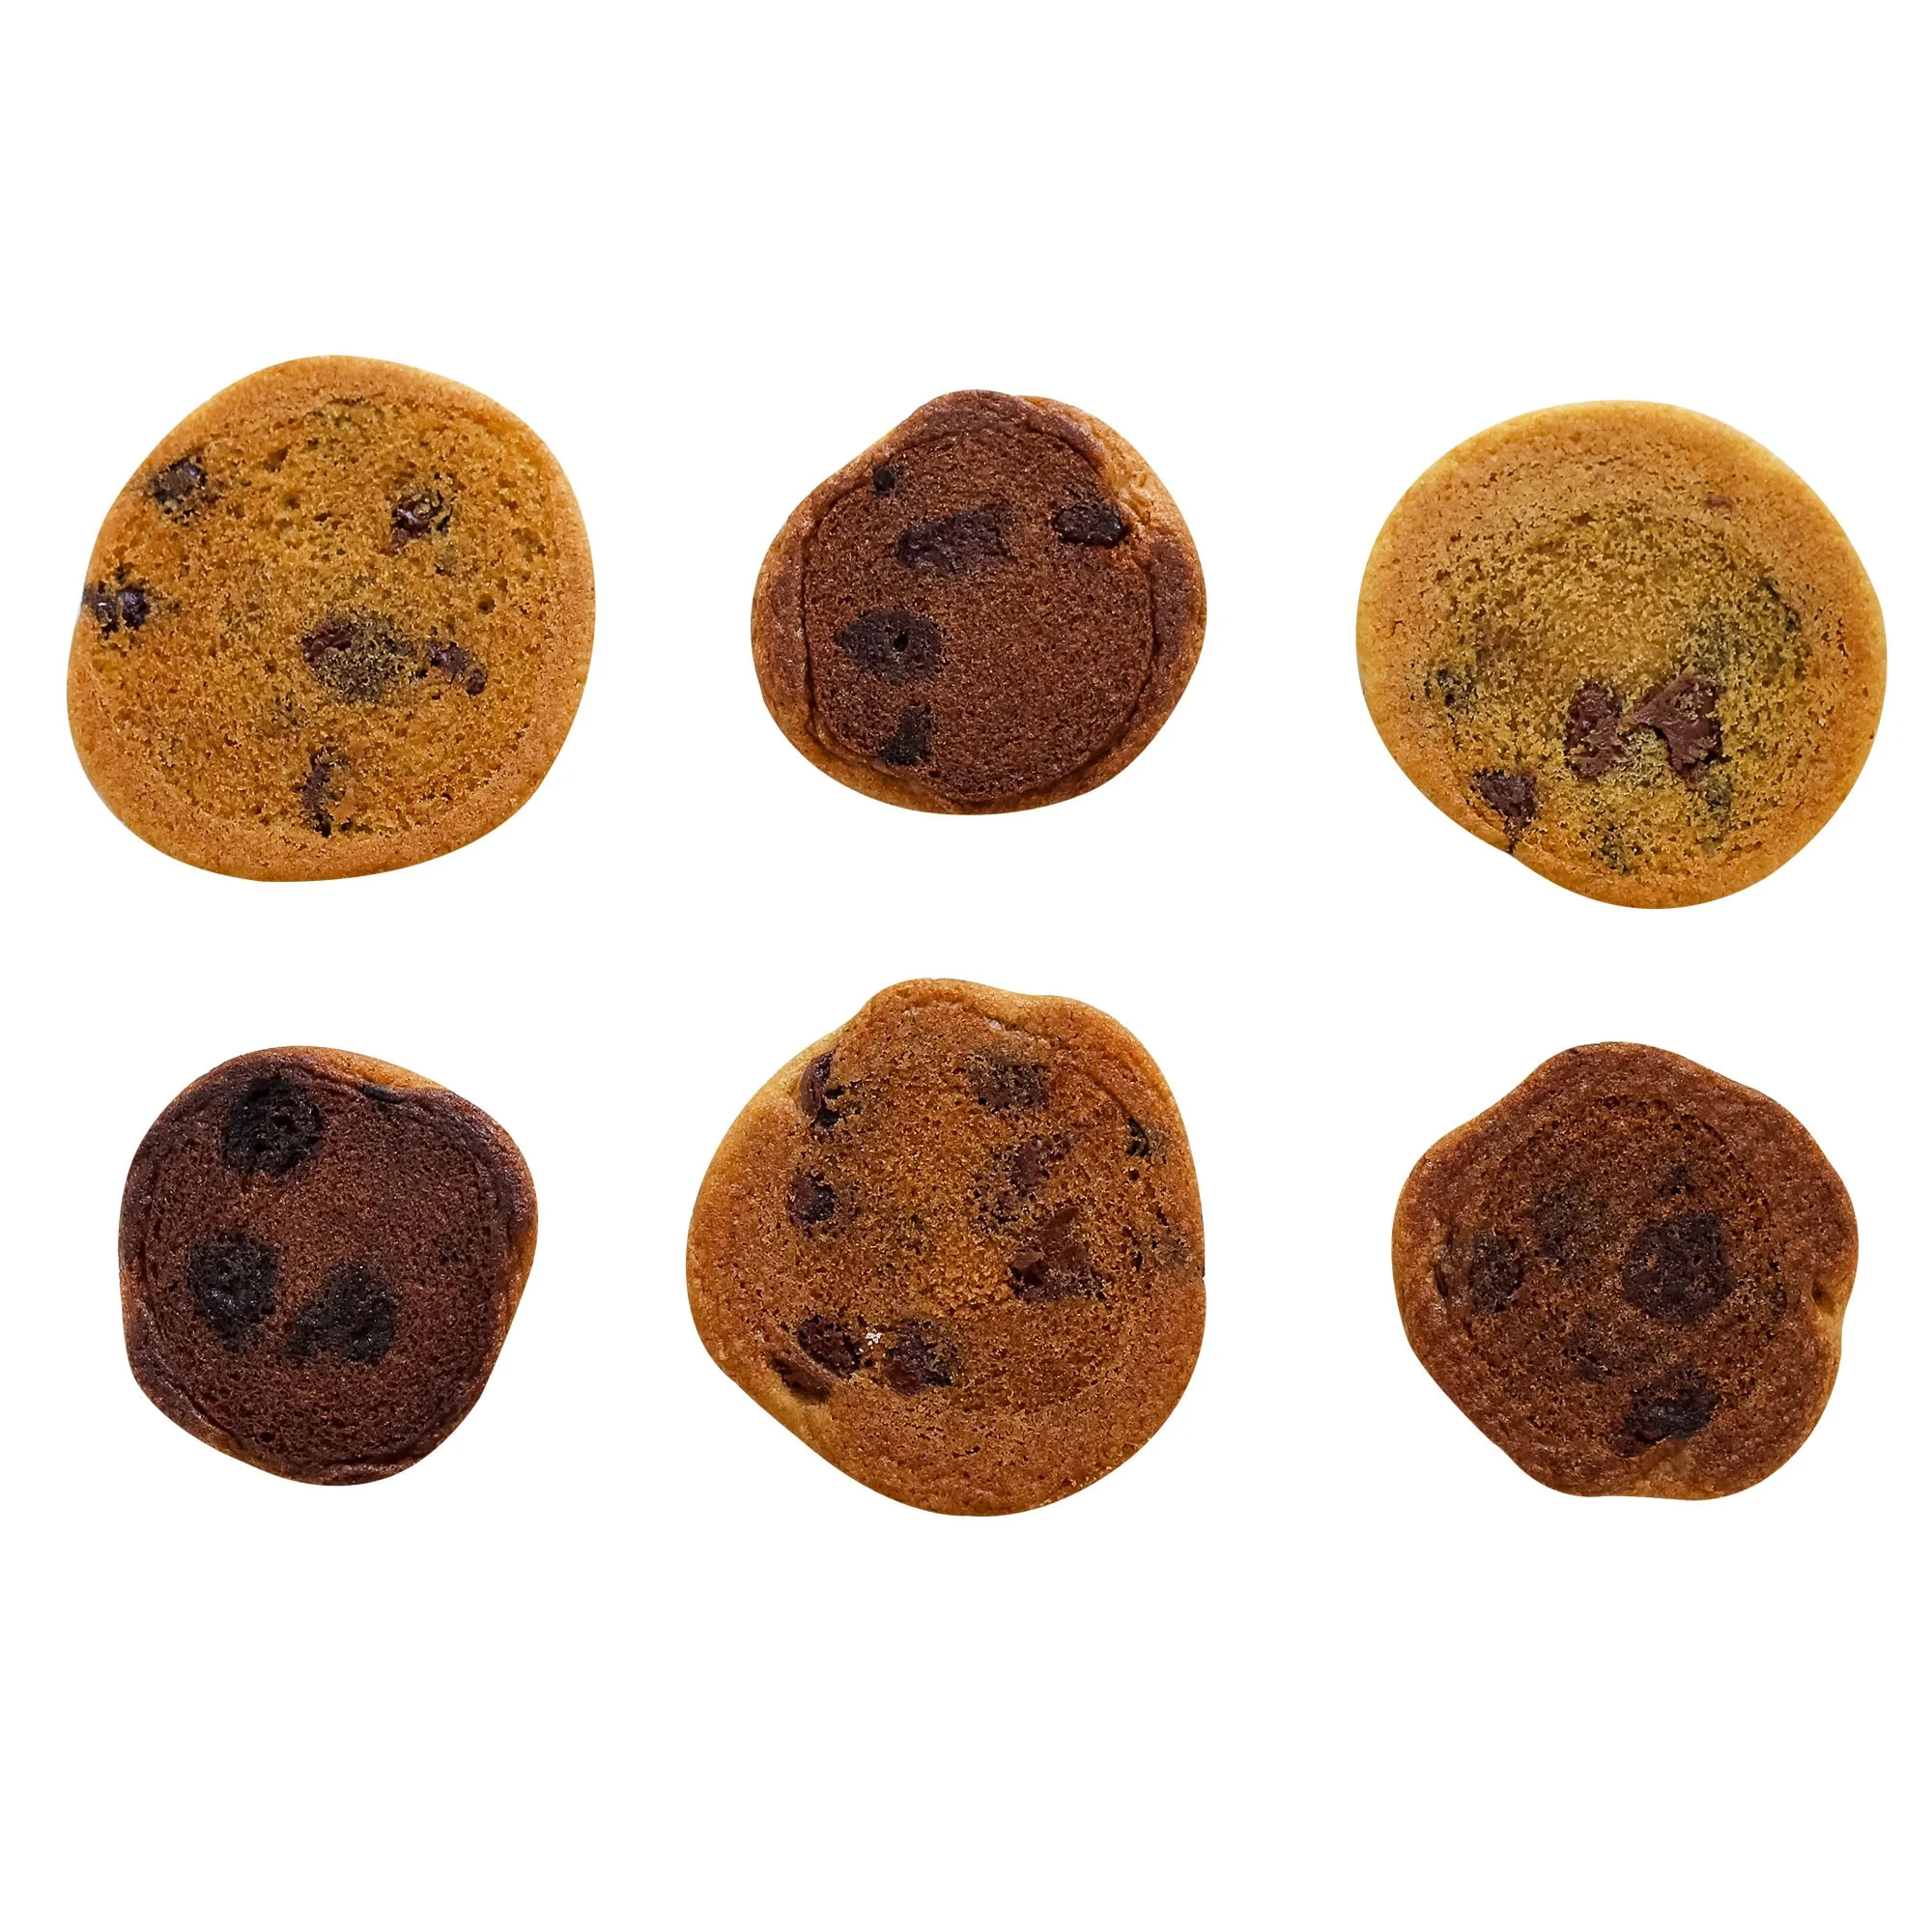
- I ALWAYS use an unlined aluminum half-sheet pan for baking cookies.
- Additionally, I always use parchment paper for baking cookies. I find silicone baking mats produce less of a crunchy exterior crust and are just one extra thing to clean.
- Never use dark-colored pans to bake cookies, as they tend to overly brown or even burn the bottoms of the cookies.
- Check out my Best (and WORST) Baking Pans article here for more details on the science of baking pans.
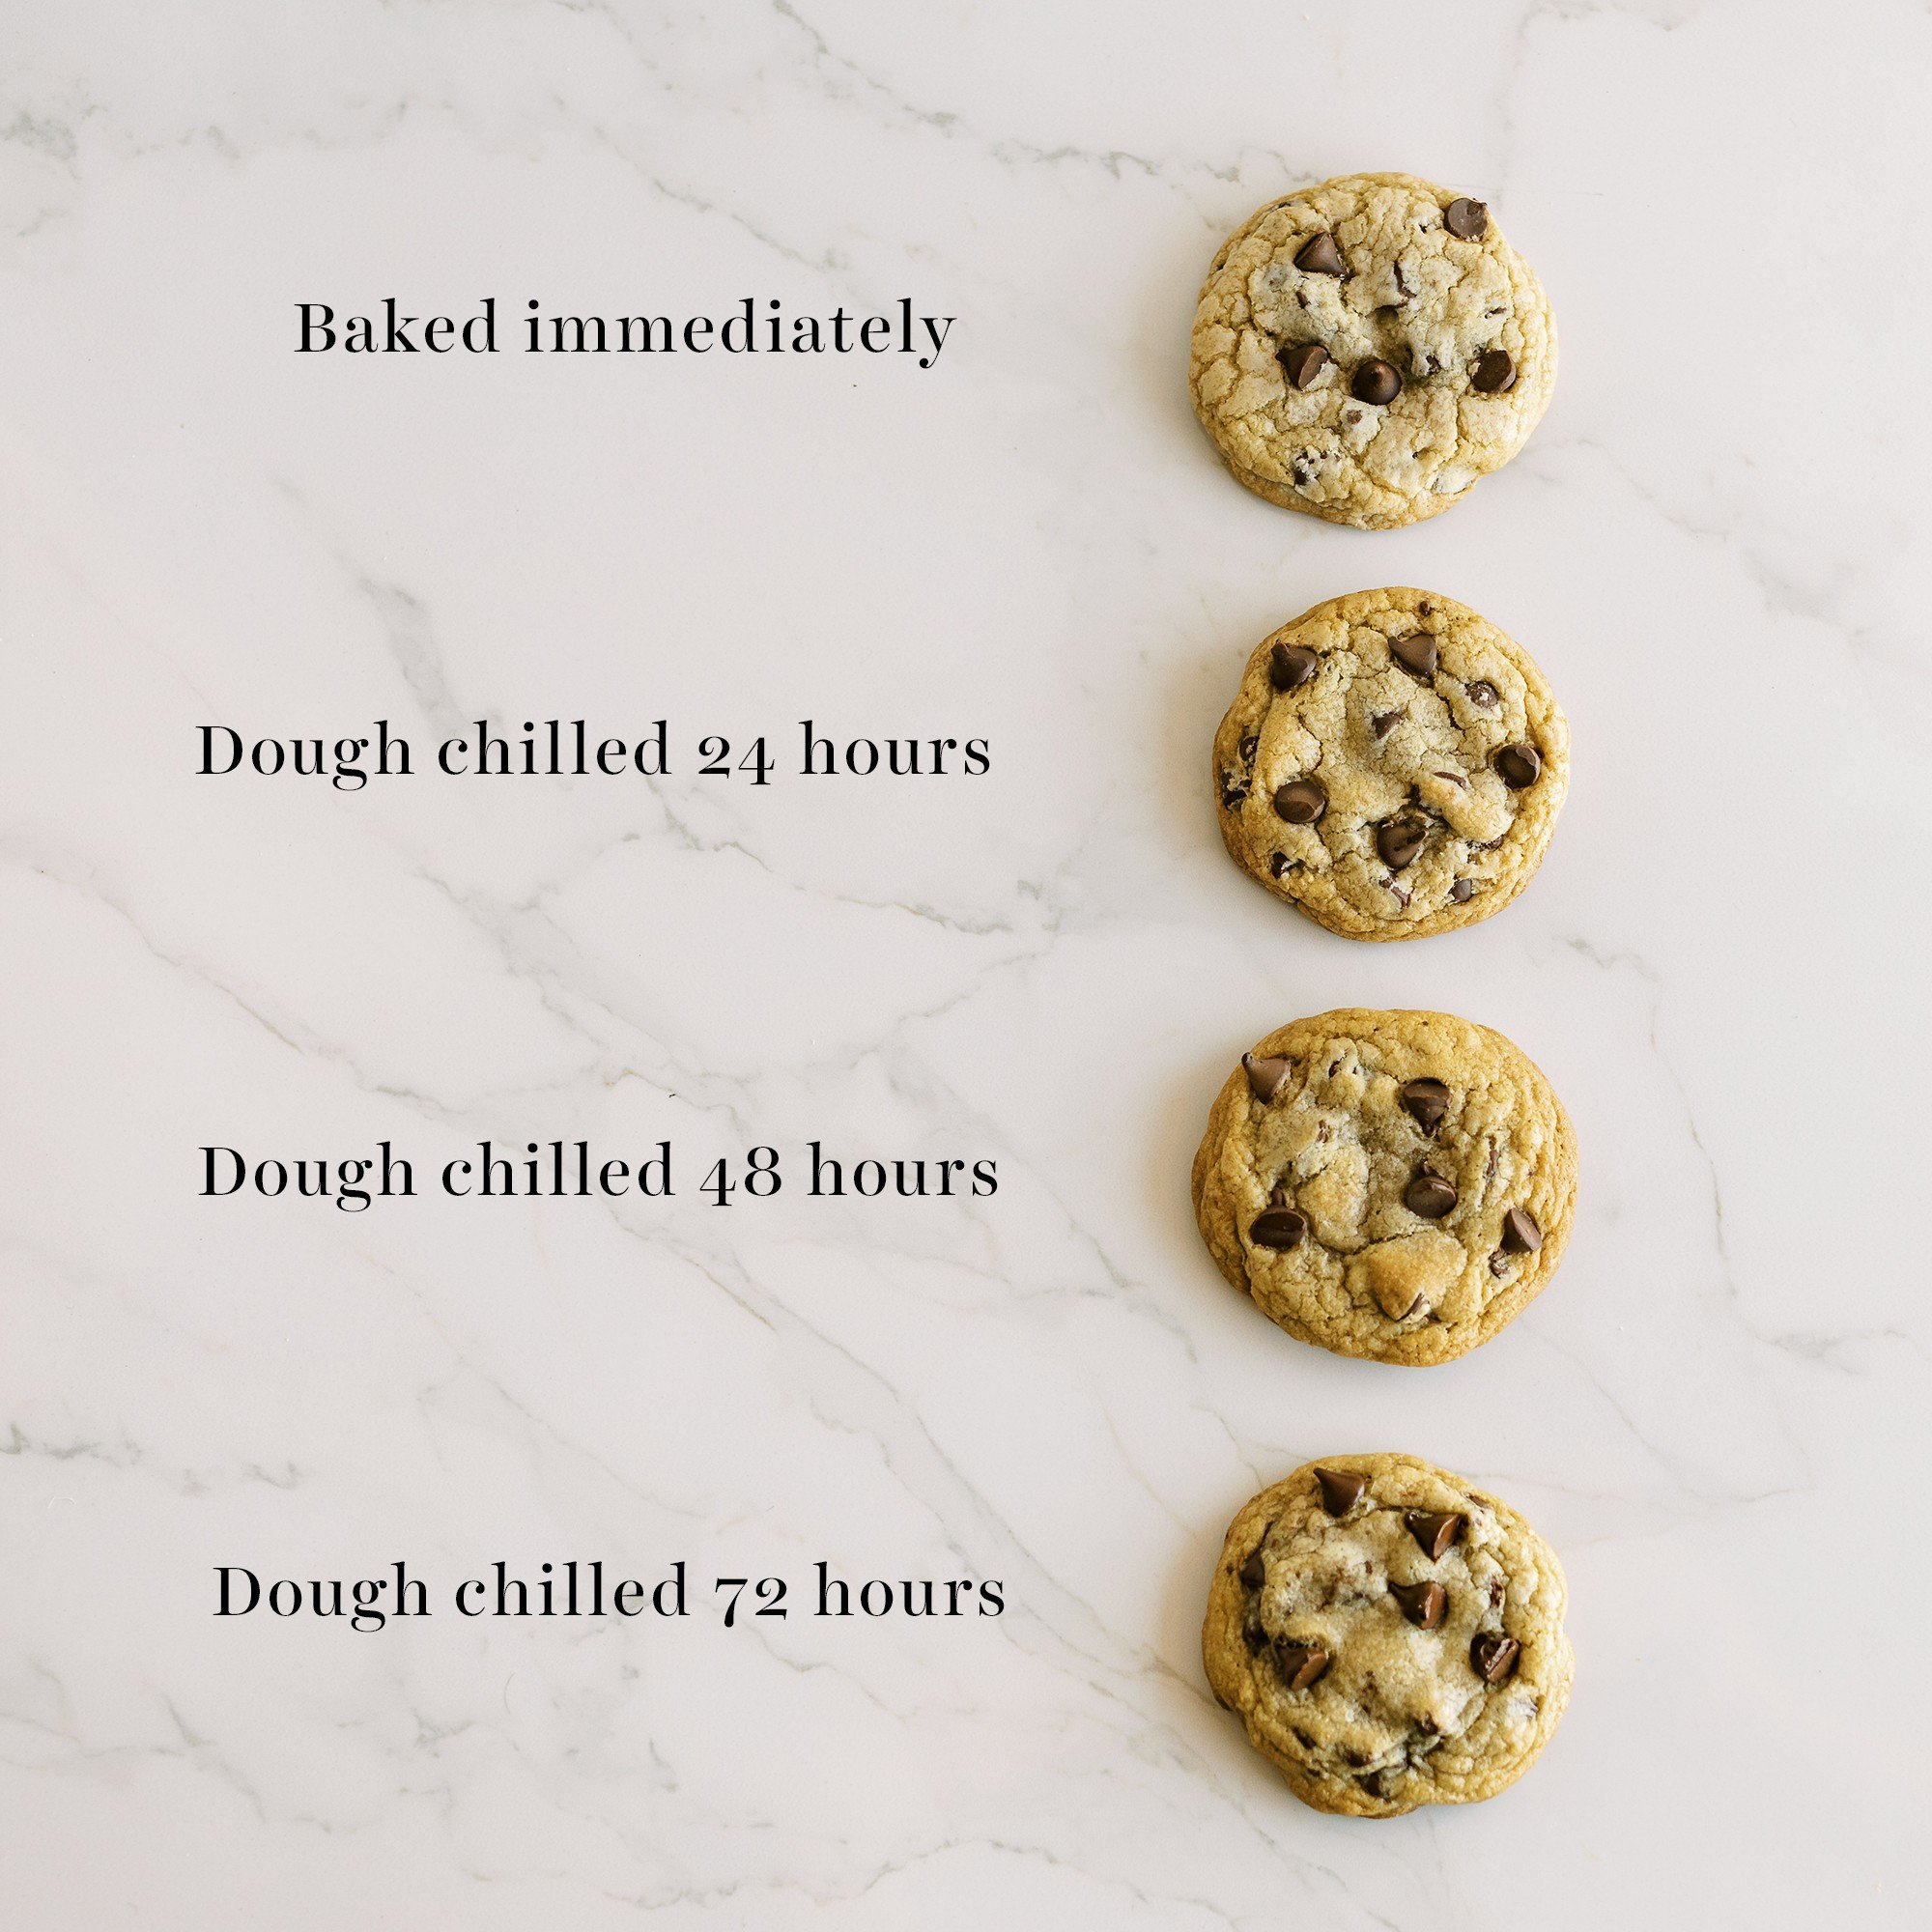
Although not required for this recipe, I highly recommend chilling the cookie dough for 24-72 hours before baking. You can always bake off a few cookies right away and chill the rest. Here’s why:
- Chilling cookie dough is very similar to marinating meat – things just get so much better!
- The texture becomes chewier and thicker, and the flavor intensifies. It also improves the golden brown exterior as the cookies bake, for crisp edges.
- You can either scoop first and chill (make sure to wrap in plastic) or chill the entire mass of dough, let it come to room temperature, then scoop.
- Learn more about why chilling cookie dough matters here.
Storage & Make ahead
Storing Baked Cookies: Keep in an airtight container at room temperature for up to 3 days.
Make-Ahead Dough: Portion the dough, freeze the balls until solid, then transfer them to a freezer bag for up to 6 weeks. Thaw overnight in the refrigerator or for about an hour at room temperature before baking.
Baking from Frozen: This is possible, but the cookies won’t spread as much. Get all of my tips for freezing cookie dough (and baking from frozen!) here.
Frequently Asked Questions
Peanut butter in cookie recipes prevents normal spreading, so flattening the balls with the palm of your hand before baking helps encourage them to spread more while they bake.
If you’d like an even stronger peanut butter flavor, try using very well-stirred natural peanut butter and swapping some of the chocolate chips for peanut butter chips.
I haven’t tested this, but many readers have successfully swapped in King Arthur gluten-free measure for measure or Bob’s 1 to 1 baking flour.
Yes! For about 12 medium cookies, use a medium cookie scoop to make 1 1/2-tablespoon portions and reduce the baking time by about 2 minutes.


Email This Recipe
Enter your email, and we’ll send it to your inbox.
Ingredients
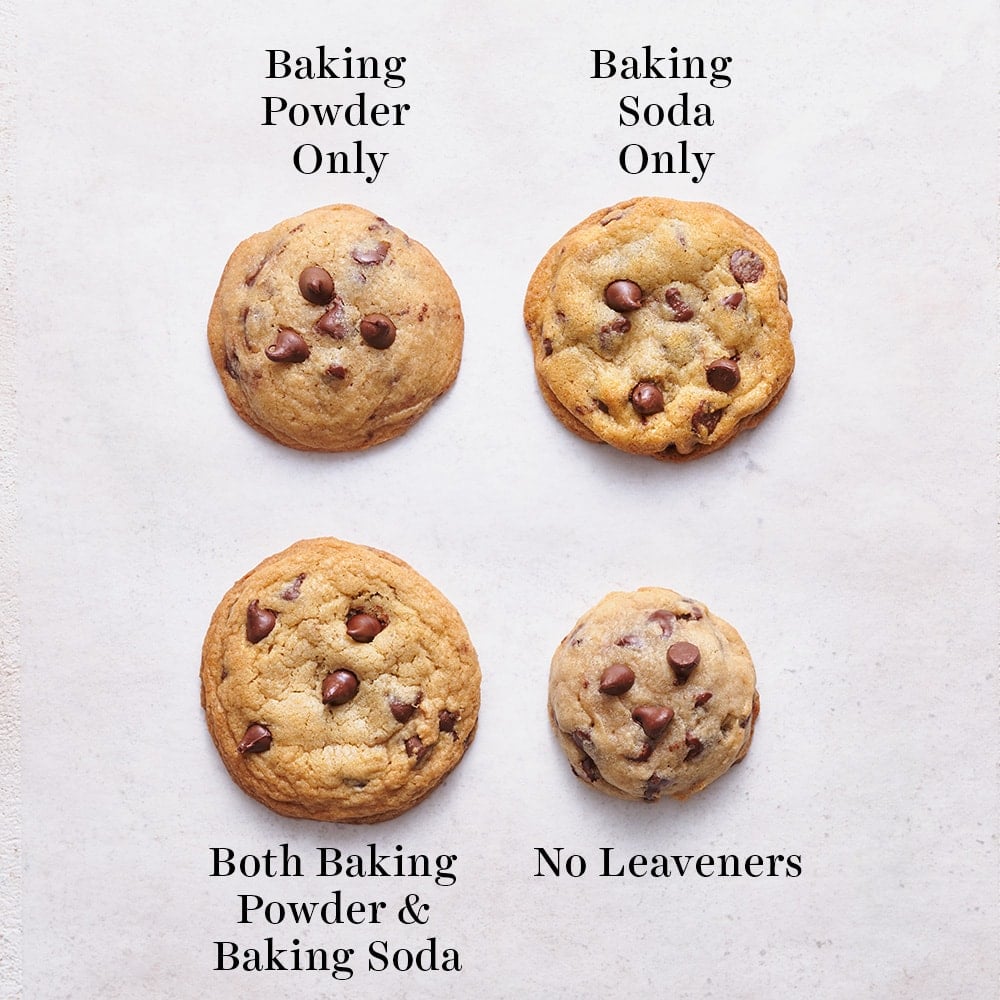
- 2 1/2 cups (318 grams) bleached all-purpose flour, measured correctly*
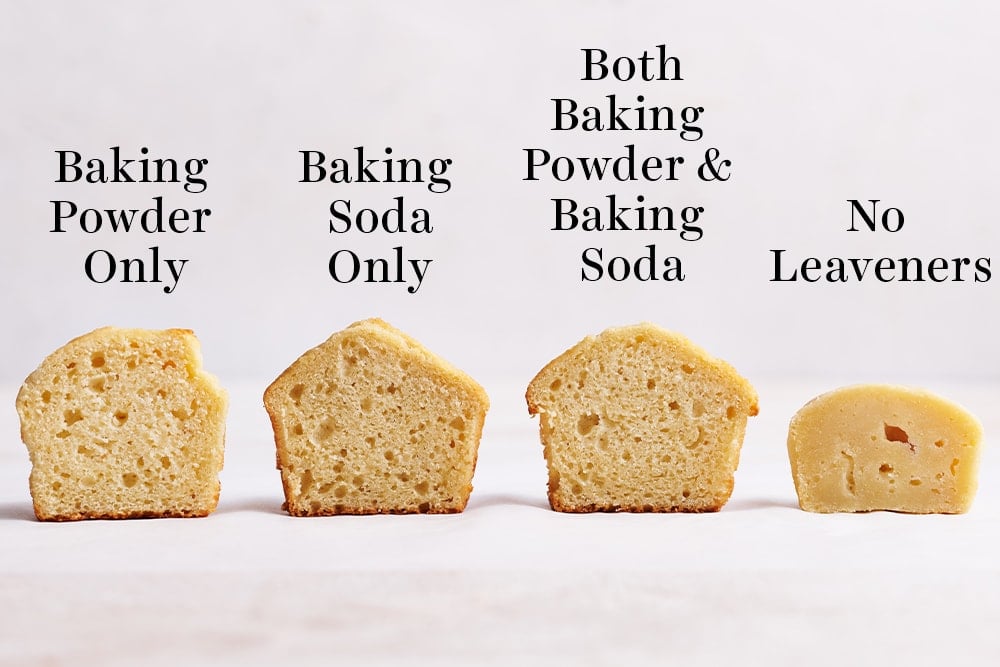
- 1 teaspoon baking soda
- 1 teaspoon baking powder
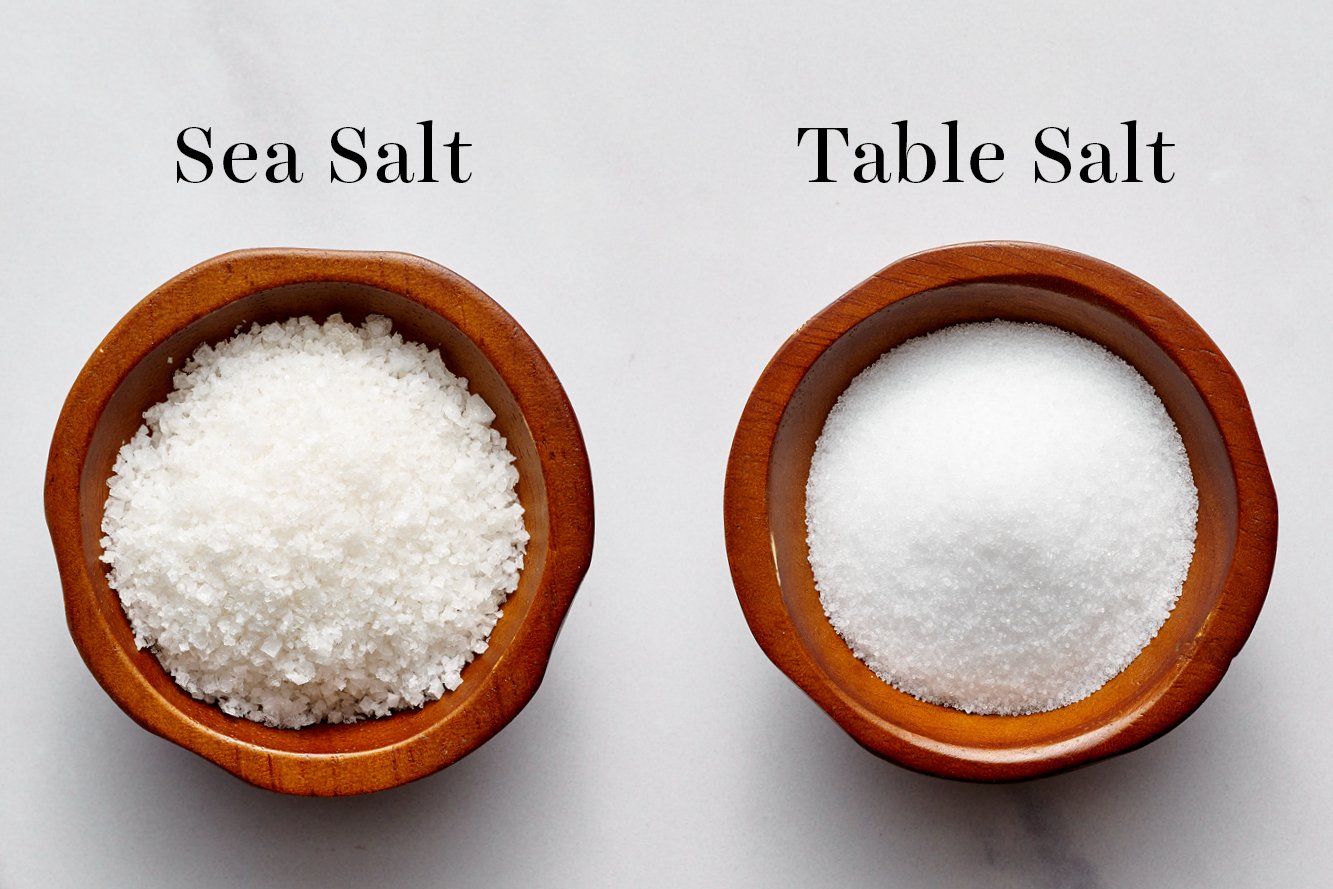
- 1 teaspoon fine sea salt
- 1 stick (113 grams) unsalted butter
- 3/4 cup (202 grams) creamy peanut butter**
- 1/2 cup (100 grams) granulated sugar
- 1 cup (200 grams) packed dark brown sugar
- 2 large eggs plus 1 egg yolk, at room temperature
- 2 teaspoons vanilla
- 2 cups (340 grams) semisweet chocolate chips
Instructions
- Preheat oven to 350ºF. Line baking sheets with parchment paper.
- In a medium bowl, whisk together the flour, baking soda, baking powder, and salt.
- In a large heat-safe bowl, microwave the butter until melted. Vigorously stir the peanut butter into the hot butter until well combined. Stir in the granulated sugar and brown sugar until well combined. Add the eggs and yolk, one at a time, stirring well after each addition. Add in the vanilla. Gradually stir in the flour mixture until just combined. Stir in the chocolate chips.
- Dough may be loose and slightly crumbly. It will not appear like normal chocolate chip cookie dough. If it's unbearably crumbly, that's likely due to discrepancies among brands of peanut butter and if you used unbleached flour. Add 2 tablespoons milk if that's the case.
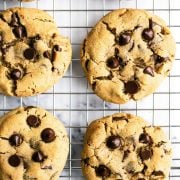
- Divide the dough into 3-tablespoon sized balls using a large spring-loaded cookie scoop and drop onto prepared baking sheets. Flatten dough slightly into disc shapes with your palms. Dot each disc with a few extra chocolate chips for picture-perfect cookies.
- Bake for 12 minutes, or until golden brown. Let cool for 5 minutes before removing to wire racks to cool completely.
- Cookies can be stored in an airtight container at room temperature for up to 3 days.
Notes
This recipe was originally published in 2014 and has been updated with recipe improvements and new photos. Photos by Ashley McLaughlin.


I really wish to grow in my cookies business i’m still starting but it’s not easy i wish to do perfect cookies …..Please help me
It takes lots of testing out recipes and making mistakes and learning from them. I always include tips in my recipe posts which might help you! Good luck! 🙂
Great recipe. Cookies were delicious. I took them out of the oven while they were a little soft to touch and although they hardened a little after cooling, they were still a little soft on the inside. Really yummy. Thank you for sharing.
Wonderful! I’m so glad to hear you loved these cookies, Jacqueline 🙂
Very good
Very very very good recipe. I made it with me and my stoner friends and of course they hit the spot
Happy to hear everyone loved them 🙂
So good! I’ve made these multiple times and I found that if you don’t melt the butter (instead just add room temp butter) they turn out less greasy. I would also recommend adding the chocolate chips to the mixture before the dry ingredients so less chocolate chips fall out. So good and would 100% recommend!
These are delicious! I even made them with a more ‘natural’ PB (Aldi’s organic creamy) and they turned out just fine. I added the extra 2tbsp of milk and measured the flour, as recommended. I prefer a thicker, chewier cookie so these were perfect!
Glad to hear your substitution worked, Trisha!
how do peoples cookies always look so flat and mine are just fat clumps haha
You want to make sure once you’ve divided the dough into balls that you flatten the dough slightly into disc shapes 🙂
We LOVE these cookies. I have made them about six or seven times. The first time I made as recommended with Jif. I typically use natural peanut butter, so bought the Jif just for the recipe. Everybody loved them, but they weren’t overly peanut butter-y. Since I typically have the natural PB on hand, I tried it the next time with that and they worked out perfect, no problems with them falling apart or the dough being off. And people still loved them as much, if not more. They tasted a little more PB-y to me. I use the Kirkland brand natural PB and have used it every time except for the first time. This is probably the only cookie that people have consistently asked me to make again and again. They seriously love them. I sprinkle them with sea salt after baking. Thanks for such a great recipe that my family adores!
So glad to hear your substitution worked, Joanna, and that your cookies are a hit! 🙂
So soft and chewy!!! Our whole family just keep saying, “mmm, mmm, mmm” after every bite!
So happy to hear these are a hit, Mari!
ABSOLUTELY AMAZING!!!! Huge hit at home and the office!! Fun to make!!
i hope it works i must confess i loved your video and your texts/recipe BUT I LOOOOOOOOOOOOOOOOOOOOOOOOOOOOOOOOOOOOOOOOOOOOOOOOOOOOOOOOOOOOOOOOOOOOOOOOOOOOOOOOOOOOOOOOOOOOOOOOOOOOOOOOOOOOOOOOOOOOOOOOOOOOOOOOOOOOOOOOOOOOOOOOOOOOOOOOOOOOOOOOOOOOOOOOOOOOOOOOOOOOOVE IT!
If you follow this recipe exactly as listed you will get the most delicious cookies! Crunchy on the bottom and moist and and dense on the inside. I’ve made many a cookie in my 52 years-but this recipe is a keeper! Beyond anything I thought a homemade cookie could be! I did take out 1/2C of chocolate chips and added 1/2C of chopped dry roasted peanuts….OMG I’m in cookie heaven!
So happy you love this recipe, Kim!! 🙂