

This post may contain affiliate links. Read our disclosure policy.



Tessa’s Recipe Rundown
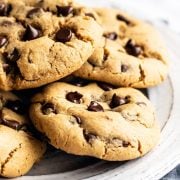
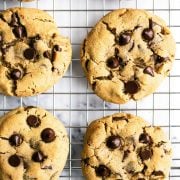
Taste: These cookies are packed full of peanut butter flavor and plenty of gooey chocolate chips studded throughout.
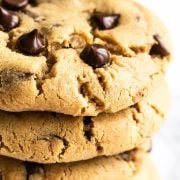
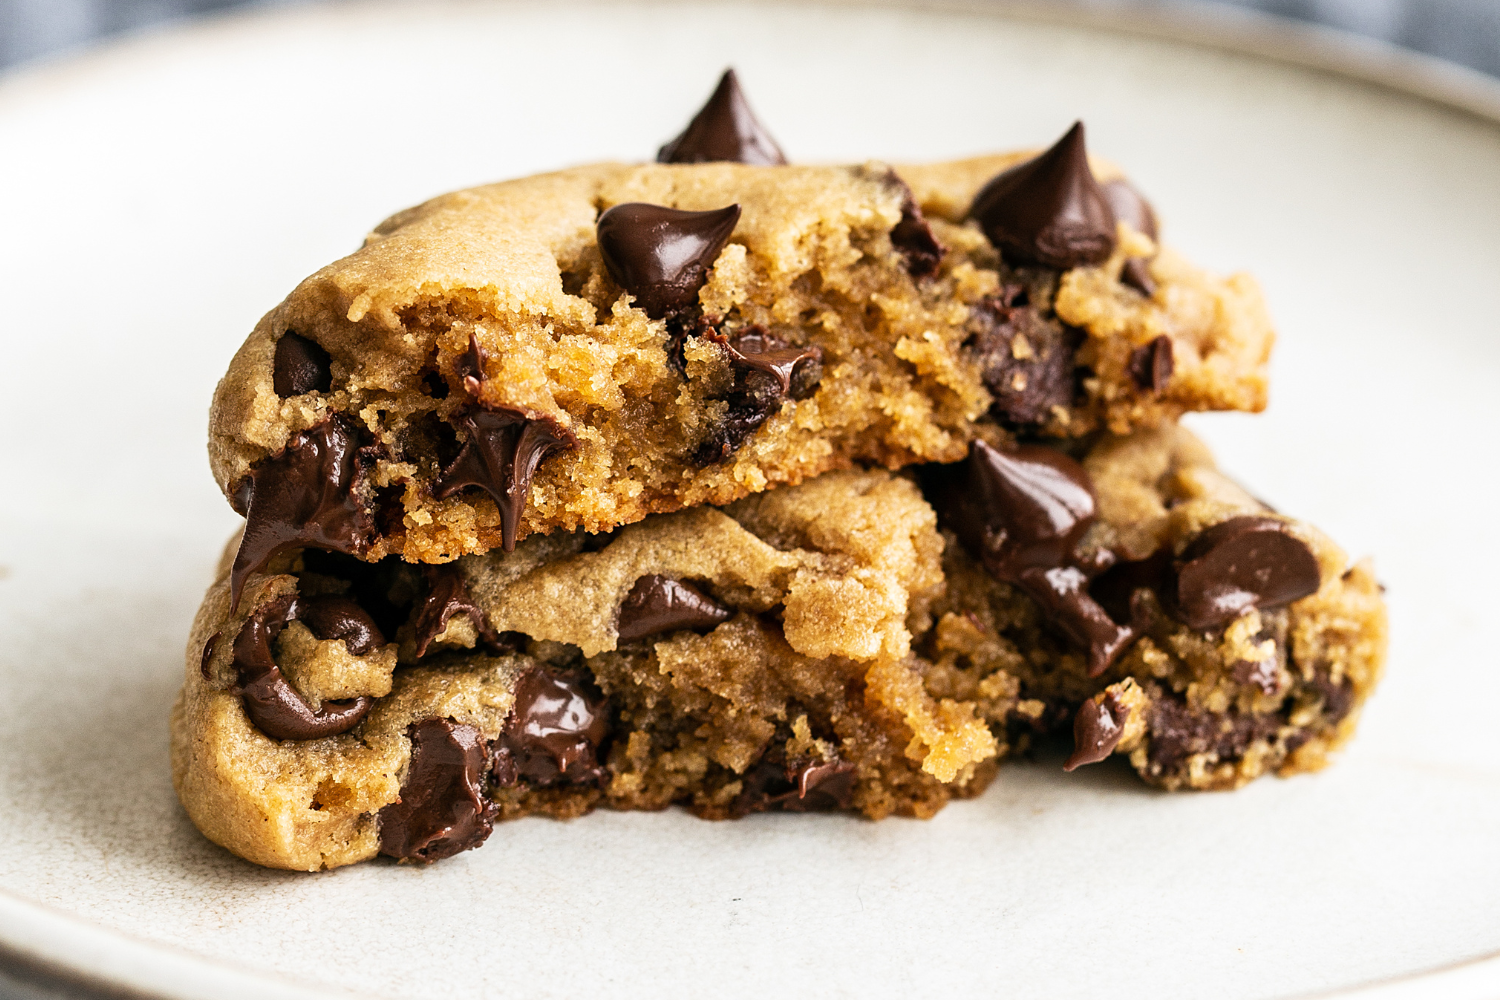
Texture: Thick, chewy, soft, melty, and wonderful.
Ease: Very simple, made with pantry staples, no mixer, and ready in 30 minutes.
Why you’ll love this recipe: These are the perfect PB Chocolate Chip Cookies!
These Peanut Butter Chocolate Chip Cookies are one of my absolute favorite desserts on the planet. I’ve always got a batch of these sitting in my freezer, ready to bake off whenever the craving strikes!
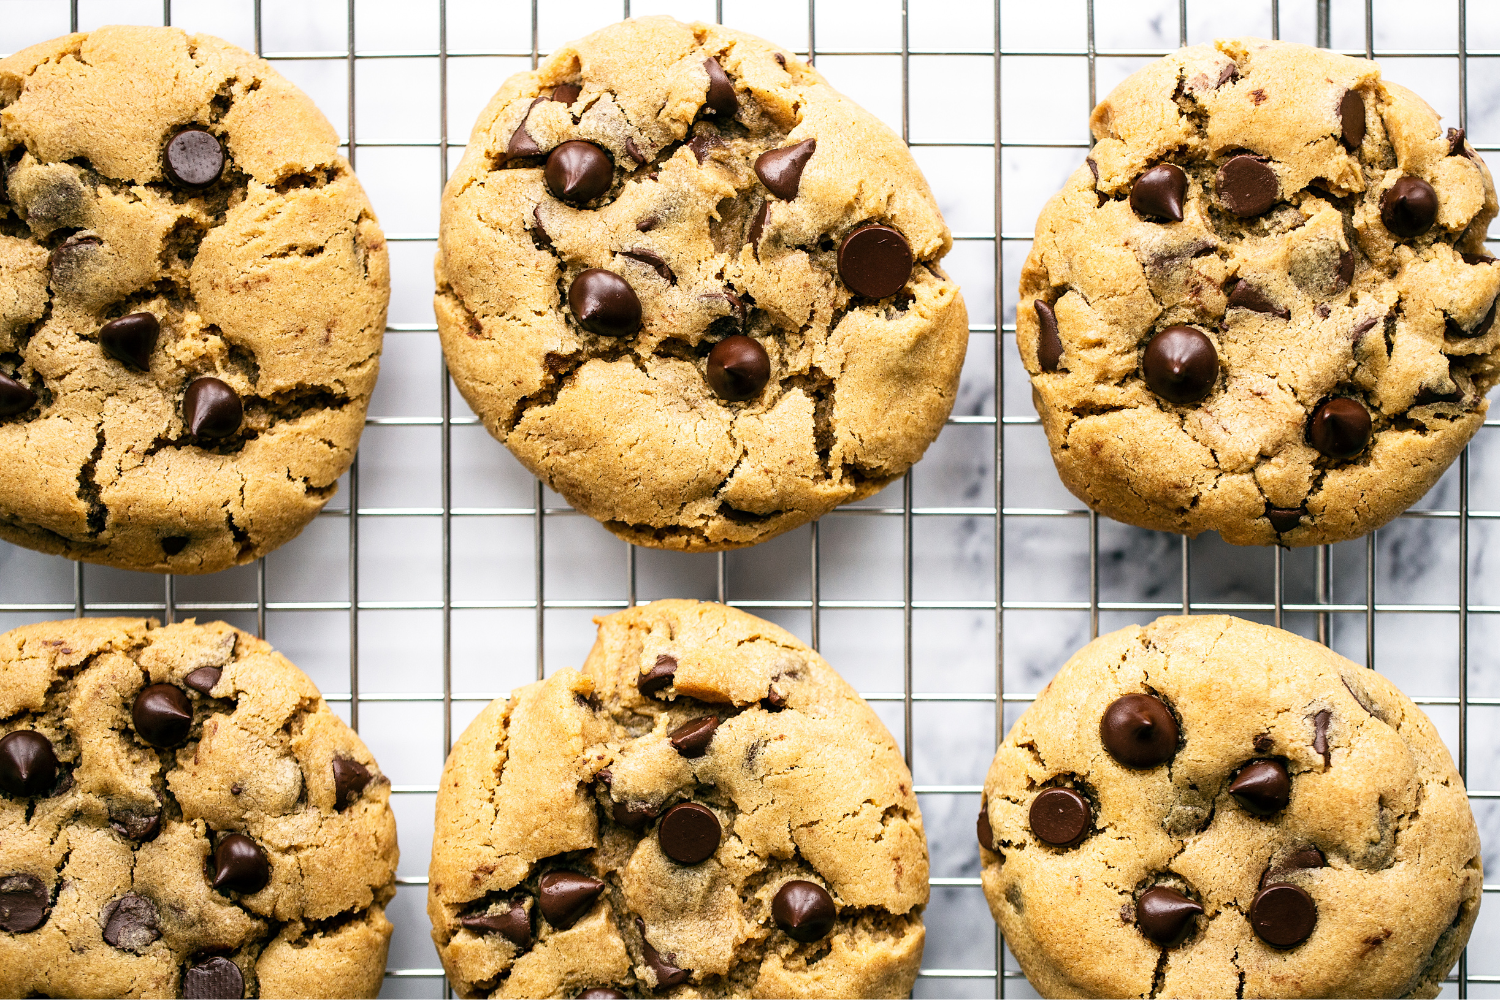
I’ve loved the flavor combination of chocolate and peanut butter since before I could remember. And these cookies showcase that combination perfectly.
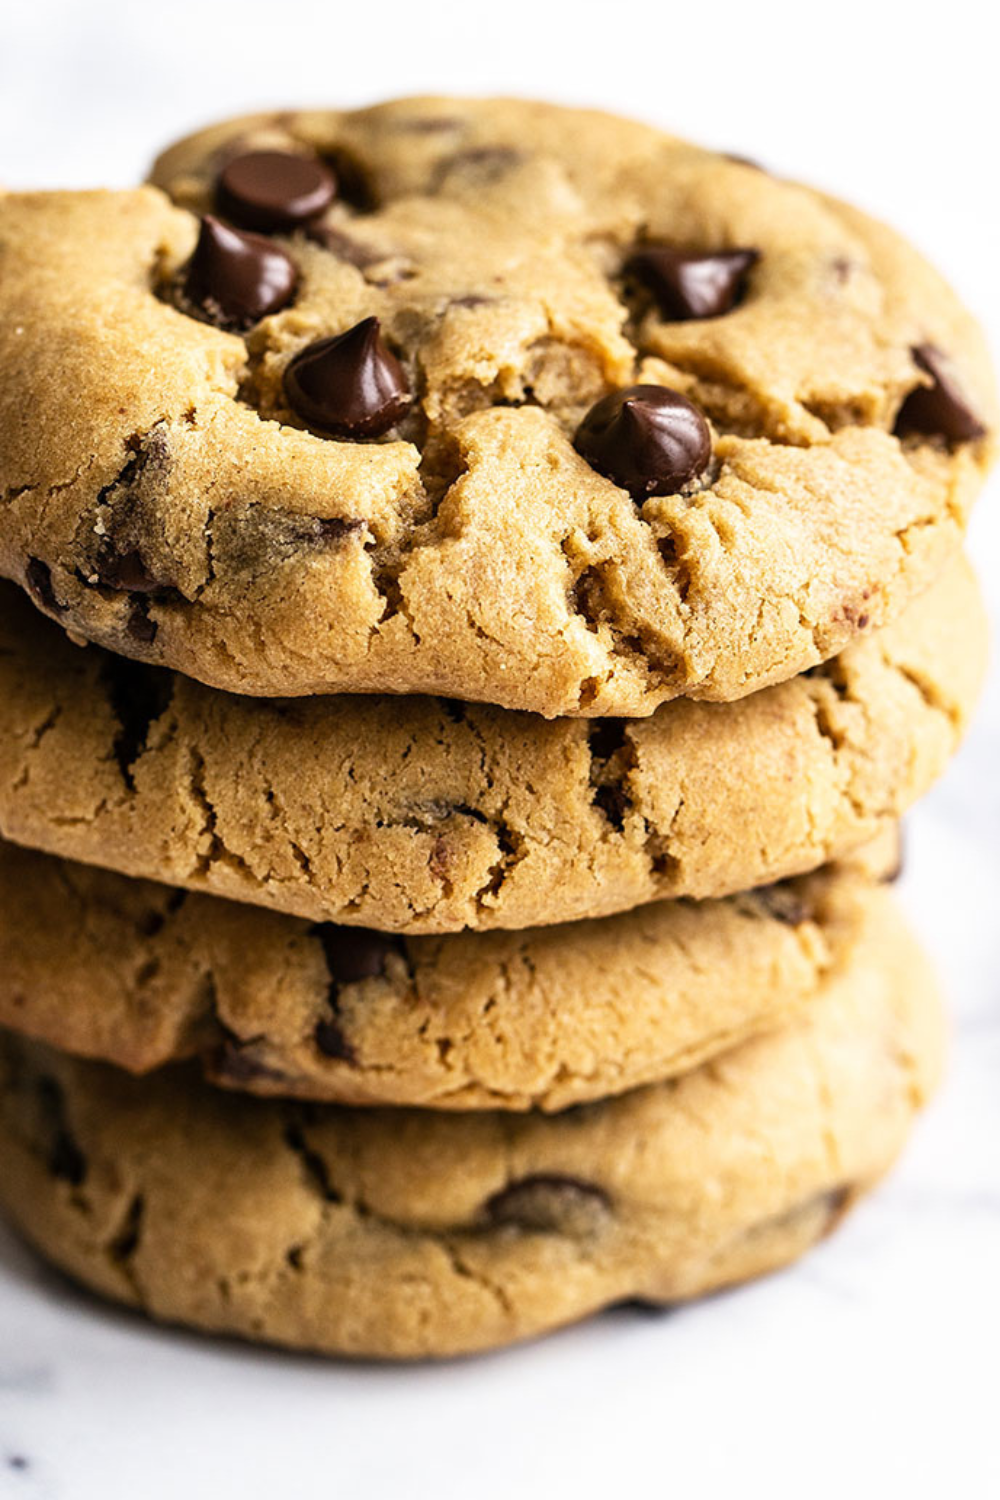
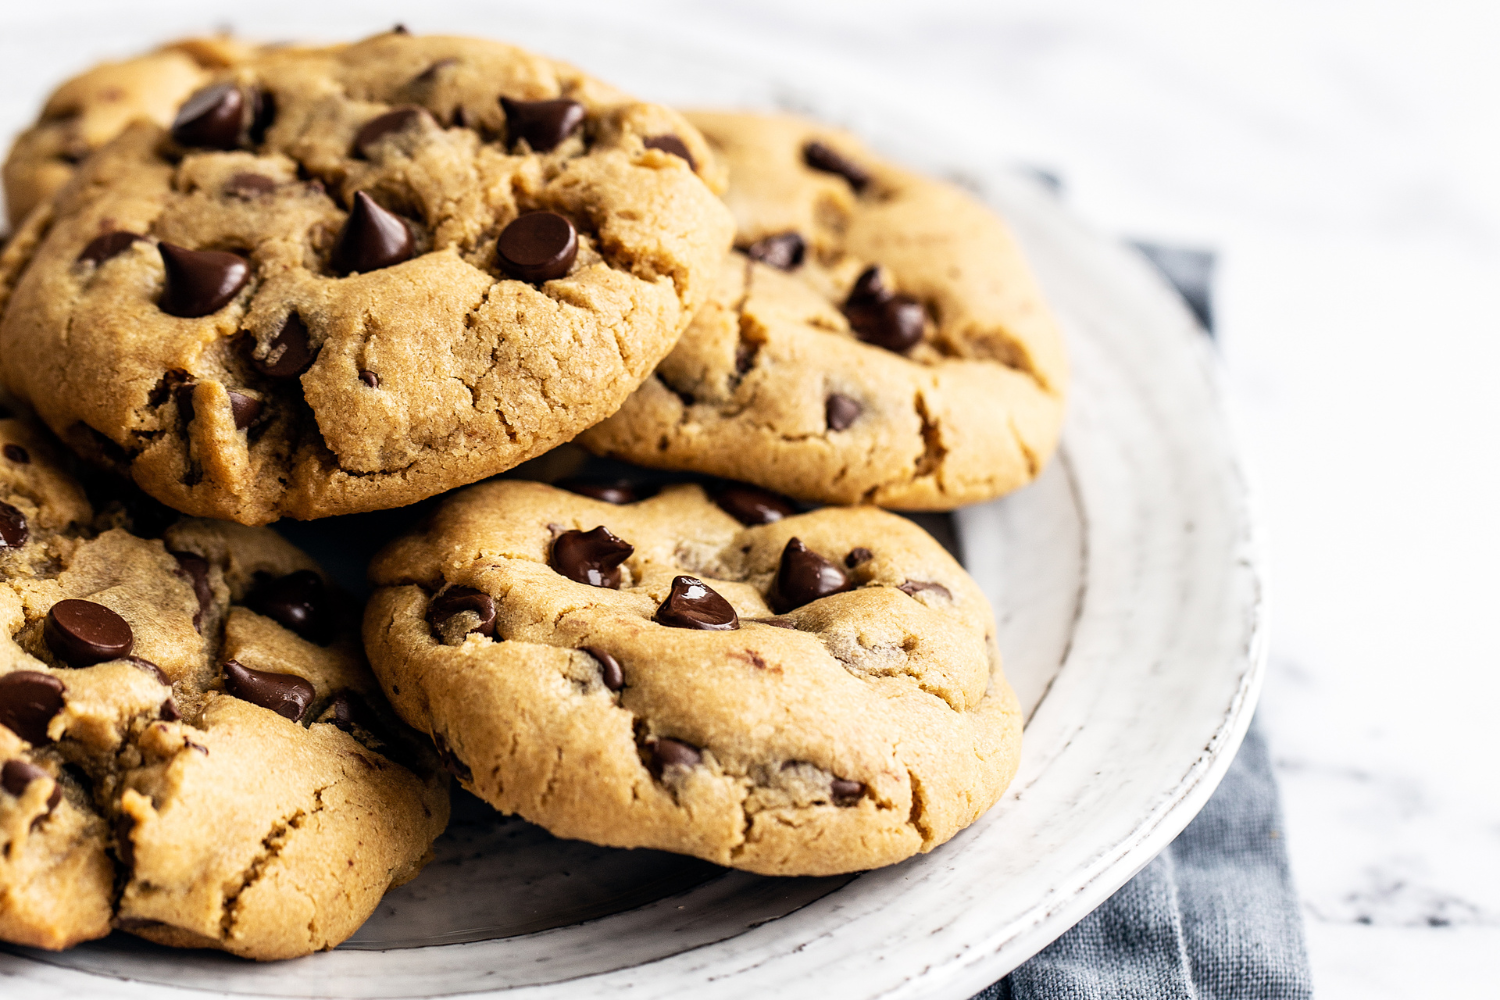
These cookies are ridiculously thick and chewy yet soft, and are heavenly with a glass of cold milk.
The best part? These Peanut Butter Chocolate Chip Cookies are so quick and easy to make – you don’t even need a mixer!
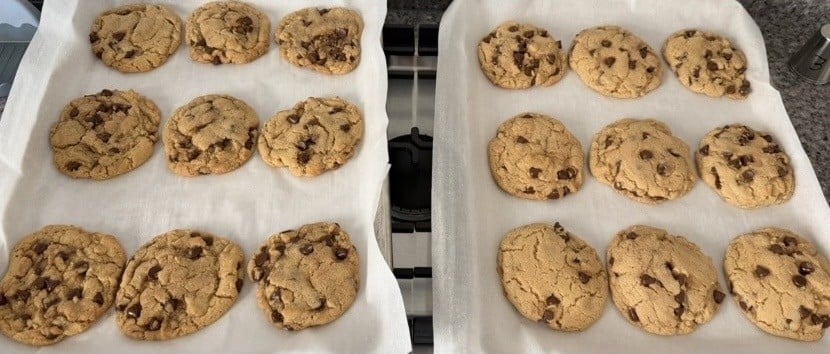
Absolutely delish!! I made them a bit larger (18 total instead of 24) and they are amazing!! I made them for Father’s Day, but the whole house approved. This is by far my favorite texture I’ve ever seen in a cookie. Perfectly crunchy on the edges, soft and chewy insides.
If you’re cookie-obsessed like me, you’ll love making cookies that’ll rival your favorite bakery (just like these!) with my second cookbook, The Ultimate Cookie Handbook: Your Guide to Baking Perfect Cookies Every Time – now available on Amazon!
Key Recipe Ingredients
Peanut Butter: I prefer natural peanut butter (well-stirred with no oily or dry bits) for a bolder peanut butter flavor, but conventional peanut butter (like Skippy or Jif) works too. Check out my peanut butter experiment here!
Dark Brown Sugar: Helps create a chewy texture and adds rich flavor. You can substitute light brown sugar if it’s all you have, but the color, texture, and flavor will be different.
Egg Yolk: The extra yolk contributes to a rich, chewy cookie.
Chocolate Chips: Semisweet is my favorite, but you can substitute milk chocolate, dark chocolate, chocolate chunks, or peanut butter chips for even more peanut butter flavor.
Sprinkle of Science (open me!)
- Brown sugar and an extra egg yolk help create a rich, chewy, and thick texture with lots of flavor.
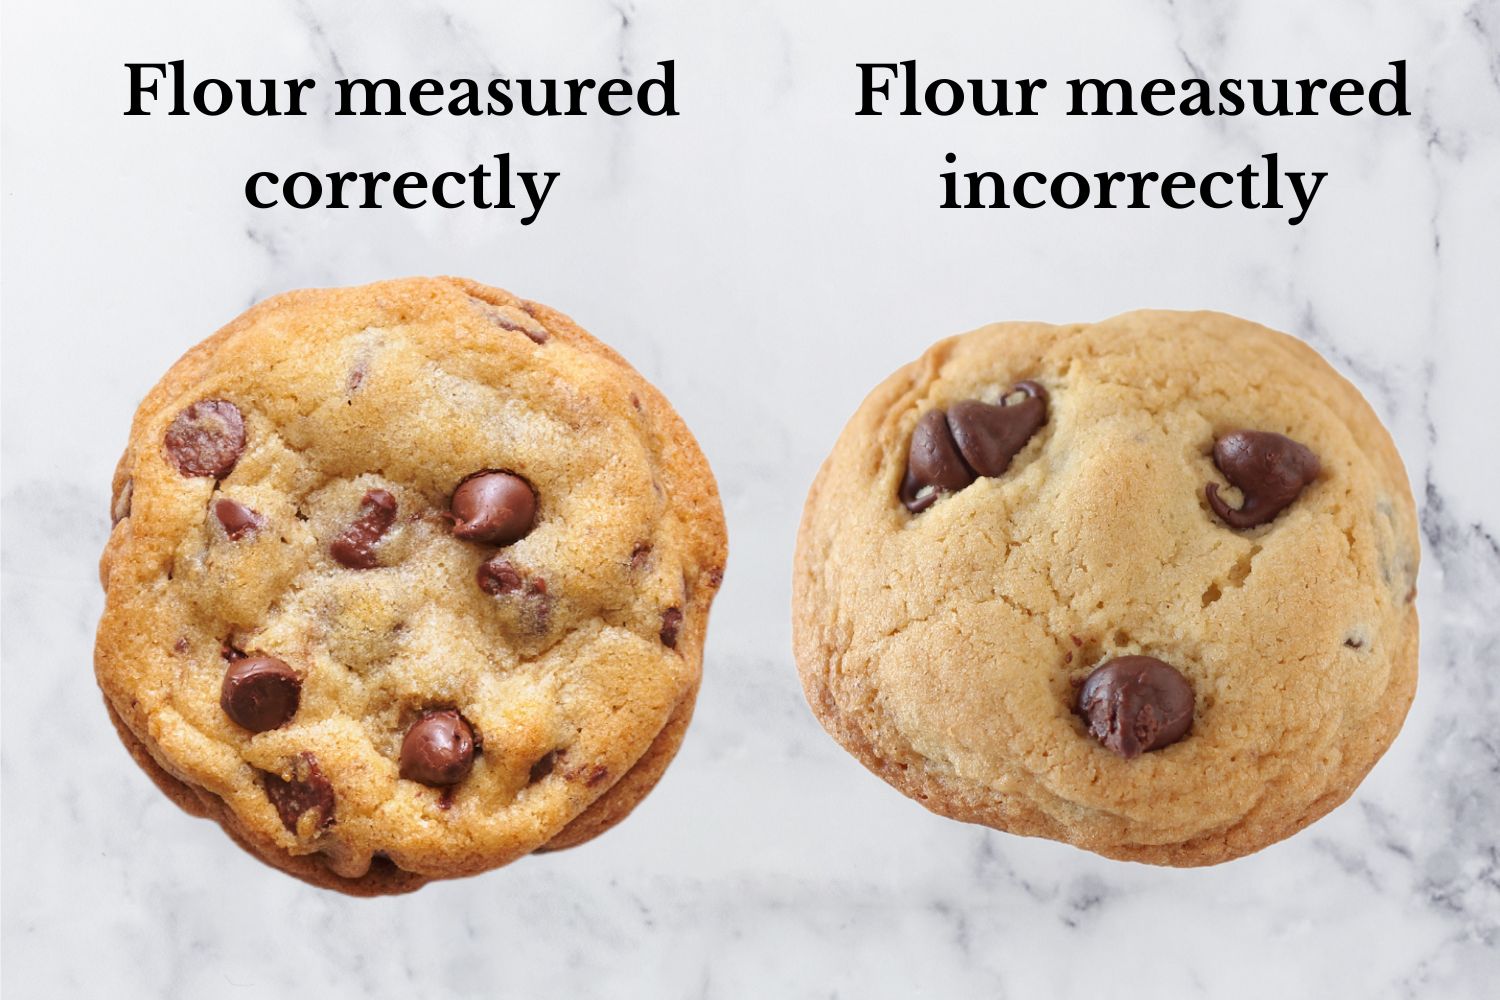
- Be sure to measure your flour correctly (by weighing with a digital scale or the spoon and level method) to avoid cakey, dense, or tough cookies that don’t spread.
- If You Don’t Measure Your Flour Correctly, you may end up with crumbly dough and dry, hard cookies lacking flavor. Just check out the image showing the difference between correctly and incorrectly measured chocolate chip cookies.
- I ALWAYS use an unlined aluminum half-sheet pan for baking cookies.
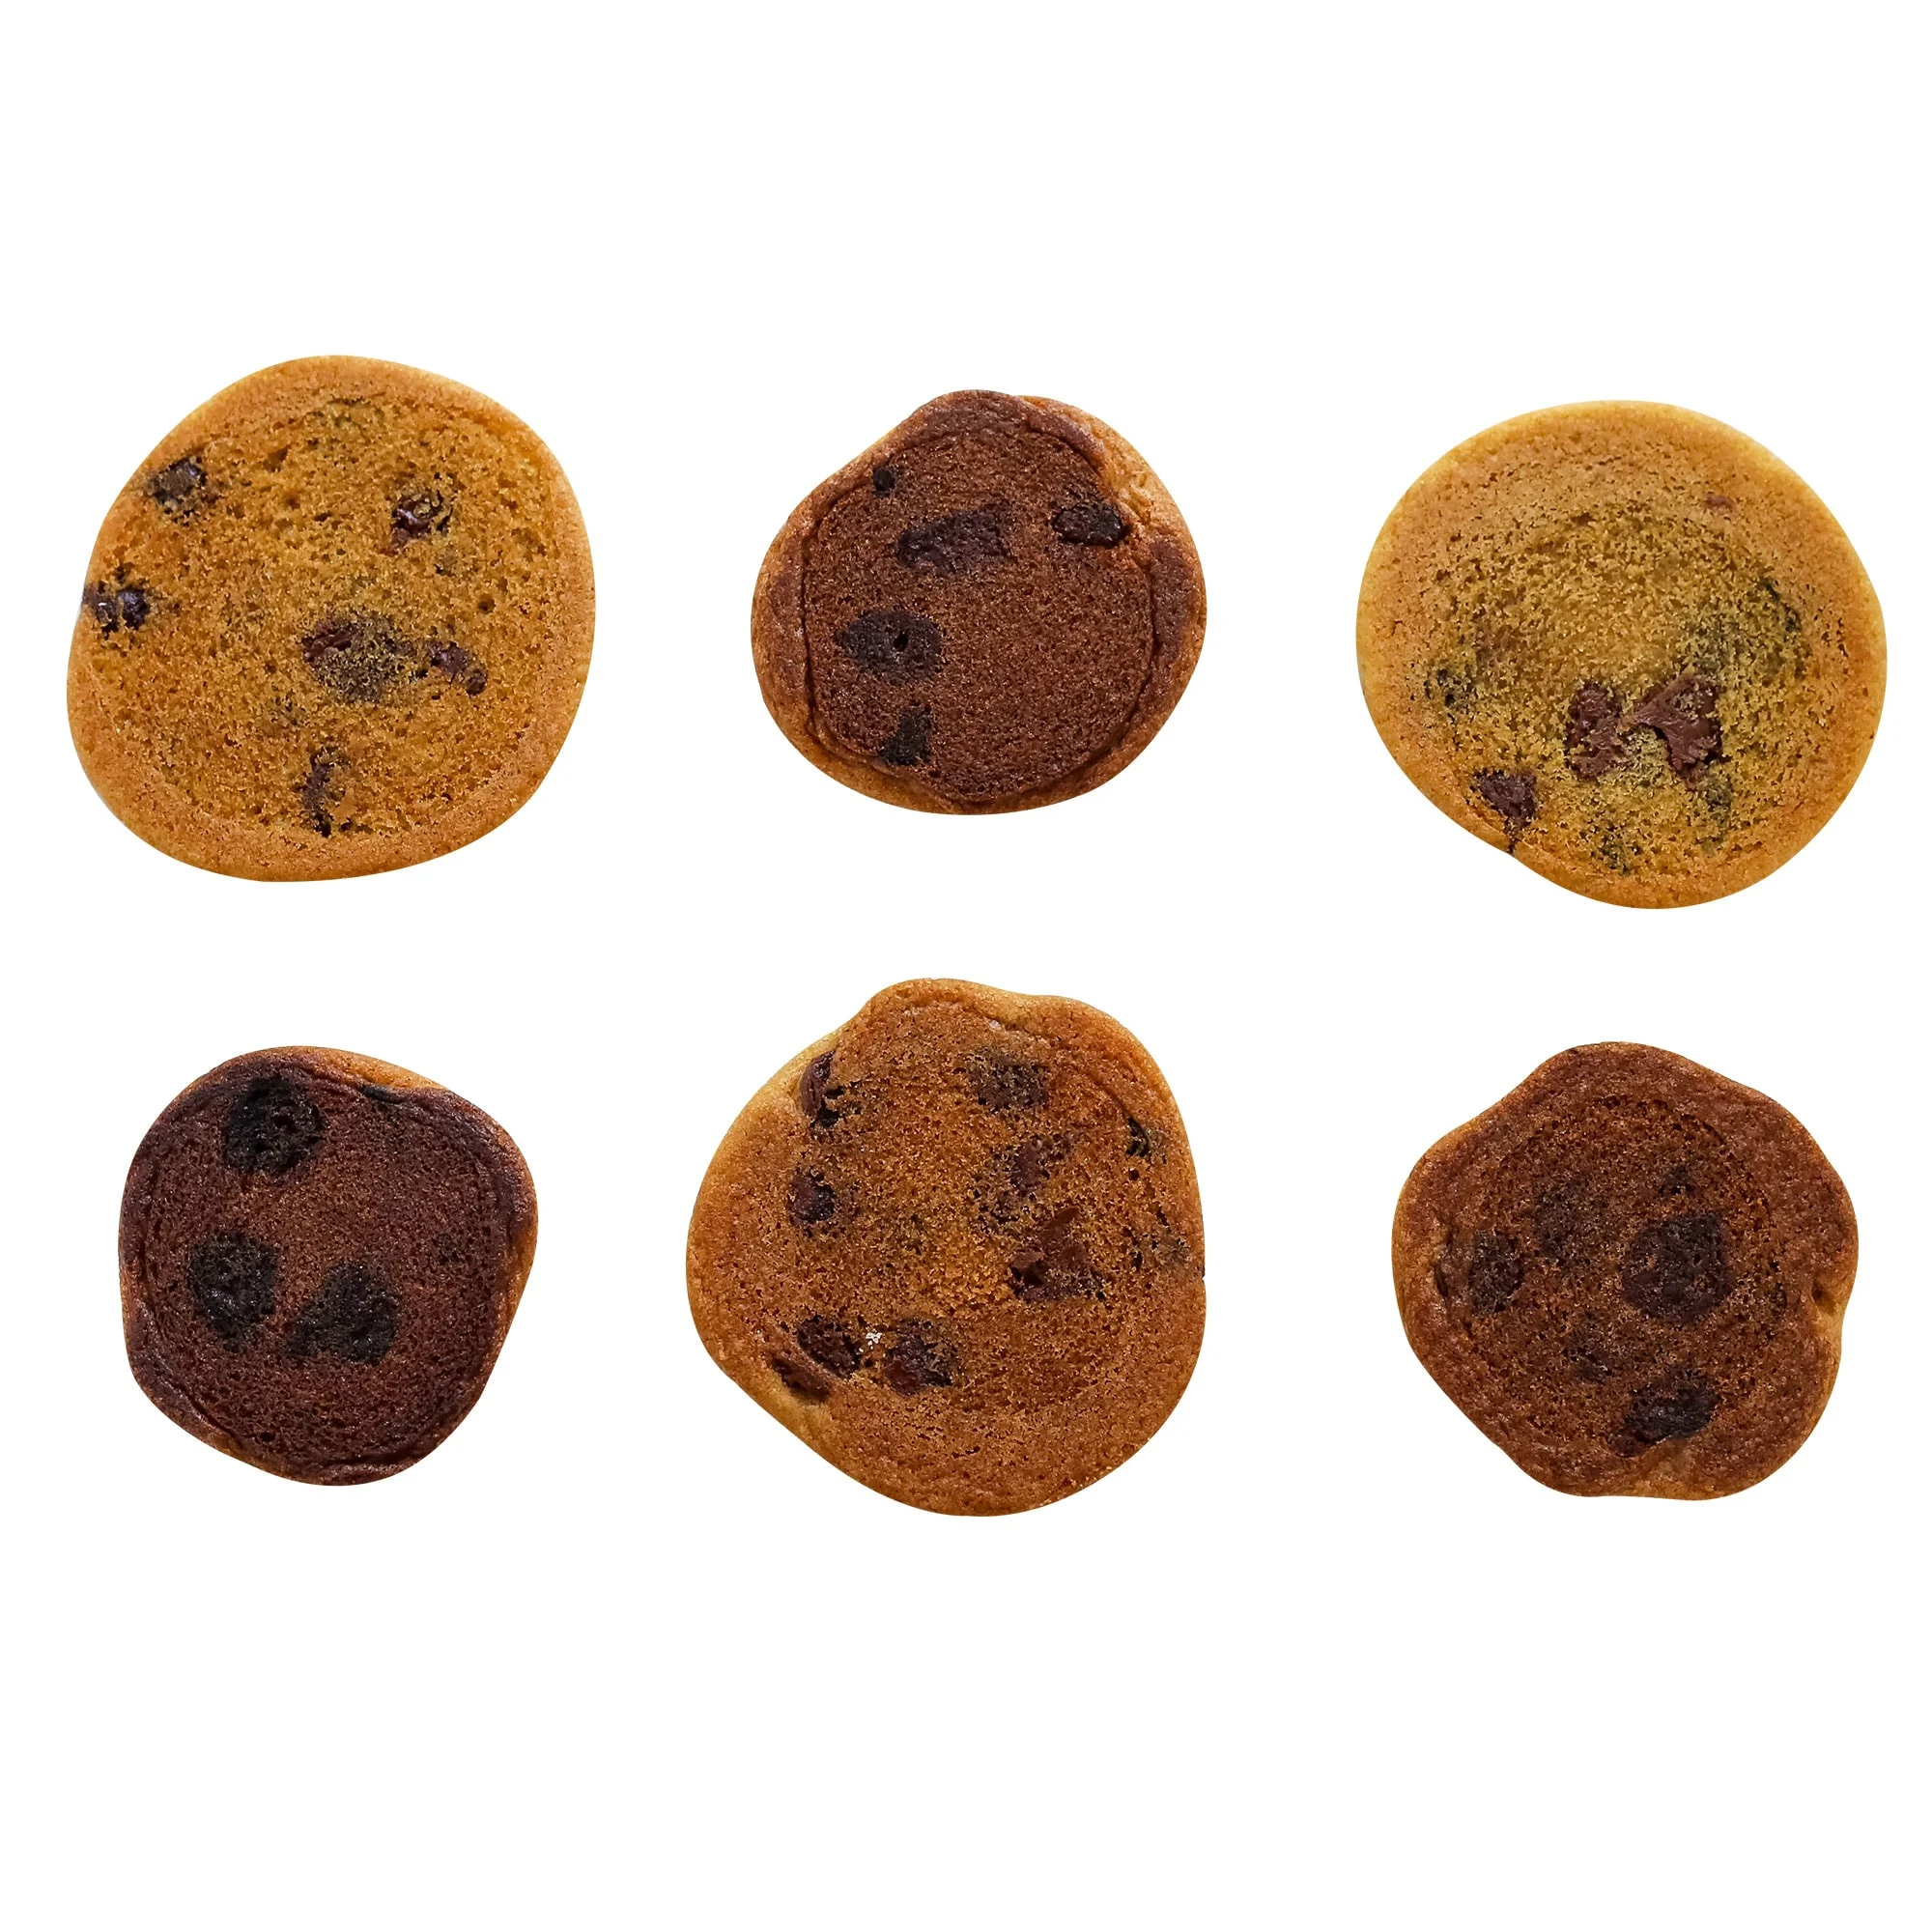
- Additionally, I always use parchment paper for baking cookies. I find silicone baking mats produce less of a crunchy exterior crust and are just one extra thing to clean.
- Never use dark-colored pans to bake cookies, as they tend to overly brown or even burn the bottoms of the cookies.
- Check out my Best (and WORST) Baking Pans article here for more details on the science of baking pans.
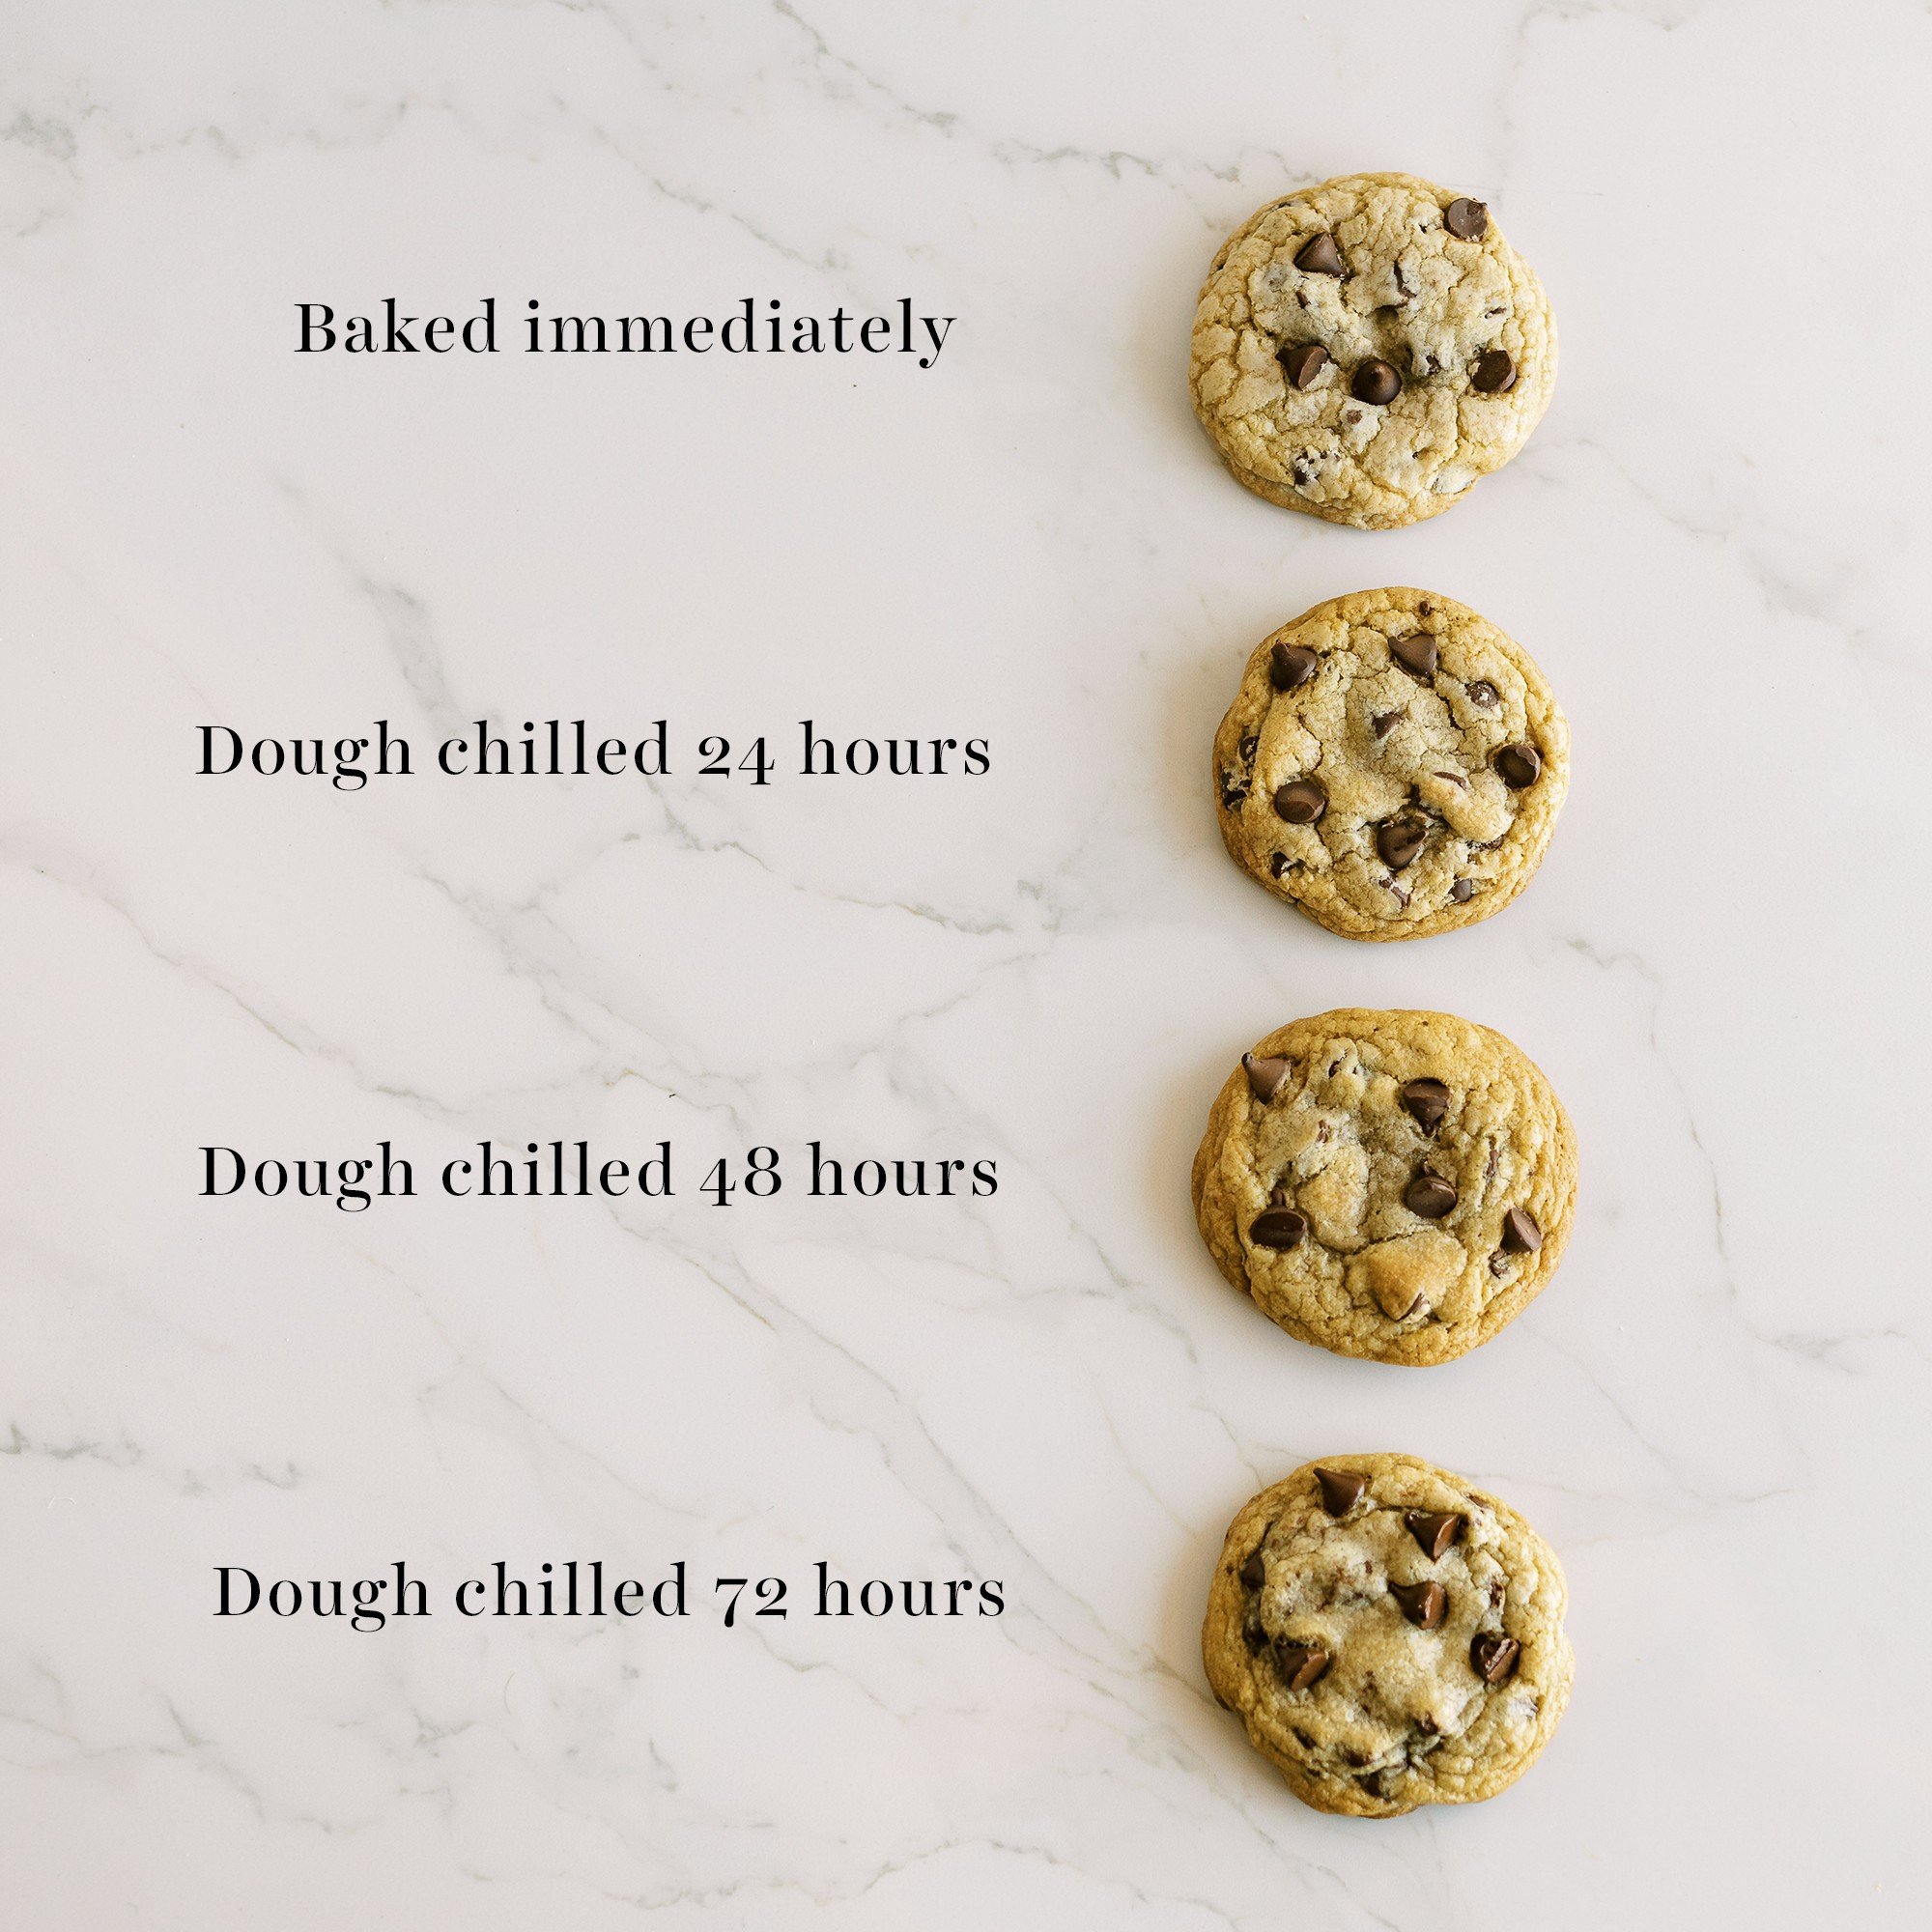
Although not required for this recipe, I highly recommend chilling the cookie dough for 24-72 hours before baking. You can always bake off a few cookies right away and chill the rest. Here’s why:
- Chilling cookie dough is very similar to marinating meat – things just get so much better!
- The texture becomes chewier and thicker, and the flavor intensifies. It also improves the golden brown exterior as the cookies bake, for crisp edges.
- You can either scoop first and chill (make sure to wrap in plastic) or chill the entire mass of dough, let it come to room temperature, then scoop.
- Learn more about why chilling cookie dough matters here.
Storage & Make ahead
Storing Baked Cookies: Keep in an airtight container at room temperature for up to 3 days.
Make-Ahead Dough: Portion the dough, freeze the balls until solid, then transfer them to a freezer bag for up to 6 weeks. Thaw overnight in the refrigerator or for about an hour at room temperature before baking.
Baking from Frozen: This is possible, but the cookies won’t spread as much. Get all of my tips for freezing cookie dough (and baking from frozen!) here.
Frequently Asked Questions
Peanut butter in cookie recipes prevents normal spreading, so flattening the balls with the palm of your hand before baking helps encourage them to spread more while they bake.
If you’d like an even stronger peanut butter flavor, try using very well-stirred natural peanut butter and swapping some of the chocolate chips for peanut butter chips.
I haven’t tested this, but many readers have successfully swapped in King Arthur gluten-free measure for measure or Bob’s 1 to 1 baking flour.
Yes! For about 12 medium cookies, use a medium cookie scoop to make 1 1/2-tablespoon portions and reduce the baking time by about 2 minutes.


Email This Recipe
Enter your email, and we’ll send it to your inbox.
Ingredients
- 2 1/2 cups (318 grams) bleached all-purpose flour, measured correctly*
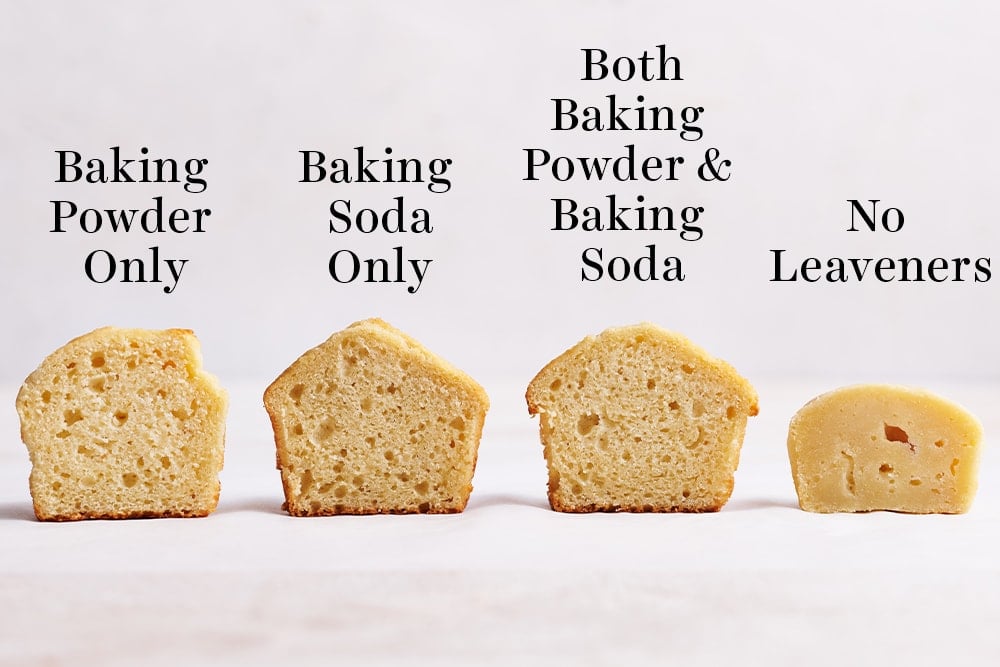
- 1 teaspoon baking soda
- 1 teaspoon baking powder
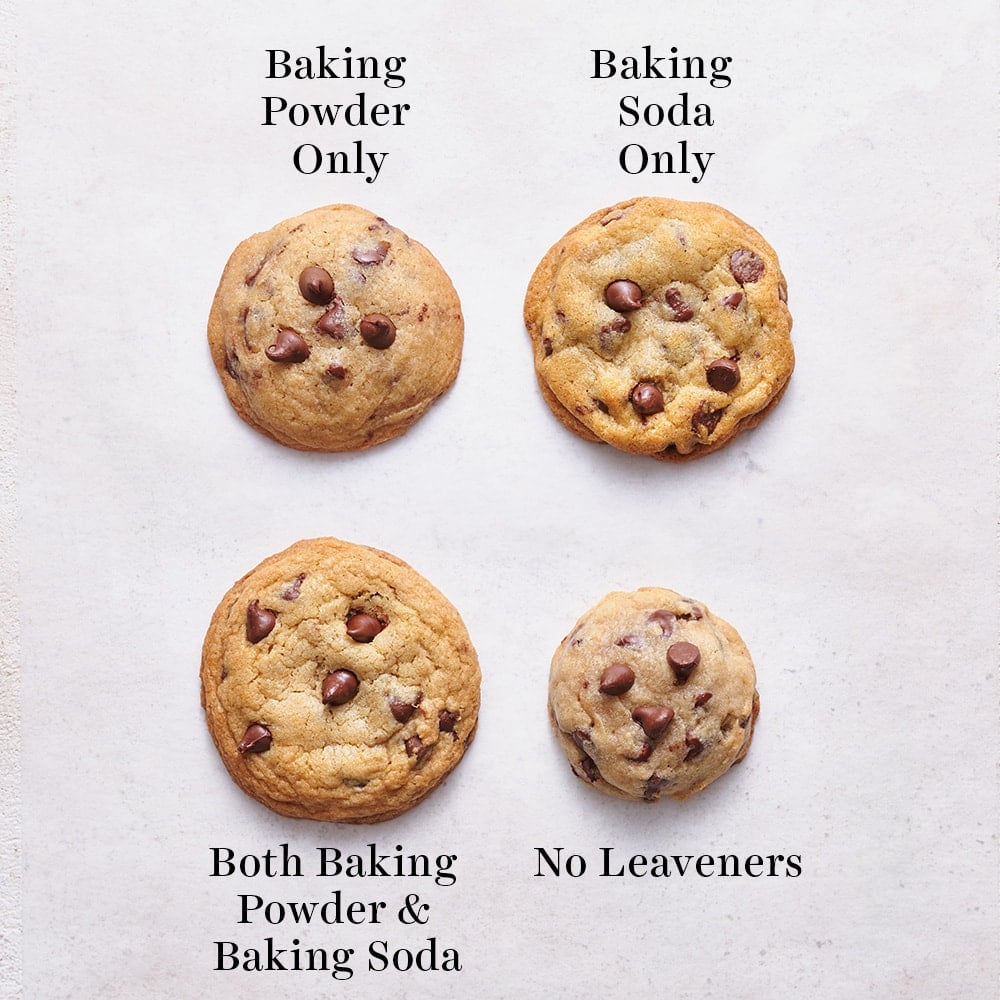
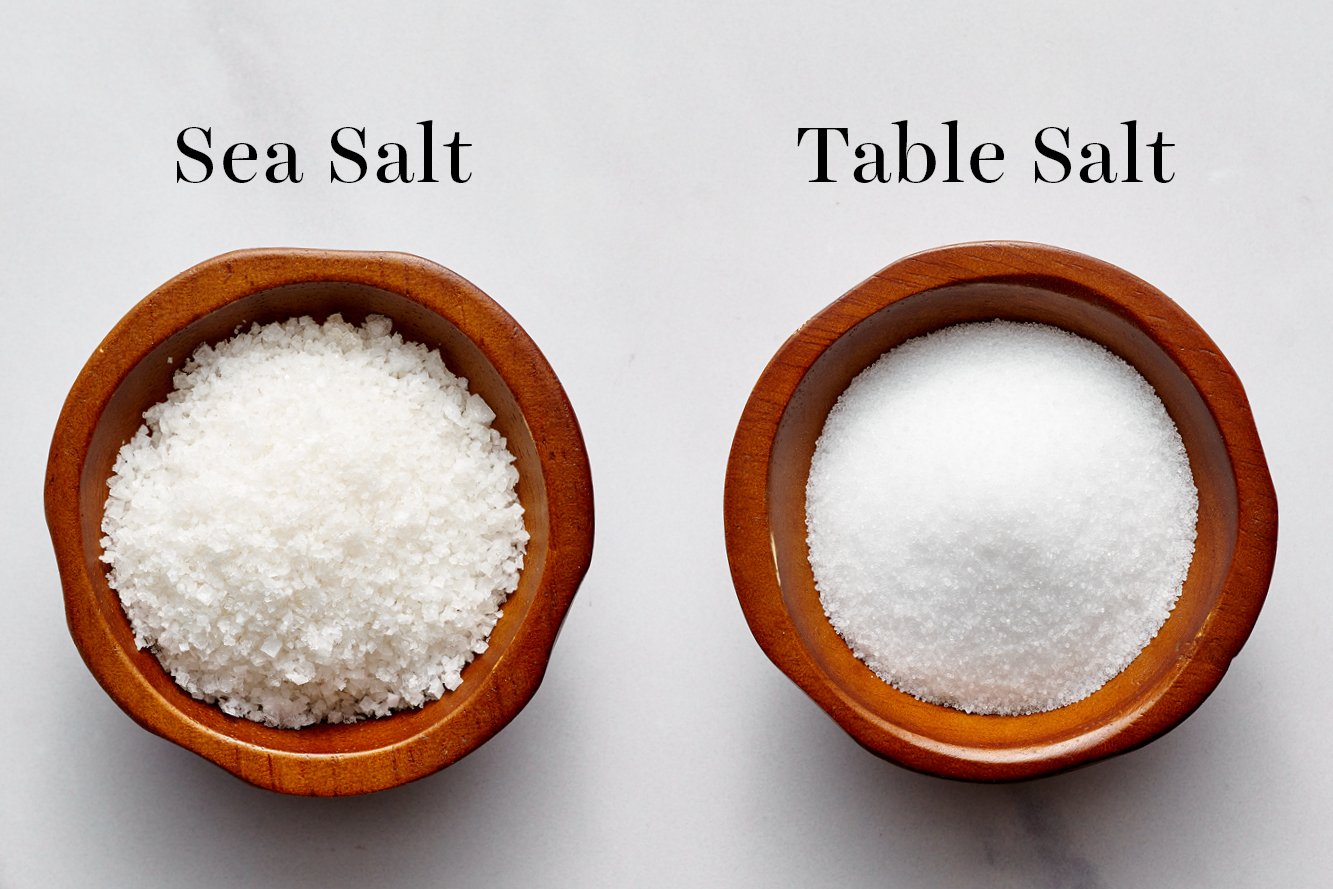
- 1 teaspoon fine sea salt
- 1 stick (113 grams) unsalted butter
- 3/4 cup (202 grams) creamy peanut butter**
- 1/2 cup (100 grams) granulated sugar
- 1 cup (200 grams) packed dark brown sugar
- 2 large eggs plus 1 egg yolk, at room temperature
- 2 teaspoons vanilla
- 2 cups (340 grams) semisweet chocolate chips
Instructions
- Preheat oven to 350ºF. Line baking sheets with parchment paper.
- In a medium bowl, whisk together the flour, baking soda, baking powder, and salt.
- In a large heat-safe bowl, microwave the butter until melted. Vigorously stir the peanut butter into the hot butter until well combined. Stir in the granulated sugar and brown sugar until well combined. Add the eggs and yolk, one at a time, stirring well after each addition. Add in the vanilla. Gradually stir in the flour mixture until just combined. Stir in the chocolate chips.
- Dough may be loose and slightly crumbly. It will not appear like normal chocolate chip cookie dough. If it's unbearably crumbly, that's likely due to discrepancies among brands of peanut butter and if you used unbleached flour. Add 2 tablespoons milk if that's the case.
- Divide the dough into 3-tablespoon sized balls using a large spring-loaded cookie scoop and drop onto prepared baking sheets. Flatten dough slightly into disc shapes with your palms. Dot each disc with a few extra chocolate chips for picture-perfect cookies.
- Bake for 12 minutes, or until golden brown. Let cool for 5 minutes before removing to wire racks to cool completely.
- Cookies can be stored in an airtight container at room temperature for up to 3 days.
Notes
This recipe was originally published in 2014 and has been updated with recipe improvements and new photos. Photos by Ashley McLaughlin.


Tried this recipe today and they turned out great. I love the texture of the cookie and that it didn’t melt down to a crispy circle. I didn’t have time to refrigerate so I put my mixing bowl in the freezer for 10 minutes to chill and it worked.
Thanks for the recipe.
Hi Melody! That’s so wonderful to hear, and I’m so glad you found a trick that works for you 🙂 Happy baking 🙂
Does it make any difference if you use light brown sugar instead of the dark brown sugar in the recipe? What is the differnce?
Hi Deb! It actually does make a difference if you use light vs. dark brown sugar! The difference between light and dark brown sugar is the amount of molasses in the sugar. Dark brown sugar contains almost twice as as much molasses as light brown sugar, which means that dark brown sugar gives baked goods a richer, deeper, more caramel-y, butterscotch-y flavor. The amount of molasses contained in the sugars also means they will contribute a different level of moisture to a recipe. My recommendation is to stick with the recipe as written the first time, and if you wish to experiment from there the next time, go for it, and adjust accordingly moving forward! I hope that answers your question! Happy baking 🙂
My grand-daughter and I mixed up 2 batches of this recipe yesterday and after chilling overnight, I baked them this afternoon. We made the first batch just as your recipe is supposed to be made. The second batch we substituted 1 cup of Mini-Chocolate chips and 1 cup of baking Mini-M & M’s. Both batches turned out great. The only other thing I changed was I used Jif Creamy Peanut butter and I used a smaller cookie scoop and baked for 10 minutes instead of 12 minutes. They are a big hit and my daughter wanted the recipe as soon as she ate one. My husband had one and then sneaked a second one even though he is diabetic. I had to hide the rest from him. I will be making these more often.
I did get some dark brown sugar before baking the two batches I mentioned above. I am wondering if you use light brown sugar can you add some molasses and how much would you add?
Hi Deb! Great question – yes, you actually can add molasses to light brown or even white sugar, to make DIY dark brown sugar! Tessa recommends adding 2-3 Tablespoons of molasses per cup of white sugar. I’d probably start with 1 Tablespoon of molasses if you’re adding it to a cup of light brown sugar, and you can always add a little more to taste. Adding molasses is essentially adding extra liquid to the recipe, so it can alter the texture slightly, but it shouldn’t make much of a difference for these cookies. Happy baking! 🙂
Hi Deb! Yay!! I’m so happy your granddaughter, daughter and husband loved these cookies so much! 🙂
Absolutely love the way these cookies turned out! I find that PB cookies can be chalky, dry and overbearing with the PB flavor – not these. These cookies turned out perfect. Just a beautiful balance of PB and chocolate. Thank you so much for this recipe. I had to leave a rating.
Hi Kathy! I’m so happy to hear you loved these cookies! Thank you for letting us know! Happy baking 🙂
The cookies turned out good, but they don’t have enough peanut butter flavor for my taste. I’m still looking for a good peanut butter cookie recipe, but I might have to just develop my own, using what I learned from the Ultimate Cookie Handbook.
Hi Margaret! I’m sorry these cookies didn’t pack enough peanut butter punch for your liking! If you have not previously tried Tessa’s Giant Reese’s Pieces Chocolate Chip Cookies, I highly recommend trying those! There is a more pronounced peanut butter flavour in those cookies, and they also contain Reese’s Pieces, so there’s an even bigger peanut butter flavour from those, too 🙂 I hope that helps your quest! Happy baking 🙂
Followed the recipe exactly, used Jiff creamy peanut butter. They are good, but like a previous comment they didn’t have enough peanut butter flavor. Thanks!
This recipe is pretty good.
I am new to the baking scene I started out with some easier cookies I am a 54 yr old male who could cook but never tried baking until about 3 months ago last night I stepped out these cookies were so good I used Skippy peanut butter my favorite and they were great even got the thumbs up from mom the 12 min cook time is perfect just a really good recipe that produces very good cookies thank you I will be making more
So happy to hear how much you loved this recipe, Mark! Thanks for taking the time to let us know, we appreciate hearing from you! 🙂
I followed the recipe exactly and used the same exact peanut butter, but my cookies came out very crumbly and weird-looking. My dough was also very crumbly even after using 2 tablespoons of milk. What should I do next time?
Sorry to hear that, Caroline! What kind of peanut butter did you use? Also, do you use a digital scale to measure your ingredients? Typically when dough is crumbly, it’s due to too much flour being added. Check out our tips in the pink box above the recipe, and please let us know how it goes if you try this recipe again!
It’s the second time I’ve made this now. Simply the best. Thanks for the recipe.
So happy you love this recipe, thanks for the comment!
So soft, chewy, and amazing flavor!
Made these humongous cookies now they’re cooling off I only made one batch yet instead of two out of it but I saved the other batch for later.
Good, not great.
Made just as the recipe suggested, incl refrigerator overnight, except I used chunky peanut butter (who wouldn’t, if chunky is your preference?) and I used a mix of milk and dark chocolate chunks.
Would chunky peanut butter work as well?
Hi Julie! We haven’t tried that, but other readers have with success 🙂
These were delicious!! I am wondering if anyone has made these using a dairy free butter substitute- in the stick form? A friend has a dairy allergy and I am always looking for a fun treat.
I’m not sure on that, but let us know how it goes if you experiment! For a tested dairy-free cookie recipe, you might be interested in our Coconut Oil Chocolate Chip Cookies 🙂