

This post may contain affiliate links. Read our disclosure policy.


Tessa’s Recipe Rundown
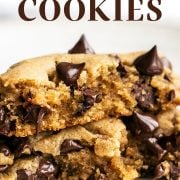
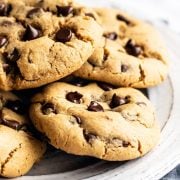
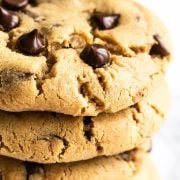
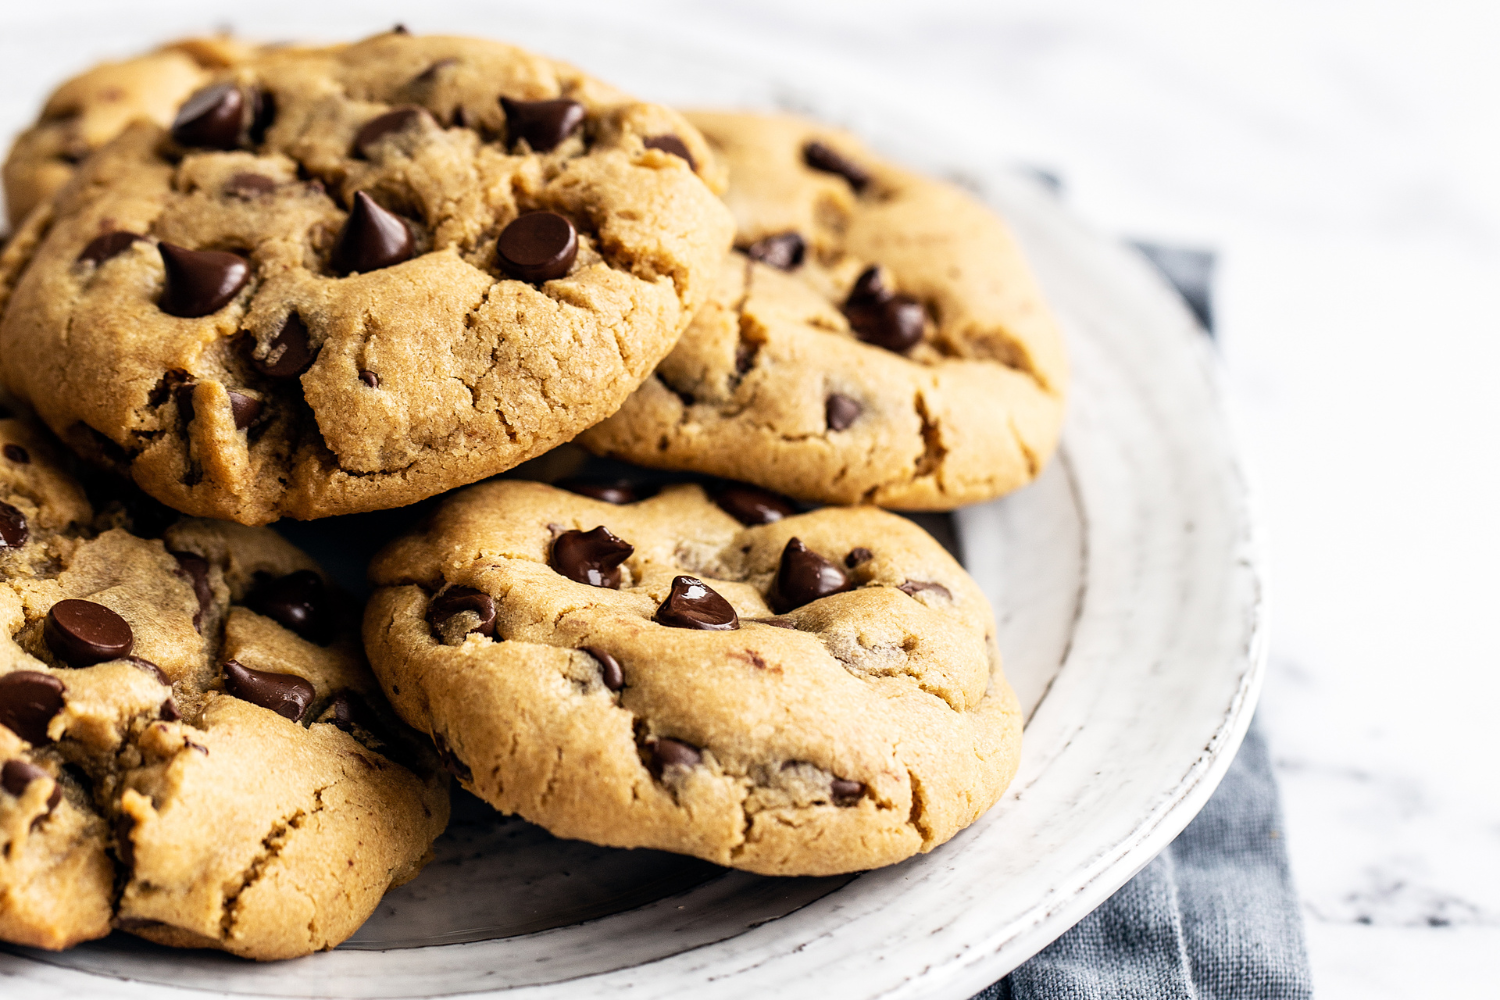
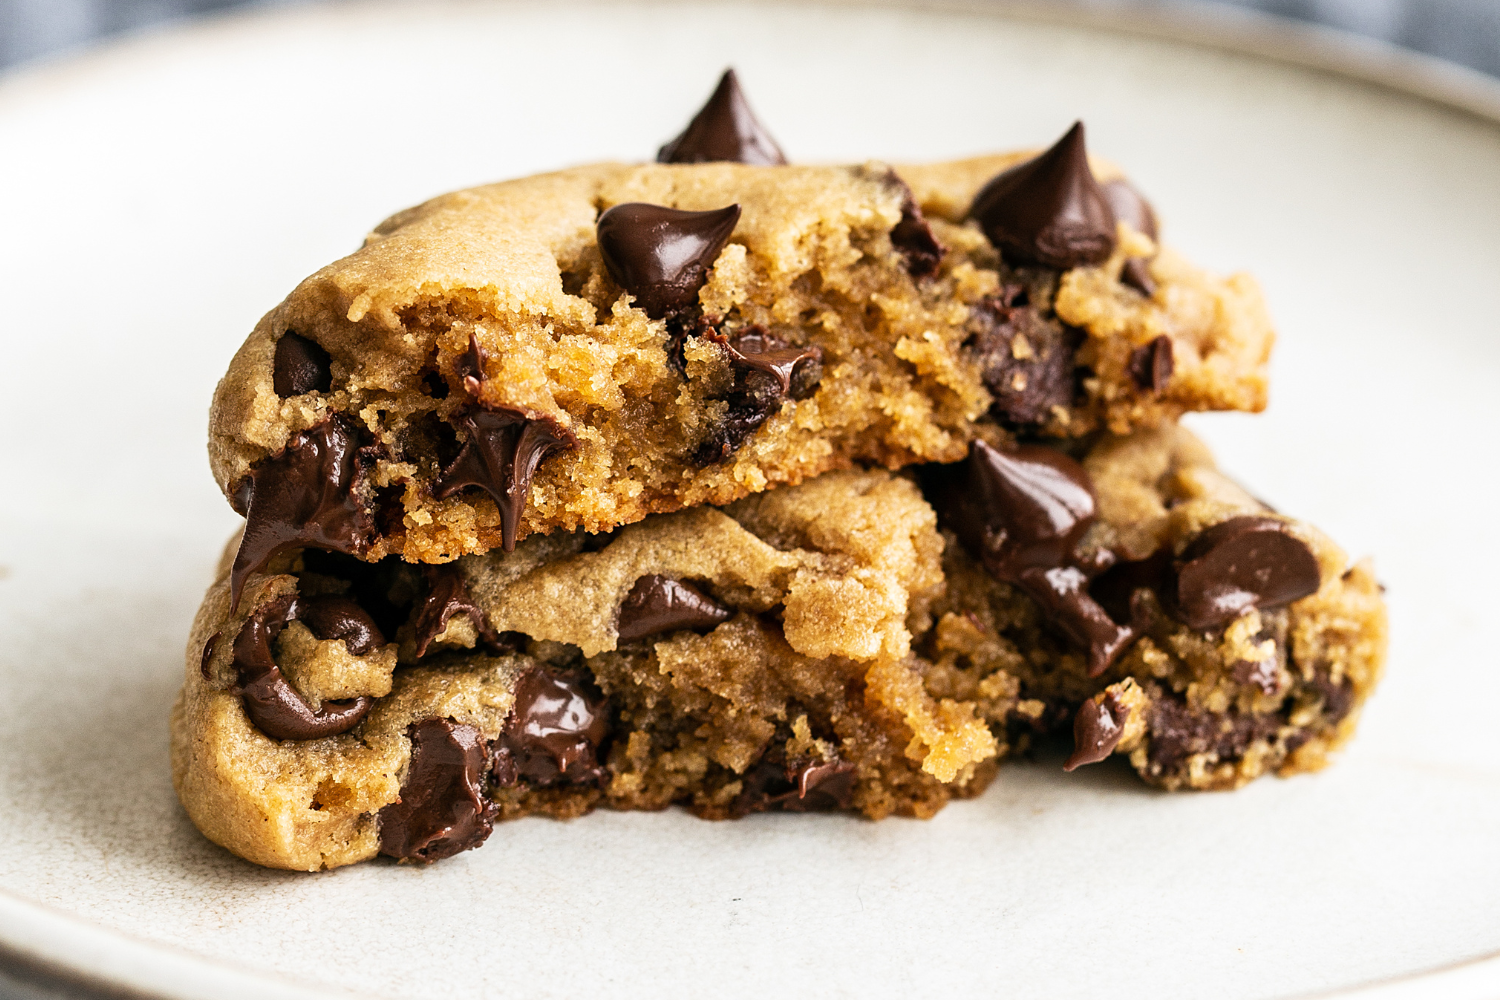
Taste: These cookies are packed full of peanut butter flavor and plenty of gooey chocolate chips studded throughout.
Texture: Thick, chewy, soft, melty, and wonderful.
Ease: Very simple, made with pantry staples, no mixer, and ready in 30 minutes.
Why you’ll love this recipe: These are the perfect PB Chocolate Chip Cookies!
These Peanut Butter Chocolate Chip Cookies are one of my absolute favorite desserts on the planet. I’ve always got a batch of these sitting in my freezer, ready to bake off whenever the craving strikes!
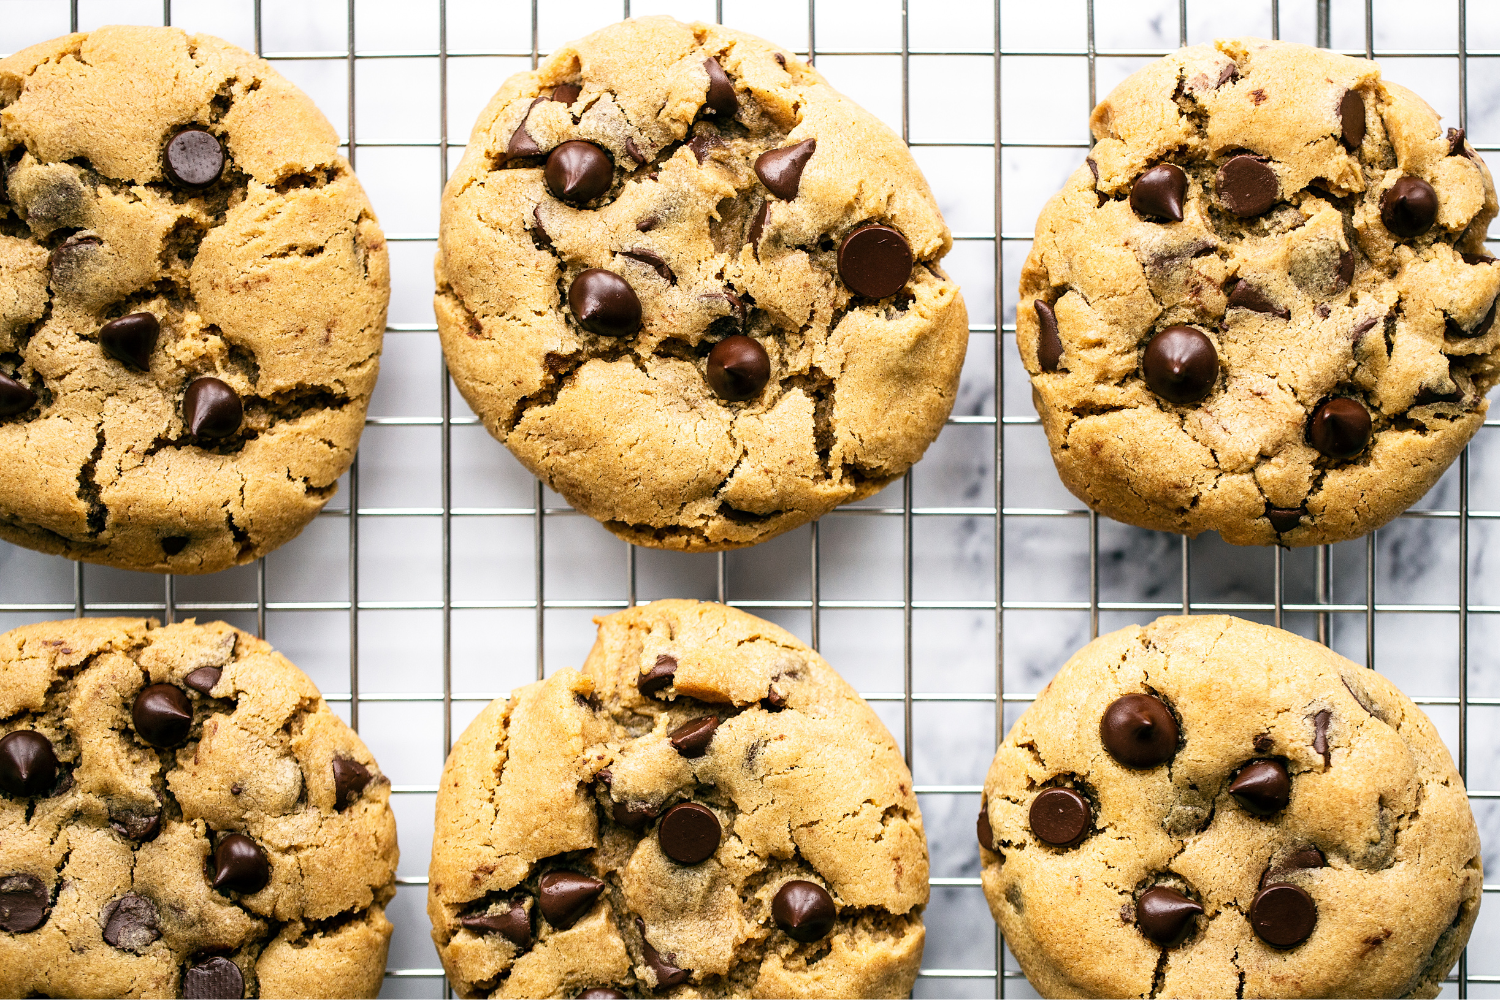
I’ve loved the flavor combination of chocolate and peanut butter since before I could remember. And these cookies showcase that combination perfectly.
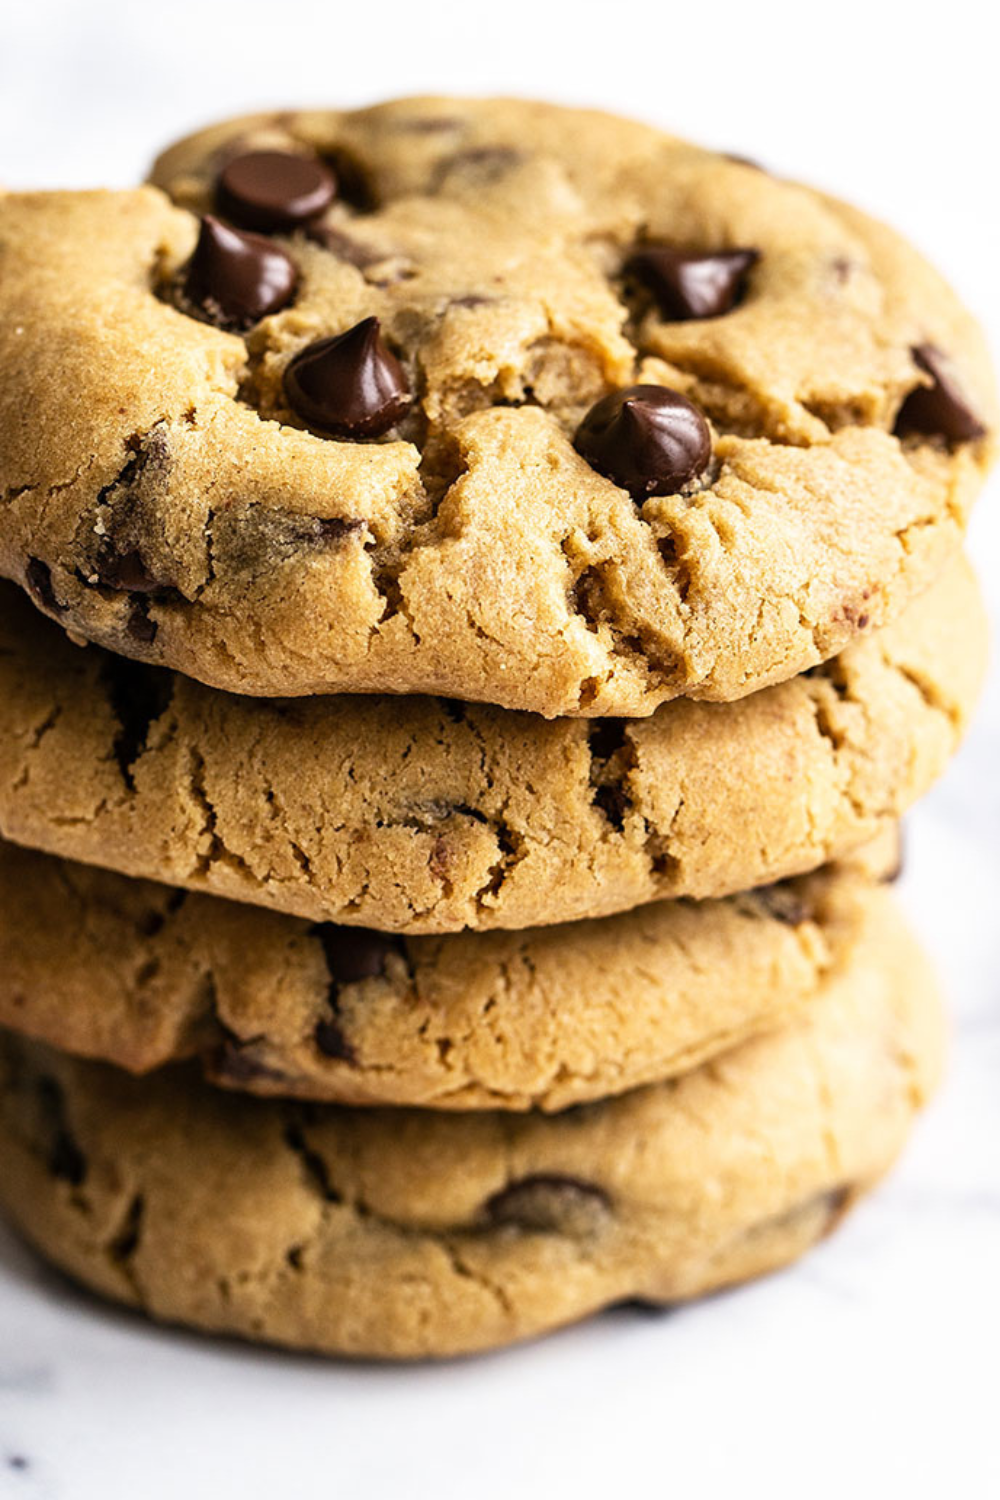
These cookies are ridiculously thick and chewy yet soft, and are heavenly with a glass of cold milk.
The best part? These Peanut Butter Chocolate Chip Cookies are so quick and easy to make – you don’t even need a mixer!
Absolutely delish!! I made them a bit larger (18 total instead of 24) and they are amazing!! I made them for Father’s Day, but the whole house approved. This is by far my favorite texture I’ve ever seen in a cookie. Perfectly crunchy on the edges, soft and chewy insides.
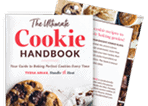
If you’re cookie-obsessed like me, you’ll love making cookies that’ll rival your favorite bakery (just like these!) with my second cookbook, The Ultimate Cookie Handbook: Your Guide to Baking Perfect Cookies Every Time – now available on Amazon!
Key Recipe Ingredients
Peanut Butter: I prefer natural peanut butter (well-stirred with no oily or dry bits) for a bolder peanut butter flavor, but conventional peanut butter (like Skippy or Jif) works too. Check out my peanut butter experiment here!
Dark Brown Sugar: Helps create a chewy texture and adds rich flavor. You can substitute light brown sugar if it’s all you have, but the color, texture, and flavor will be different.
Egg Yolk: The extra yolk contributes to a rich, chewy cookie.
Chocolate Chips: Semisweet is my favorite, but you can substitute milk chocolate, dark chocolate, chocolate chunks, or peanut butter chips for even more peanut butter flavor.
Sprinkle of Science (open me!)
- Brown sugar and an extra egg yolk help create a rich, chewy, and thick texture with lots of flavor.
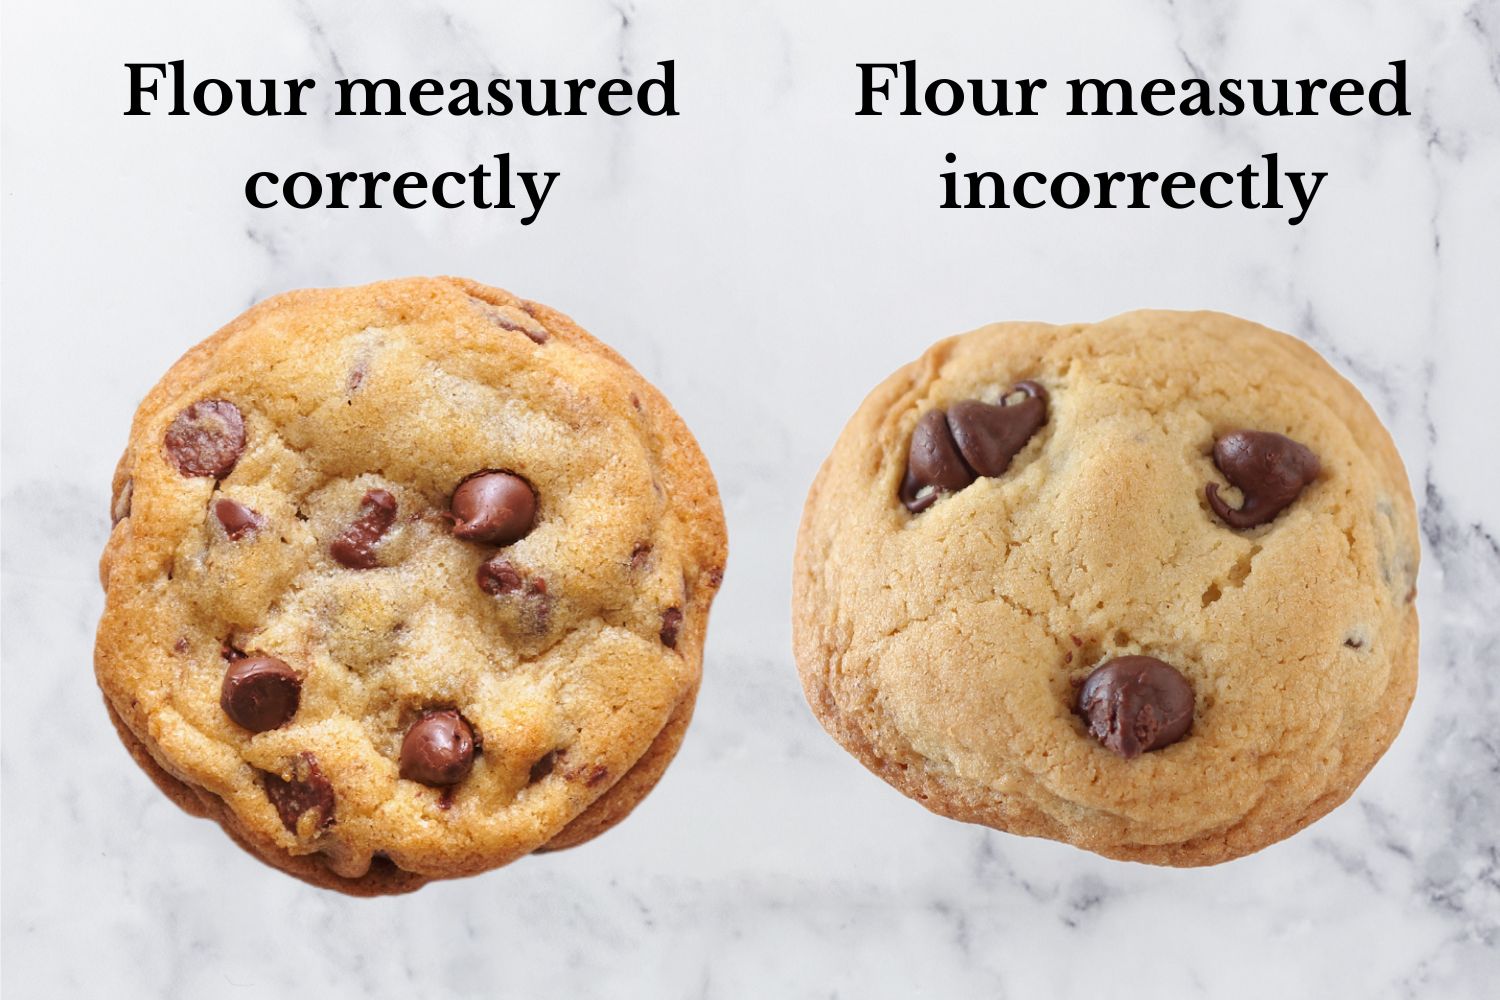
- Be sure to measure your flour correctly (by weighing with a digital scale or the spoon and level method) to avoid cakey, dense, or tough cookies that don’t spread.
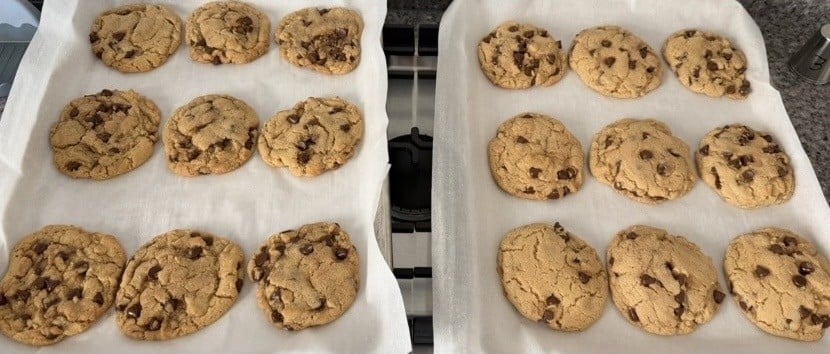
- If You Don’t Measure Your Flour Correctly, you may end up with crumbly dough and dry, hard cookies lacking flavor. Just check out the image showing the difference between correctly and incorrectly measured chocolate chip cookies.
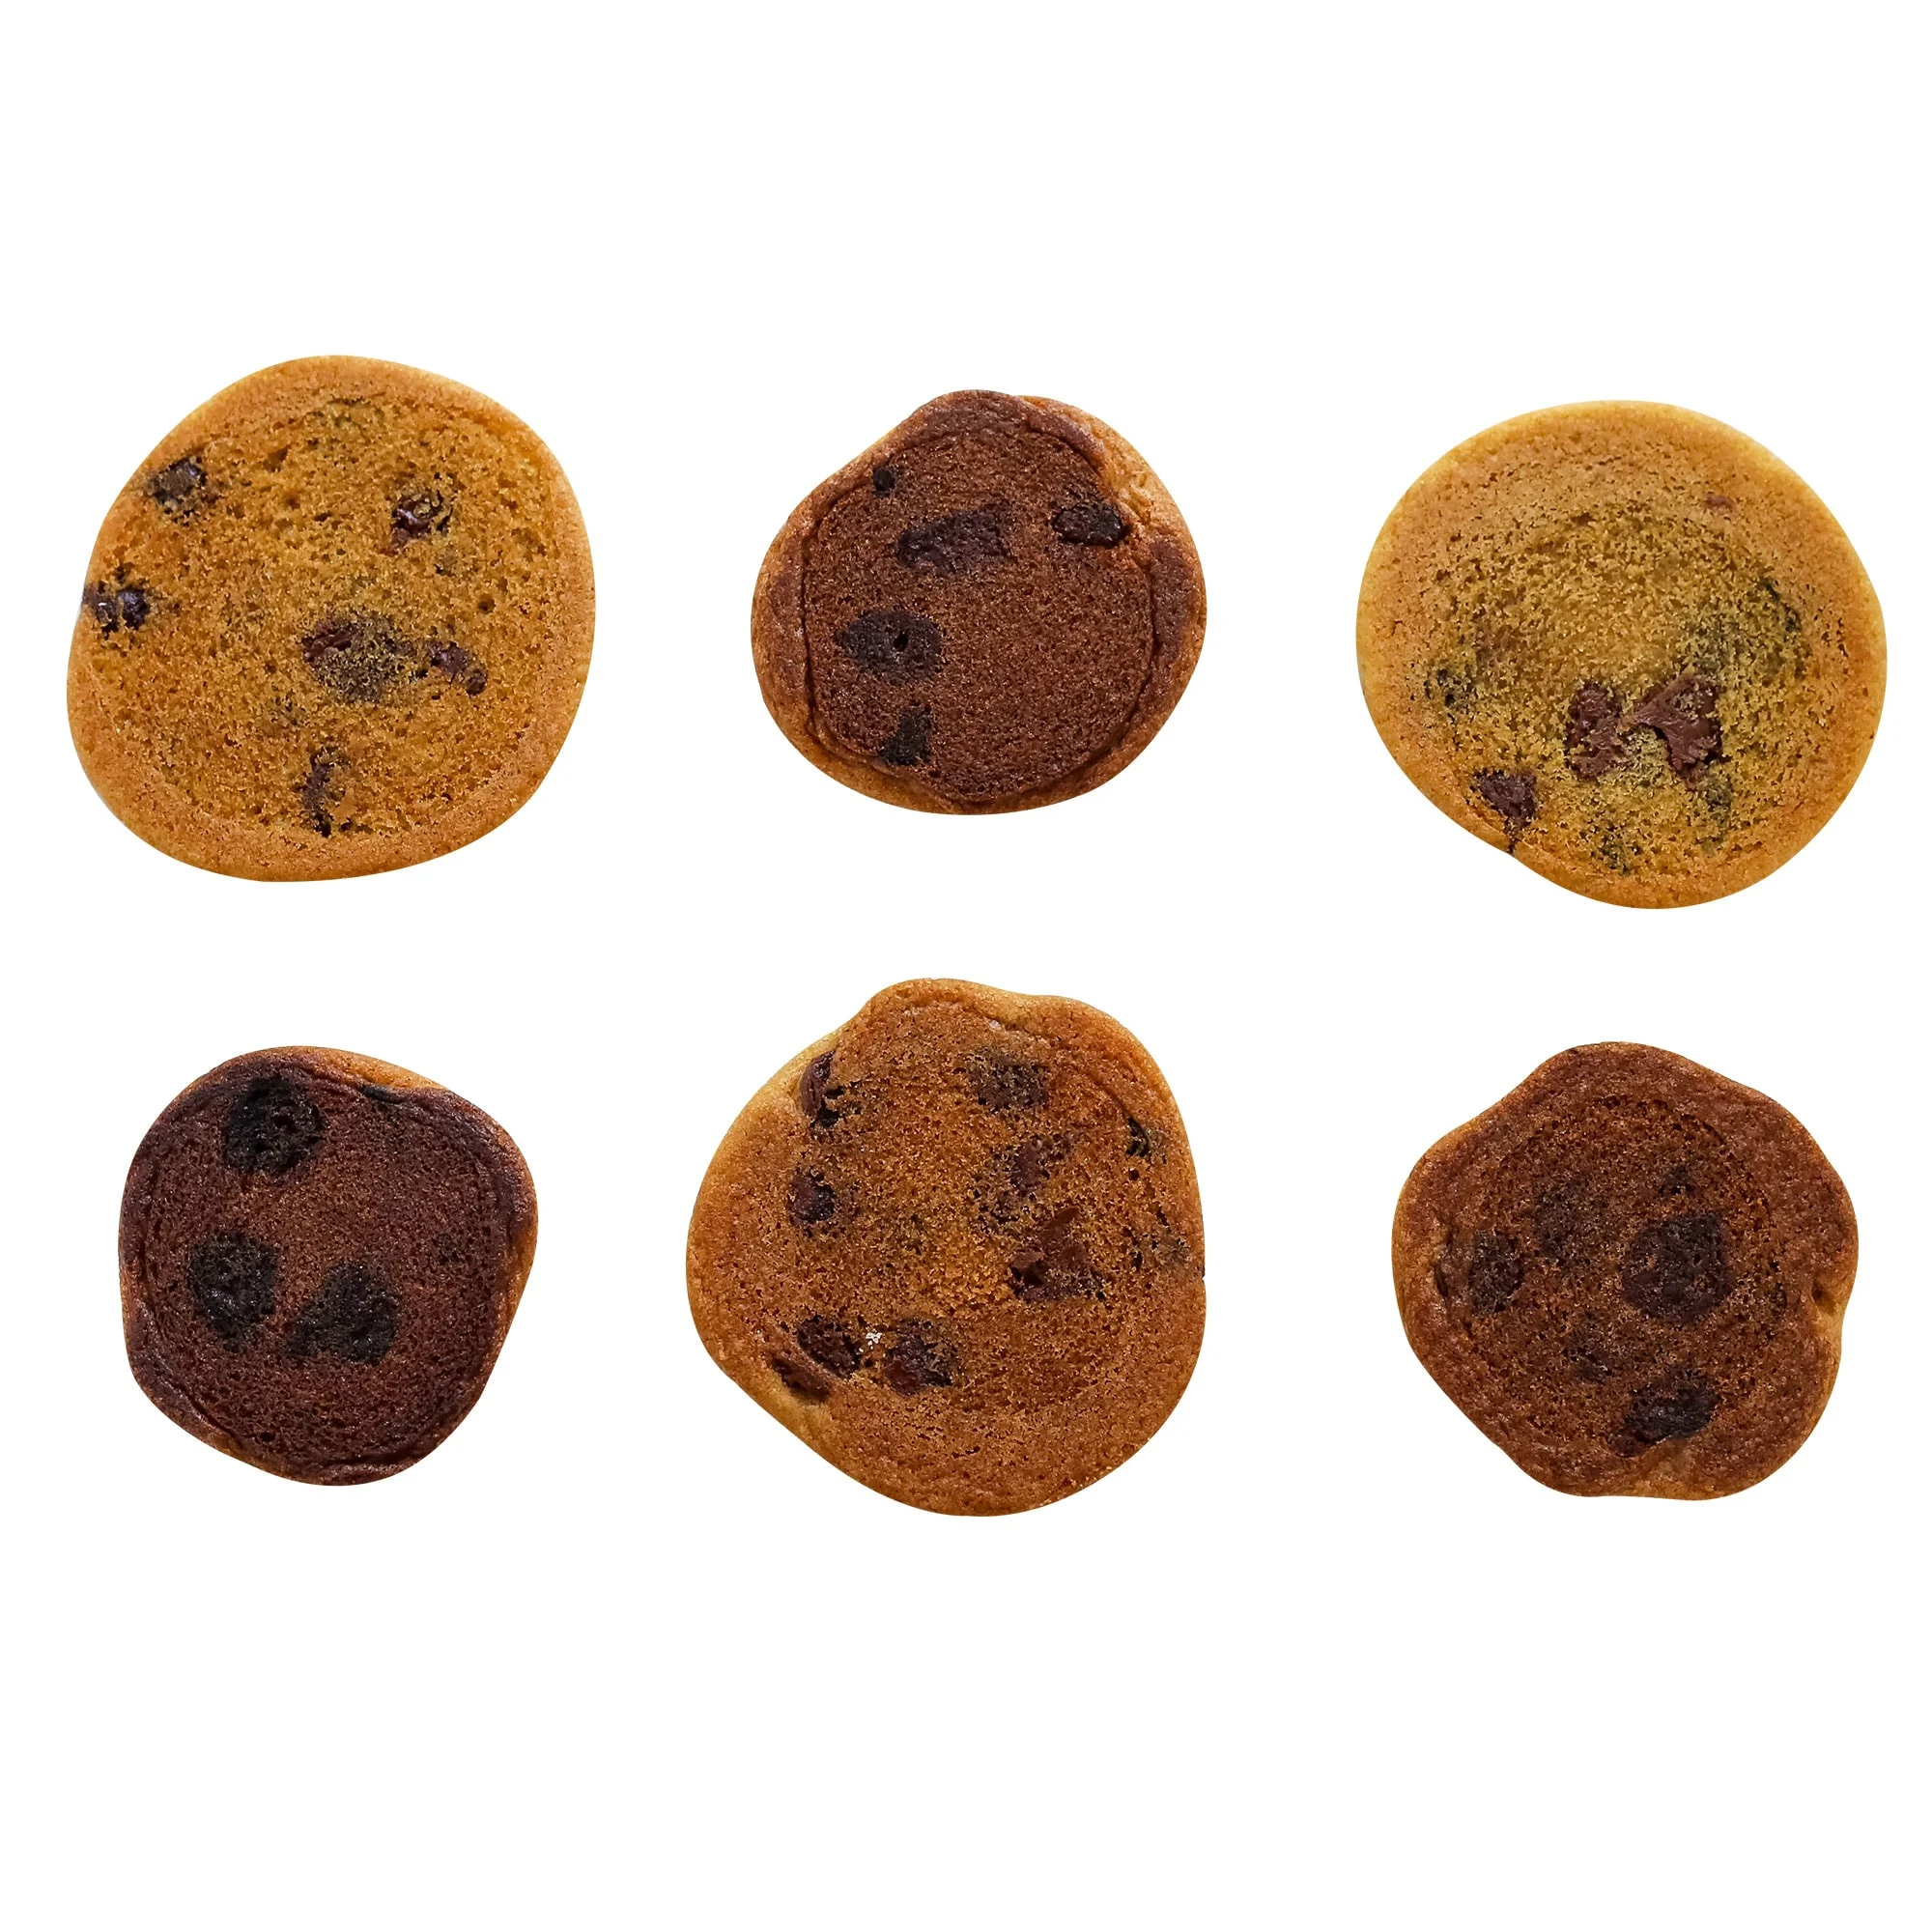
- I ALWAYS use an unlined aluminum half-sheet pan for baking cookies.
- Additionally, I always use parchment paper for baking cookies. I find silicone baking mats produce less of a crunchy exterior crust and are just one extra thing to clean.
- Never use dark-colored pans to bake cookies, as they tend to overly brown or even burn the bottoms of the cookies.
- Check out my Best (and WORST) Baking Pans article here for more details on the science of baking pans.
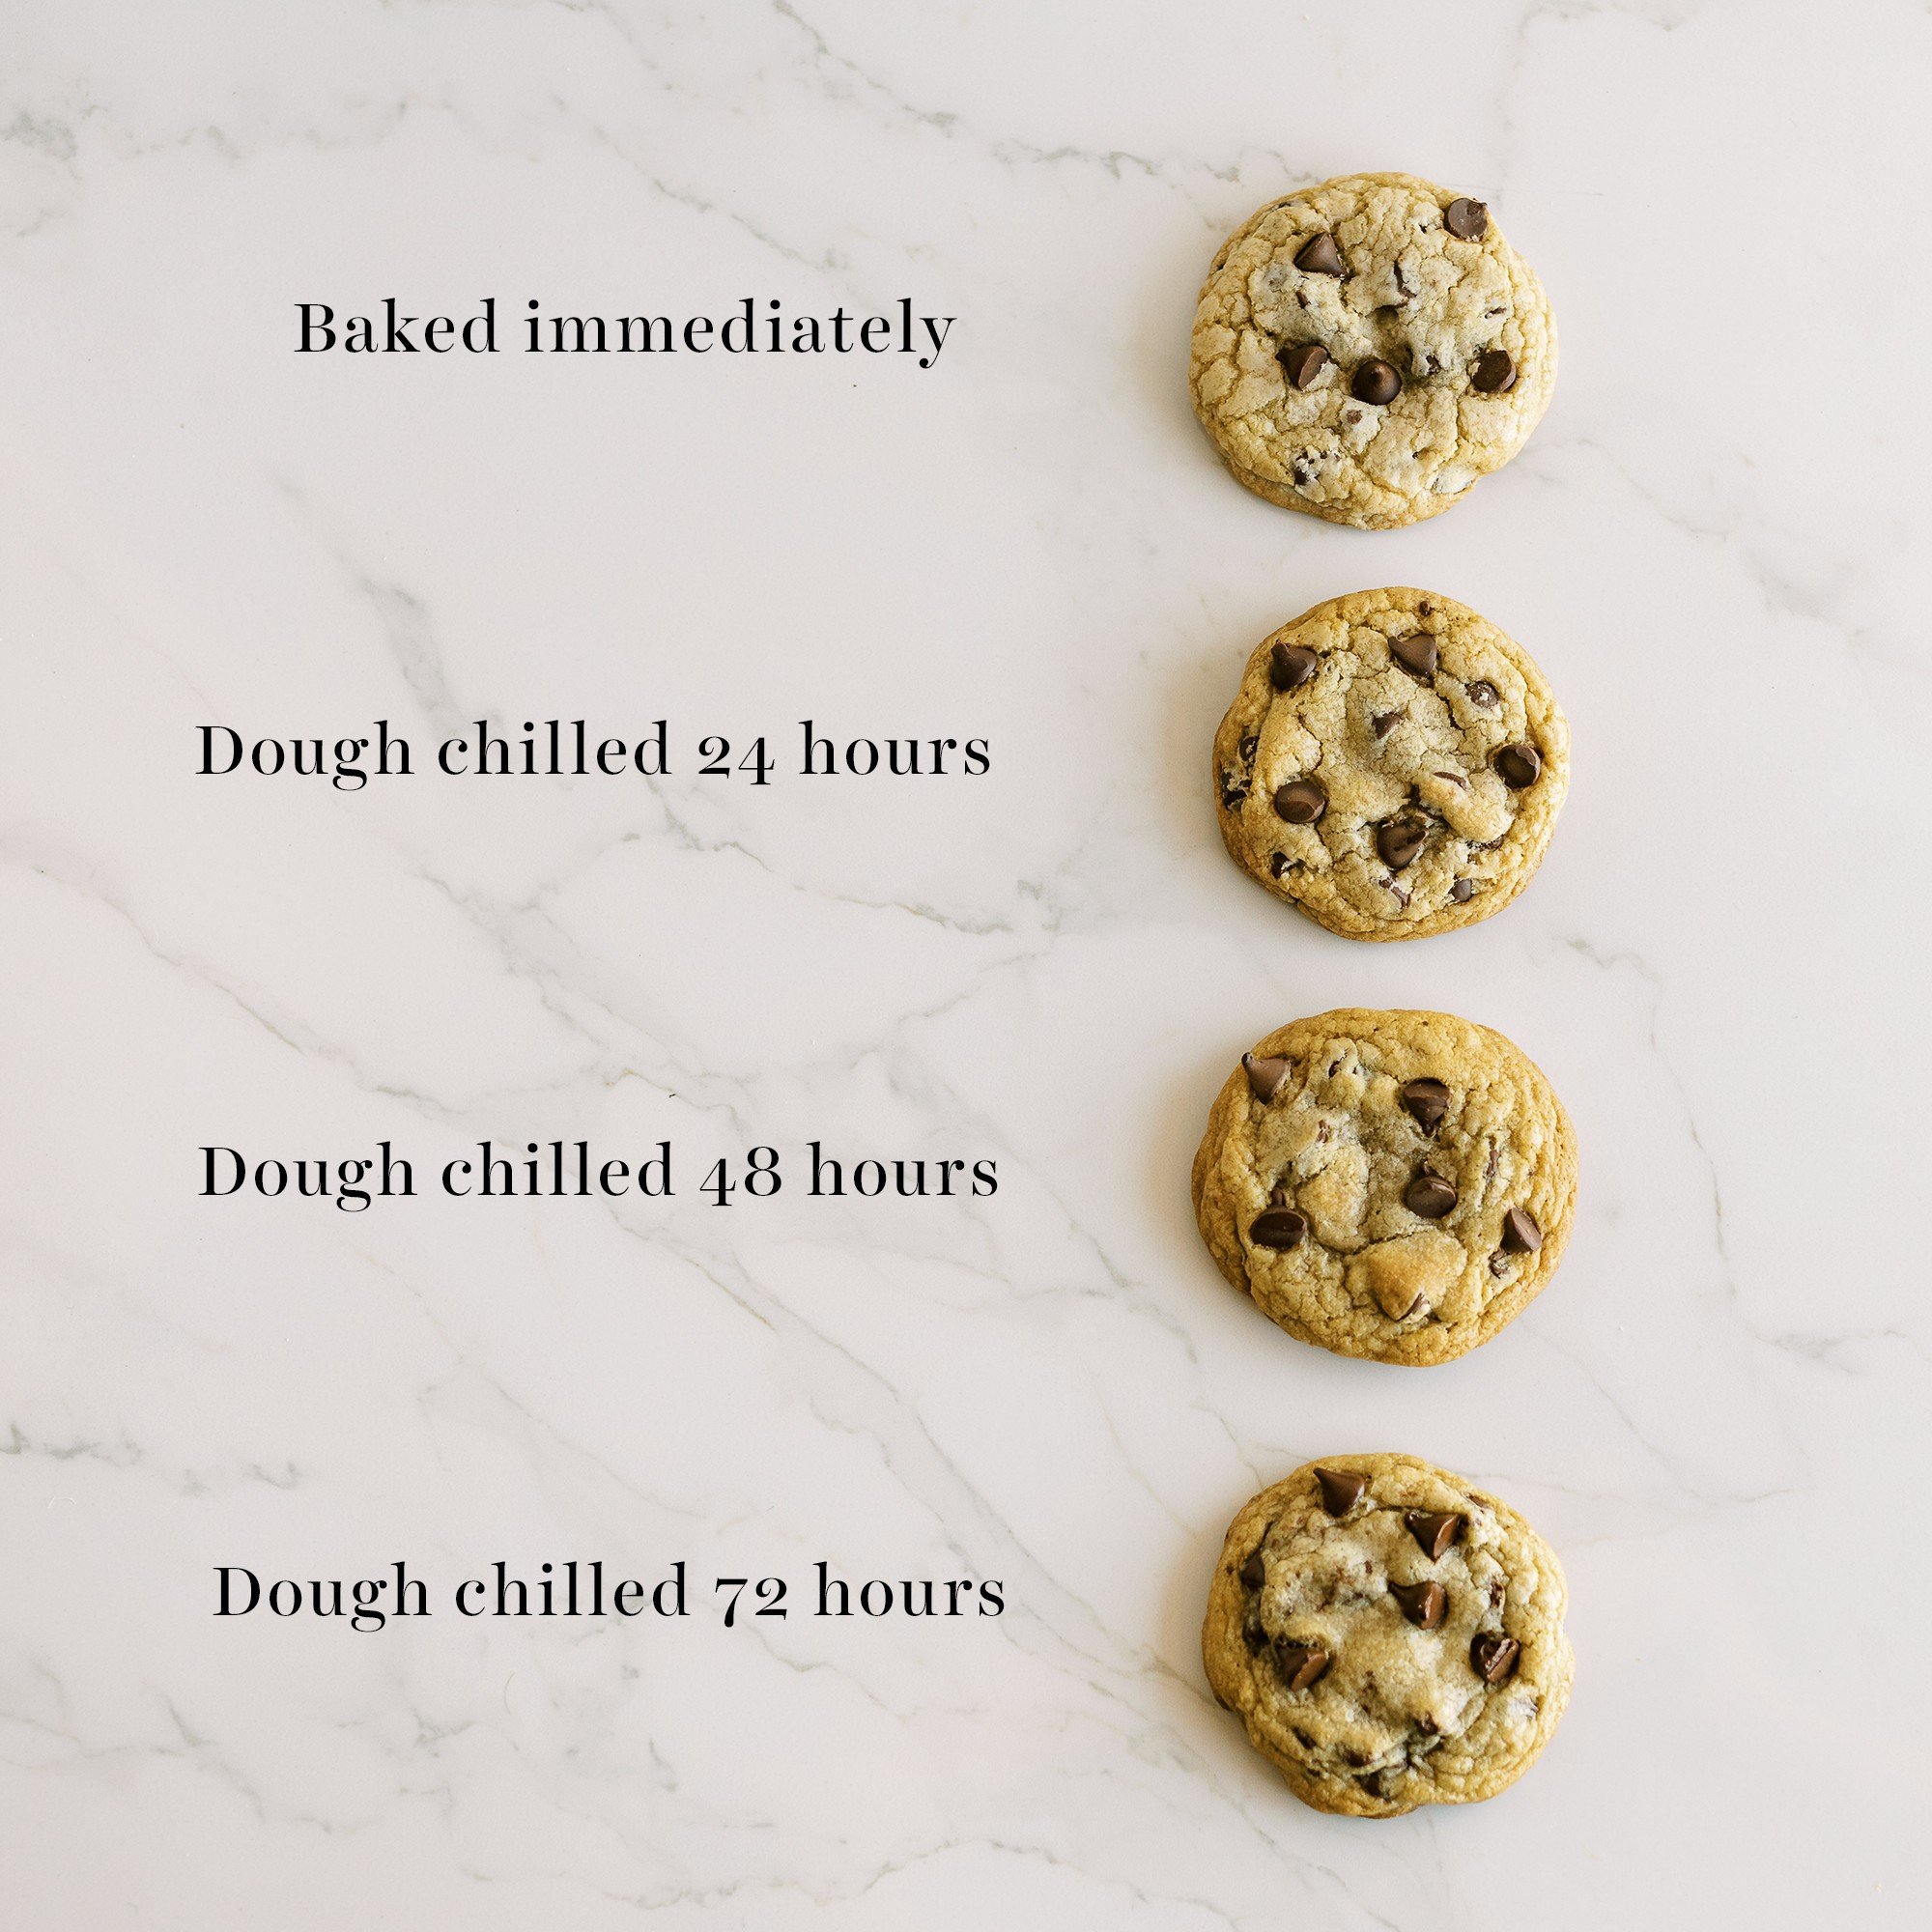
Although not required for this recipe, I highly recommend chilling the cookie dough for 24-72 hours before baking. You can always bake off a few cookies right away and chill the rest. Here’s why:
- Chilling cookie dough is very similar to marinating meat – things just get so much better!
- The texture becomes chewier and thicker, and the flavor intensifies. It also improves the golden brown exterior as the cookies bake, for crisp edges.
- You can either scoop first and chill (make sure to wrap in plastic) or chill the entire mass of dough, let it come to room temperature, then scoop.
- Learn more about why chilling cookie dough matters here.
Storage & Make ahead
Storing Baked Cookies: Keep in an airtight container at room temperature for up to 3 days.
Make-Ahead Dough: Portion the dough, freeze the balls until solid, then transfer them to a freezer bag for up to 6 weeks. Thaw overnight in the refrigerator or for about an hour at room temperature before baking.
Baking from Frozen: This is possible, but the cookies won’t spread as much. Get all of my tips for freezing cookie dough (and baking from frozen!) here.
Frequently Asked Questions
Peanut butter in cookie recipes prevents normal spreading, so flattening the balls with the palm of your hand before baking helps encourage them to spread more while they bake.
If you’d like an even stronger peanut butter flavor, try using very well-stirred natural peanut butter and swapping some of the chocolate chips for peanut butter chips.
I haven’t tested this, but many readers have successfully swapped in King Arthur gluten-free measure for measure or Bob’s 1 to 1 baking flour.
Yes! For about 12 medium cookies, use a medium cookie scoop to make 1 1/2-tablespoon portions and reduce the baking time by about 2 minutes.


Email This Recipe
Enter your email, and we’ll send it to your inbox.
Ingredients
- 2 1/2 cups (318 grams) bleached all-purpose flour, measured correctly*
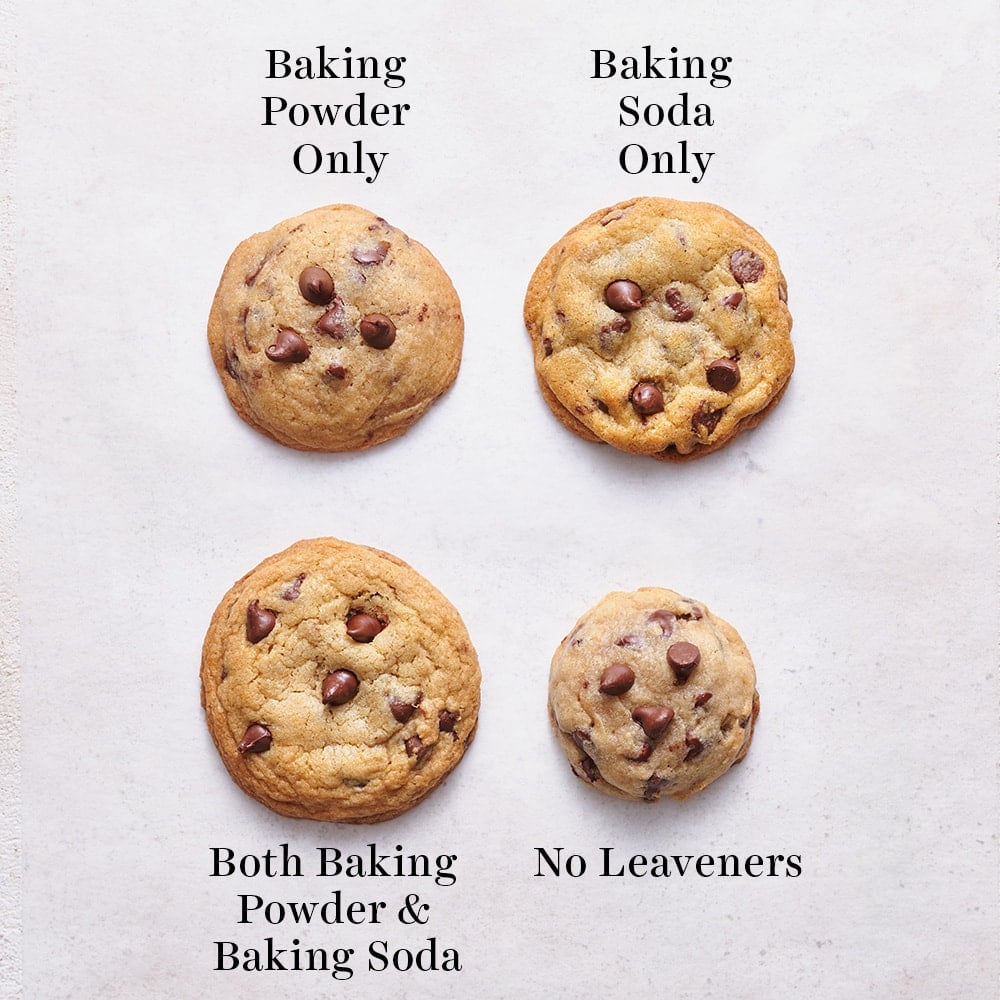
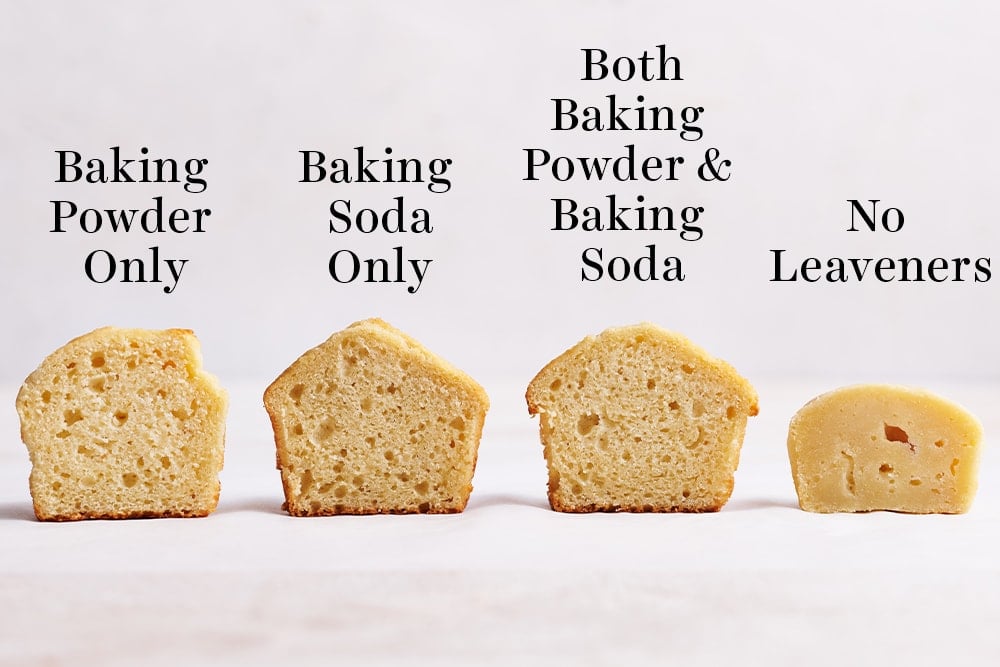
- 1 teaspoon baking soda
- 1 teaspoon baking powder
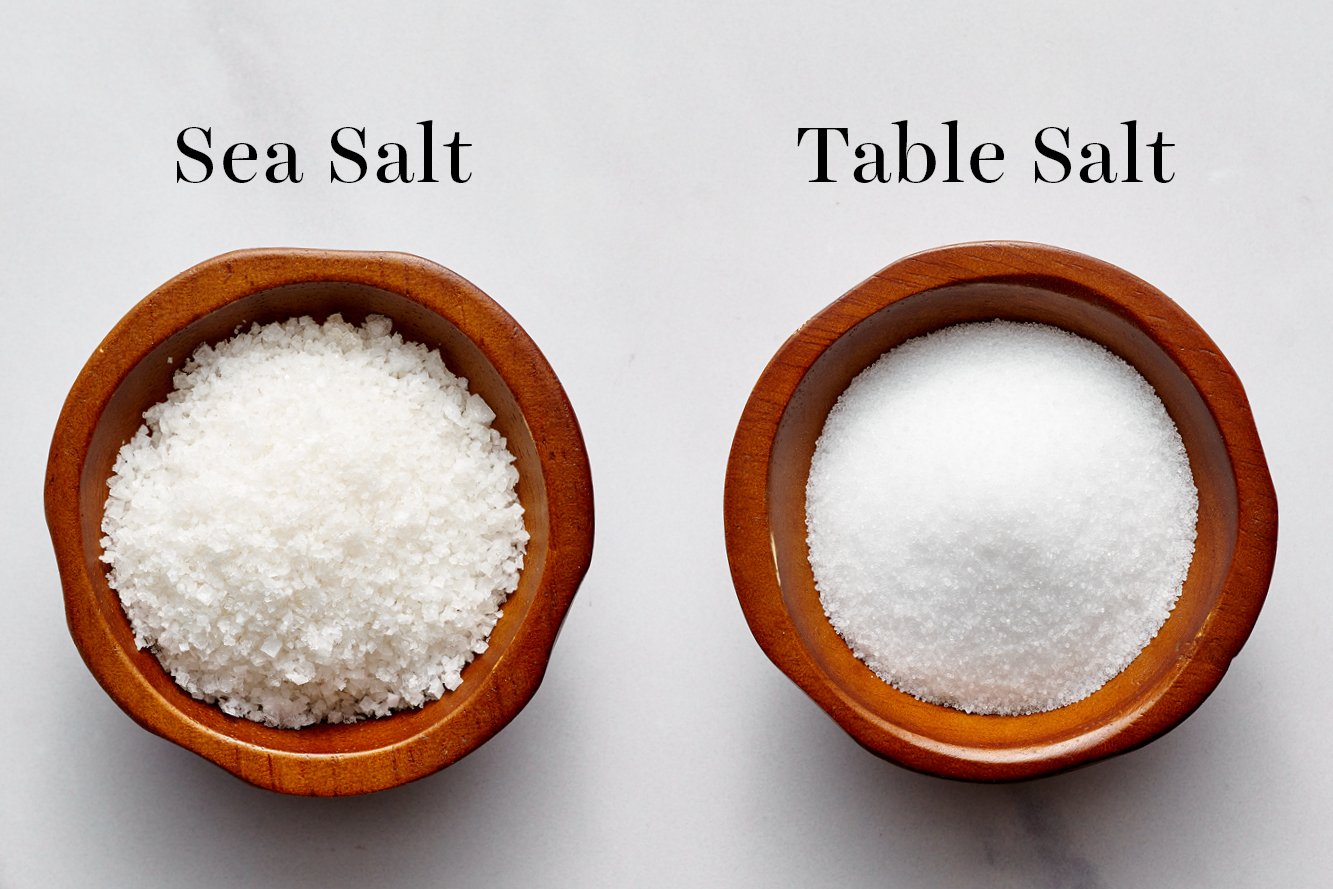
- 1 teaspoon fine sea salt
- 1 stick (113 grams) unsalted butter
- 3/4 cup (202 grams) creamy peanut butter**
- 1/2 cup (100 grams) granulated sugar
- 1 cup (200 grams) packed dark brown sugar
- 2 large eggs plus 1 egg yolk, at room temperature
- 2 teaspoons vanilla
- 2 cups (340 grams) semisweet chocolate chips
Instructions
- Preheat oven to 350ºF. Line baking sheets with parchment paper.
- In a medium bowl, whisk together the flour, baking soda, baking powder, and salt.
- In a large heat-safe bowl, microwave the butter until melted. Vigorously stir the peanut butter into the hot butter until well combined. Stir in the granulated sugar and brown sugar until well combined. Add the eggs and yolk, one at a time, stirring well after each addition. Add in the vanilla. Gradually stir in the flour mixture until just combined. Stir in the chocolate chips.
- Dough may be loose and slightly crumbly. It will not appear like normal chocolate chip cookie dough. If it's unbearably crumbly, that's likely due to discrepancies among brands of peanut butter and if you used unbleached flour. Add 2 tablespoons milk if that's the case.
- Divide the dough into 3-tablespoon sized balls using a large spring-loaded cookie scoop and drop onto prepared baking sheets. Flatten dough slightly into disc shapes with your palms. Dot each disc with a few extra chocolate chips for picture-perfect cookies.
- Bake for 12 minutes, or until golden brown. Let cool for 5 minutes before removing to wire racks to cool completely.
- Cookies can be stored in an airtight container at room temperature for up to 3 days.
Notes
This recipe was originally published in 2014 and has been updated with recipe improvements and new photos. Photos by Ashley McLaughlin.


I’m not sure how people are getting bad results from this recipe. I found this recipe a while back and have been using it ever since. These are the best peanut butter cookies I’ve found yet. Delicious and easy!
Yayyy! That’s so great to hear, Sarah! So glad you love this recipe so much 🙂
Awesome cookie! Great directions and tips!
So excited to hear that!! 🙂
hello there! do you have tips on trying to convert a chocolate chip cookie into a PB chocolate chip cookie and vice versa?
Hi there! That is not something that’s simple or easy to do without a lot of experimenting. I have several peanut butter cookie recipes, and tons of chocolate chip cookie recipes on my site. I would begin by looking at the recipes thoroughly and make a batch of each as written, and then begin your experiments from there, making careful note of each thing you altered with each batch, and everything you liked and didn’t like in each batch. I recommend this chocolate chip cookie recipe, and this peanut butter cookie recipe. Good luck 🙂
Ever since I found your recipe, I make these cookies nearly every other week. I have never been able to make a peanut butter cookie that has a deeply rich peanut butter flavor. These cookies have solved that problem. I mix them totally by hand! Absolutely, the best cookie I have ever eaten! Thank you so much for sharing this recipe.
So excited to hear that you love these cookies so much, Monica!!!
Made dough exactly to specifications except I did not chill overnight. Dough was VERY greasy/wet-ish. 12 minutes at 350 the middle of each cookie was definitely raw. Either needs higher temp, more time, or less than 3tbs scoop size. I ended up cooking for about 21 mins.
Hi Jon! Hmm, it definitely sounds like something went a little awry here! I have a couple thoughts as to what may have gone wrong:
– How do you measure your ingredients? By volume (using cups), or by weight (using a digital kitchen scale)? It’s so easy to add extra flour/sugar/etc to a recipe and throw off the entire chemistry of a recipe if measuring by volume. Tessa talks about how to best measure ingredients to ensure accuracy every time, in this article here!
– Your oven might be running a little hot. Do you have an oven thermometer to check that? Check out Tessa’s article here about ovens, full of tips!!
– I also want to check what type of peanut butter you used? Natural peanut butters can mess with the dough’s structure, and can produce a strange texture. We recommend Jiffy peanut butter for this recipe.
I hope something here helps! If not, please feel free to reach back out to us – we are always more than happy to help!! Happy baking
Oh my word!!! Best cookies ever!! I can truly say in all honesty that I think these are the best cookies I’ve ever made. Thanks so much for sharing the recipe! I made them exactly as stipulated and it was quick and easy. I know these will become a firm favourite in my home.
Blessings from South Africa!
So excited to hear that you loved these cookies so much, Tamsyn!!
Hi Linda, just wondering how many calories are in each cookie thanks!
Fiona
Hi Fiona! Here at Handle the Heat, we don’t count calories! We firmly believe that dessert should be an indulgence. You should be able to find a calorie counter online to assist with this, though! 🙂
Hi Wendy! I’m sorry to hear these cookies did not turn out as you’d hoped. As long as your butter/peanut butter mixture isn’t hot, and just warm, it won’t cook your eggs!
In case you’re interested in troubleshooting at all, I have a couple of ideas as to what may have gone wrong here. Are you weighing your ingredients, or measuring by volume? Weighing vs. measuring by volume can have a huge impact on your baked goods. It’s so easy to over or under-measure ingredients, especially flour, when measuring by volume – which can take cookies from delicious, to bland and crumbly before they even hit the oven! Tessa talks about how to measure ingredients for best results in this article here.
Another issue could be your leavening agents may not be fresh. If your baking powder and/or soda are not fresh, this can impact the cookie’s ability to rise, and result in cookie puddles or cookie bricks! Tessa shows you how to test for leavener freshness in this article here!
Lastly, I wonder if you possibly used smaller eggs than we recommend? Large eggs should weigh approximately 56 grams in shell, or 50 grams out of the shell. The eggs plus egg yolk in this recipe, combined with the butter and peanut butter, should be sufficient to make this dough moist and not crumbly. If your eggs were medium or smaller, it’s more likely that this dough would have seemed crumbly, and therefore seemed like it needed more liquid. The addition of the milk may have also contributed to the strange crumbly consistency!
I hope something here helps! If not, please feel free to reach back out to us – we are always more than happy to help!! I hope you give this recipe another try sometime – these really are delicious cookies! Happy baking
They were horrible !
Hi Jill! I’m sorry to hear these cookies did not turn out as you’d hoped. In case you’re interested in troubleshooting at all, I have a couple of ideas as to what may have gone wrong here. Are you weighing your ingredients, or measuring by volume? Weighing vs. measuring by volume can have a huge impact on your baked goods. It’s so easy to over or under-measure ingredients, especially flour, when measuring by volume – which can take cookies from delicious to bland before they even hit the oven! Tessa talks about how to measure ingredients for best results in this article here.
Another issue could be your leavening agents may not be fresh. If your baking powder or soda are not fresh, this can impact the cookie’s ability to rise, and result in cookie puddles or cookie bricks! Tessa shows you how to test for leavener freshness in this article here!
How long did you cream your butter and sugars together for, and how warm your butter was at this time? Both have a huge impact on a cookie’s outcome. Have a look at this article, where Tessa discusses both and the repercussions on the resulting baked goods!
I also want to check what type of peanut butter you used? Natural peanut butters can mess with the dough’s structure, and can produce a crumbly or strange texture. We recommend Jiffy peanut butter for this recipe.
I hope something here helps! If not, please feel free to reach back out to us – we are always more than happy to help!! Happy baking
They turned out beautiful and tasty !
Yay!! So happy to hear that, Rebekah!!
My favorite cookies EVER!!!!!!
Yay!! That makes us sooo happy to hear!!!
The recipe was very clear and easy to follow. I adjusted the recipe a little bit because I didn’t have brown sugar and I wanted to use less sugar, since I have family members with type 2 diabetes. So I used just one cup of white sugar. I also left the dough in the fridge for 1.5 hours.
The result was a good cookie, I liked that it didn’t really spread on the baking tray, but my cookies were more cake-y than chewy. I assume this is due to not using brown sugar, but otherwise I will probably try this recipe again, but with chunky peanut butter because I’d like an added crunch.
Hi there! I’m glad to hear you found this recipe clear and easy to follow, even if it didn’t turn out as it should by eliminating some of the sugar! While I completely understand your need to reduce the sugar content in such recipes, we really recommend sticking with the quantity of sugar in any recipe, as-written, for many reasons. Sugar doesn’t just sweeten baked goods; it moistens, provides tender structure, assists with gluten formation, extends the shelf-life (meaning it will be fresh and moist longer), and assists in creating a taller and lighter finished product – just to name a few things! Dark brown sugar brings even more moistness, due to its extra molasses content, and that molasses also brings acid, which helps activate the leaveners! Reducing the sugar content in a recipe doesn’t just lower sweetness; it messes with the recipe’s chemistry and creates a totally different baked good. I hope you will try this recipe again as-written, and hopefully you will find these cookies are as delicious as you originally hoped! Feel free to reach out if you have any questions – we are always happy to help 🙂