


Tessa’s Recipe Rundown
Taste: Tons of chocolate flavor with the perfect sweetness level.
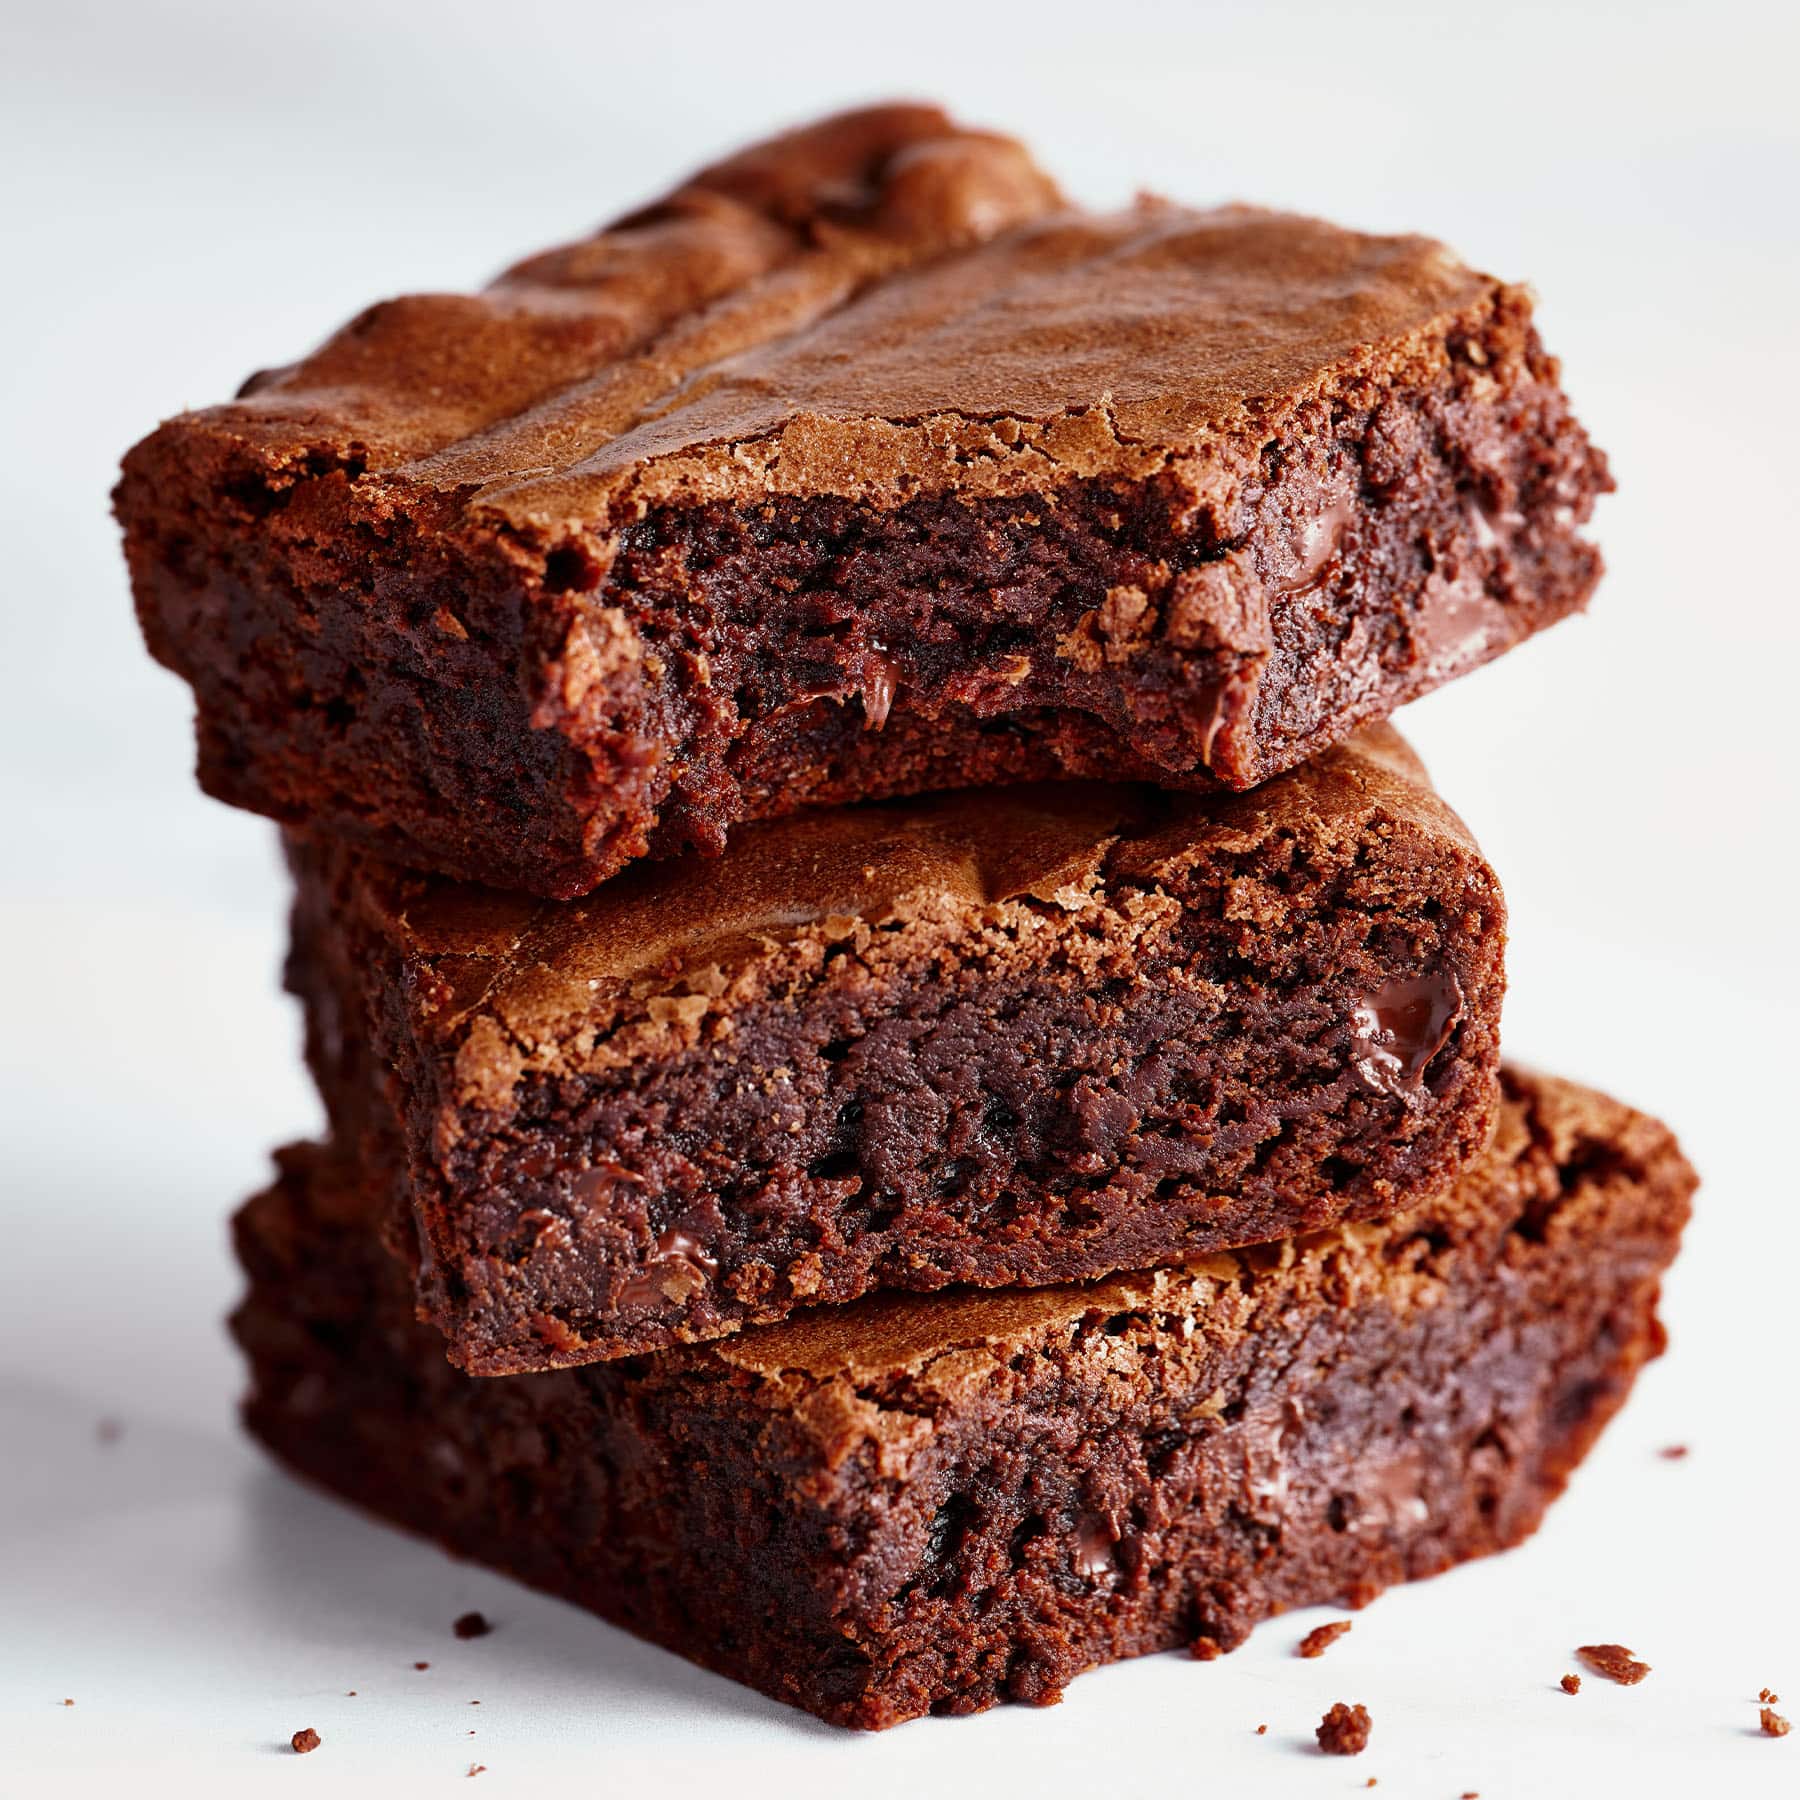
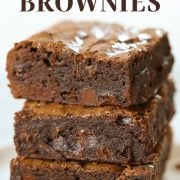
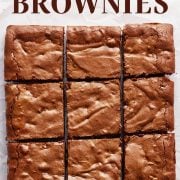
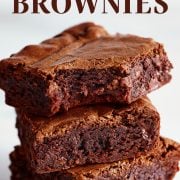
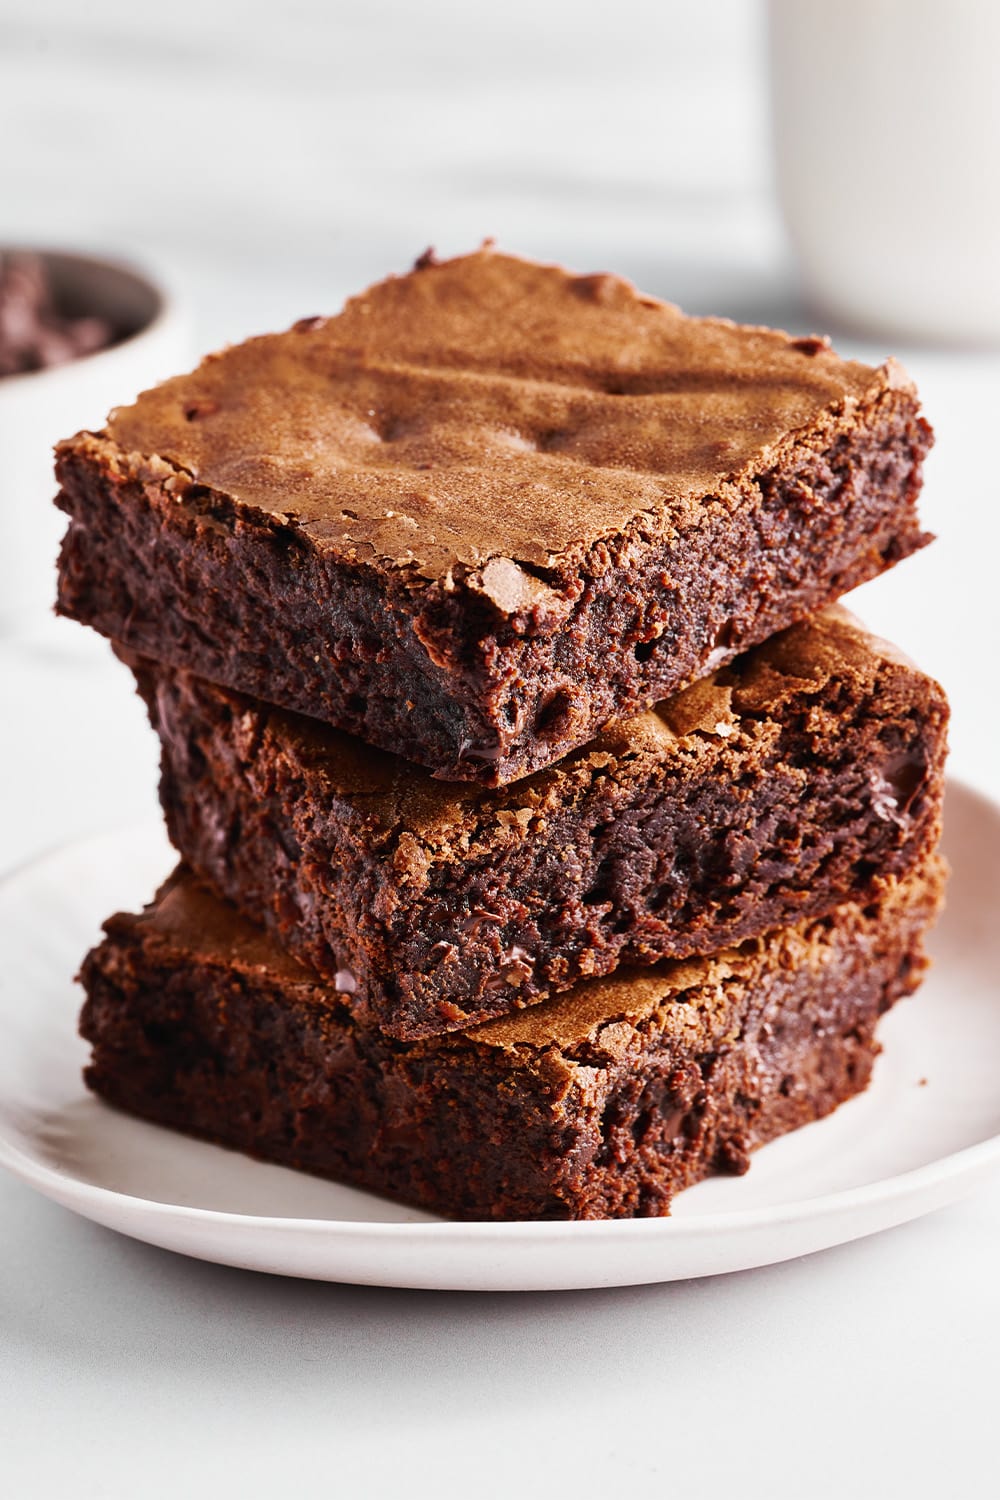
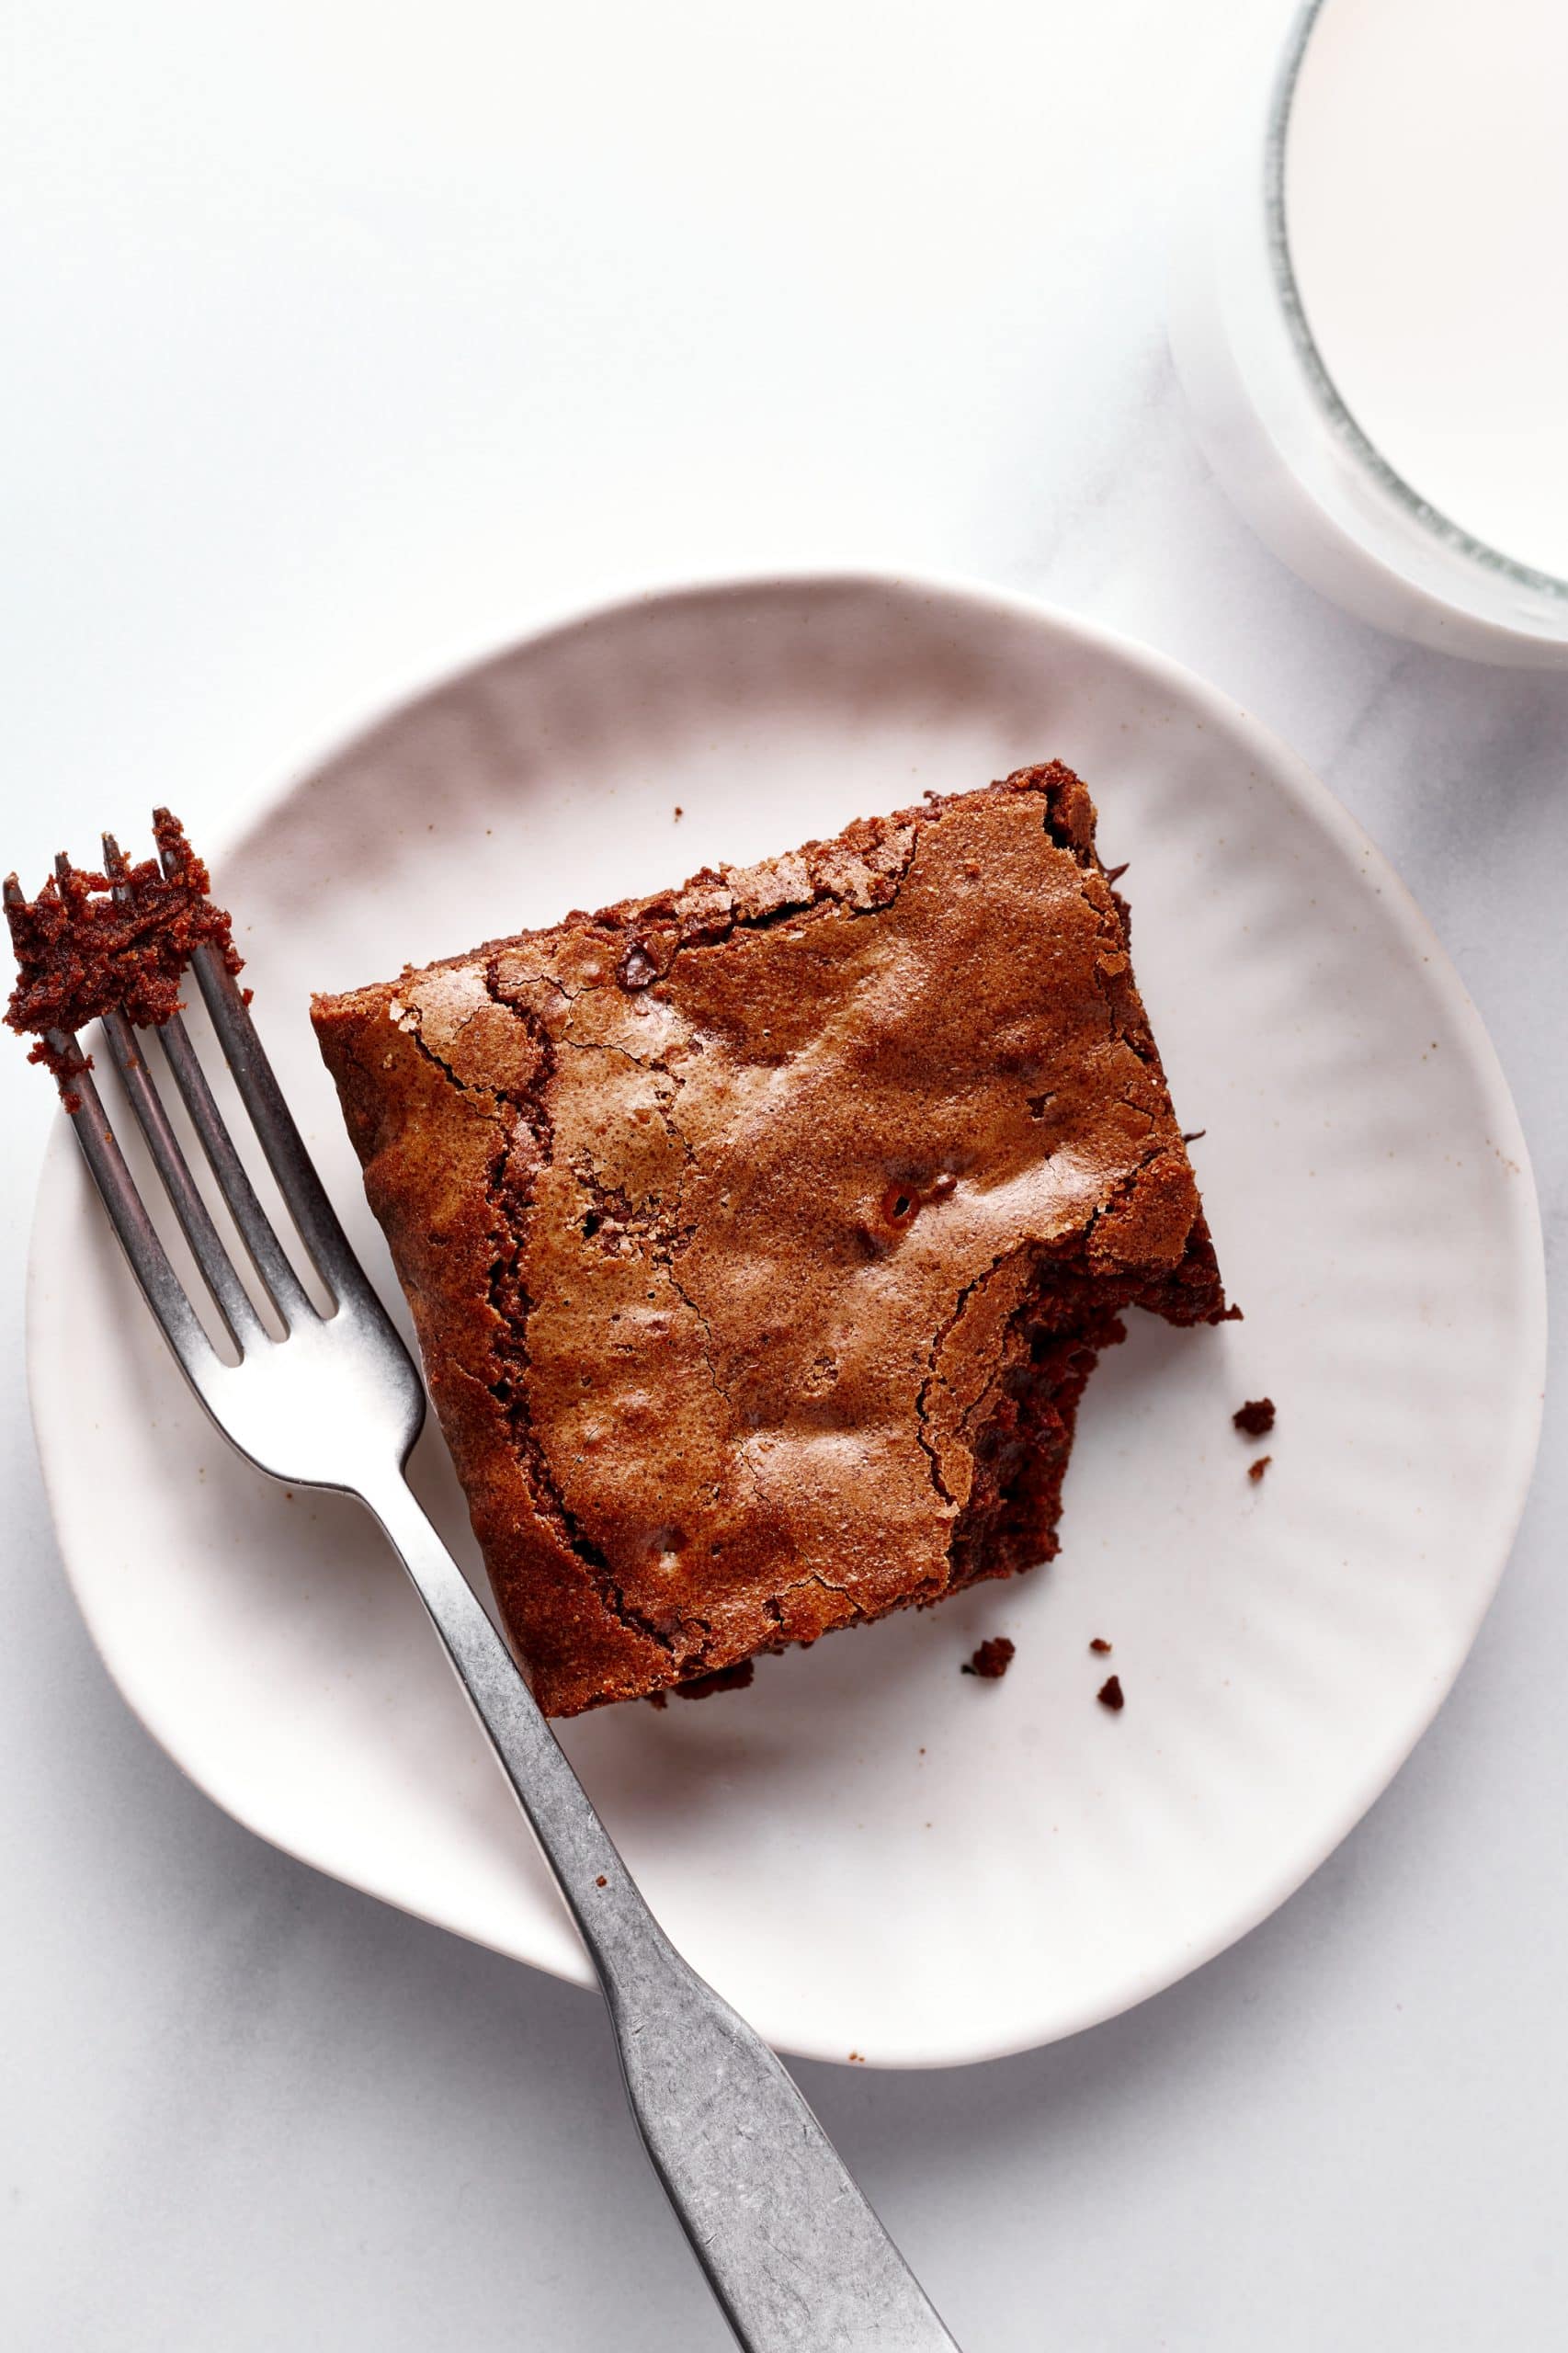
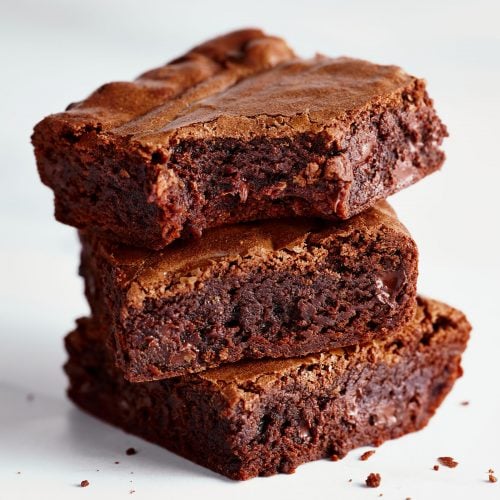
Texture: Tall, rich, fudgy, chewy (especially at the edges), with gooey chocolate chips throughout.
Ease: Super quick and easy! Who needs a box mix when you have these easy brownies?
Why You’ll Love This Recipe: Simple, delightful homemade brownies. Each bite is heaven.
This post may contain affiliate links. Read our disclosure policy.
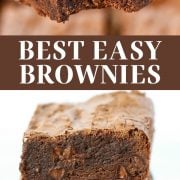
This Best Easy Brownie Recipe is proof that homemade brownies are WAY better than using a box mix. And with this recipe, they’re just as easy to make!

Anyone who knows me knows that I’m a complete and total chocoholic. So when I tell you that the chocolate flavor in these brownies is just unparalleled, you know you can believe me!
After I was inspired to create this ultra-easy Brownie Recipe, I took to the kitchen. Within a few days and after several test versions, I had the recipe nailed.
Struggling with Flat or Dry Cookies?
My free guide shows you how to fix texture problems and bake cookies you’ll love.
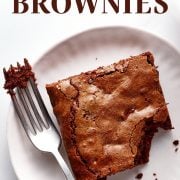
They’re especially good with ice cream and a drizzle of caramel sauce on top for an extra decadent treat.
This recipe is SO easy to make, but below, I go into detail about the simple Baking Science behind this recipe, so you can nail the perfect rich chocolate flavor, fudgy texture, and crinkly crust. Let’s dive in!

Sprinkle of Science
How to Make the BEST Easy Brownie Recipe

Easy Brownies Recipe Ingredients
- Butter – Use unsalted butter so you are in control of the salt level in your brownies.
- Semisweet chocolate – I use chopped chocolate baking bars to melt into the brownie batter, but you can use chocolate chips instead if needed.
- Granulated sugar – White sugar sweetens and moistens the brownies. Don’t reduce the sugar! Learn more about sugar’s many roles in baking brownies here.
- Eggs – 2 large eggs plus 1 egg yolk provide the perfect chewy texture without making the brownies cakey.
- Vanilla extract – Rounds out the flavor perfectly.
- All-purpose flour – Measured accurately. It’s crucial to weigh your dry ingredients with a digital scale to make sure you don’t end up with crumbly or dry brownies.
- Cocoa powder – I used unsweetened natural cocoa powder for these brownies. Again, make sure to measure correctly! Find out the differences between Natural vs. Dutch Process Cocoa Powder here.
- Fine salt – Just 1/4 teaspoon of salt is enough to balance out the sweetness. I prefer to use fine sea salt in baking – learn more about different types of salt here.
- Semisweet chocolate chips – I use semi-sweet chocolate chips, but milk chocolate chips, dark chocolate chips, or chocolate chunks also work. Learn more about Chocolate in Baking here.
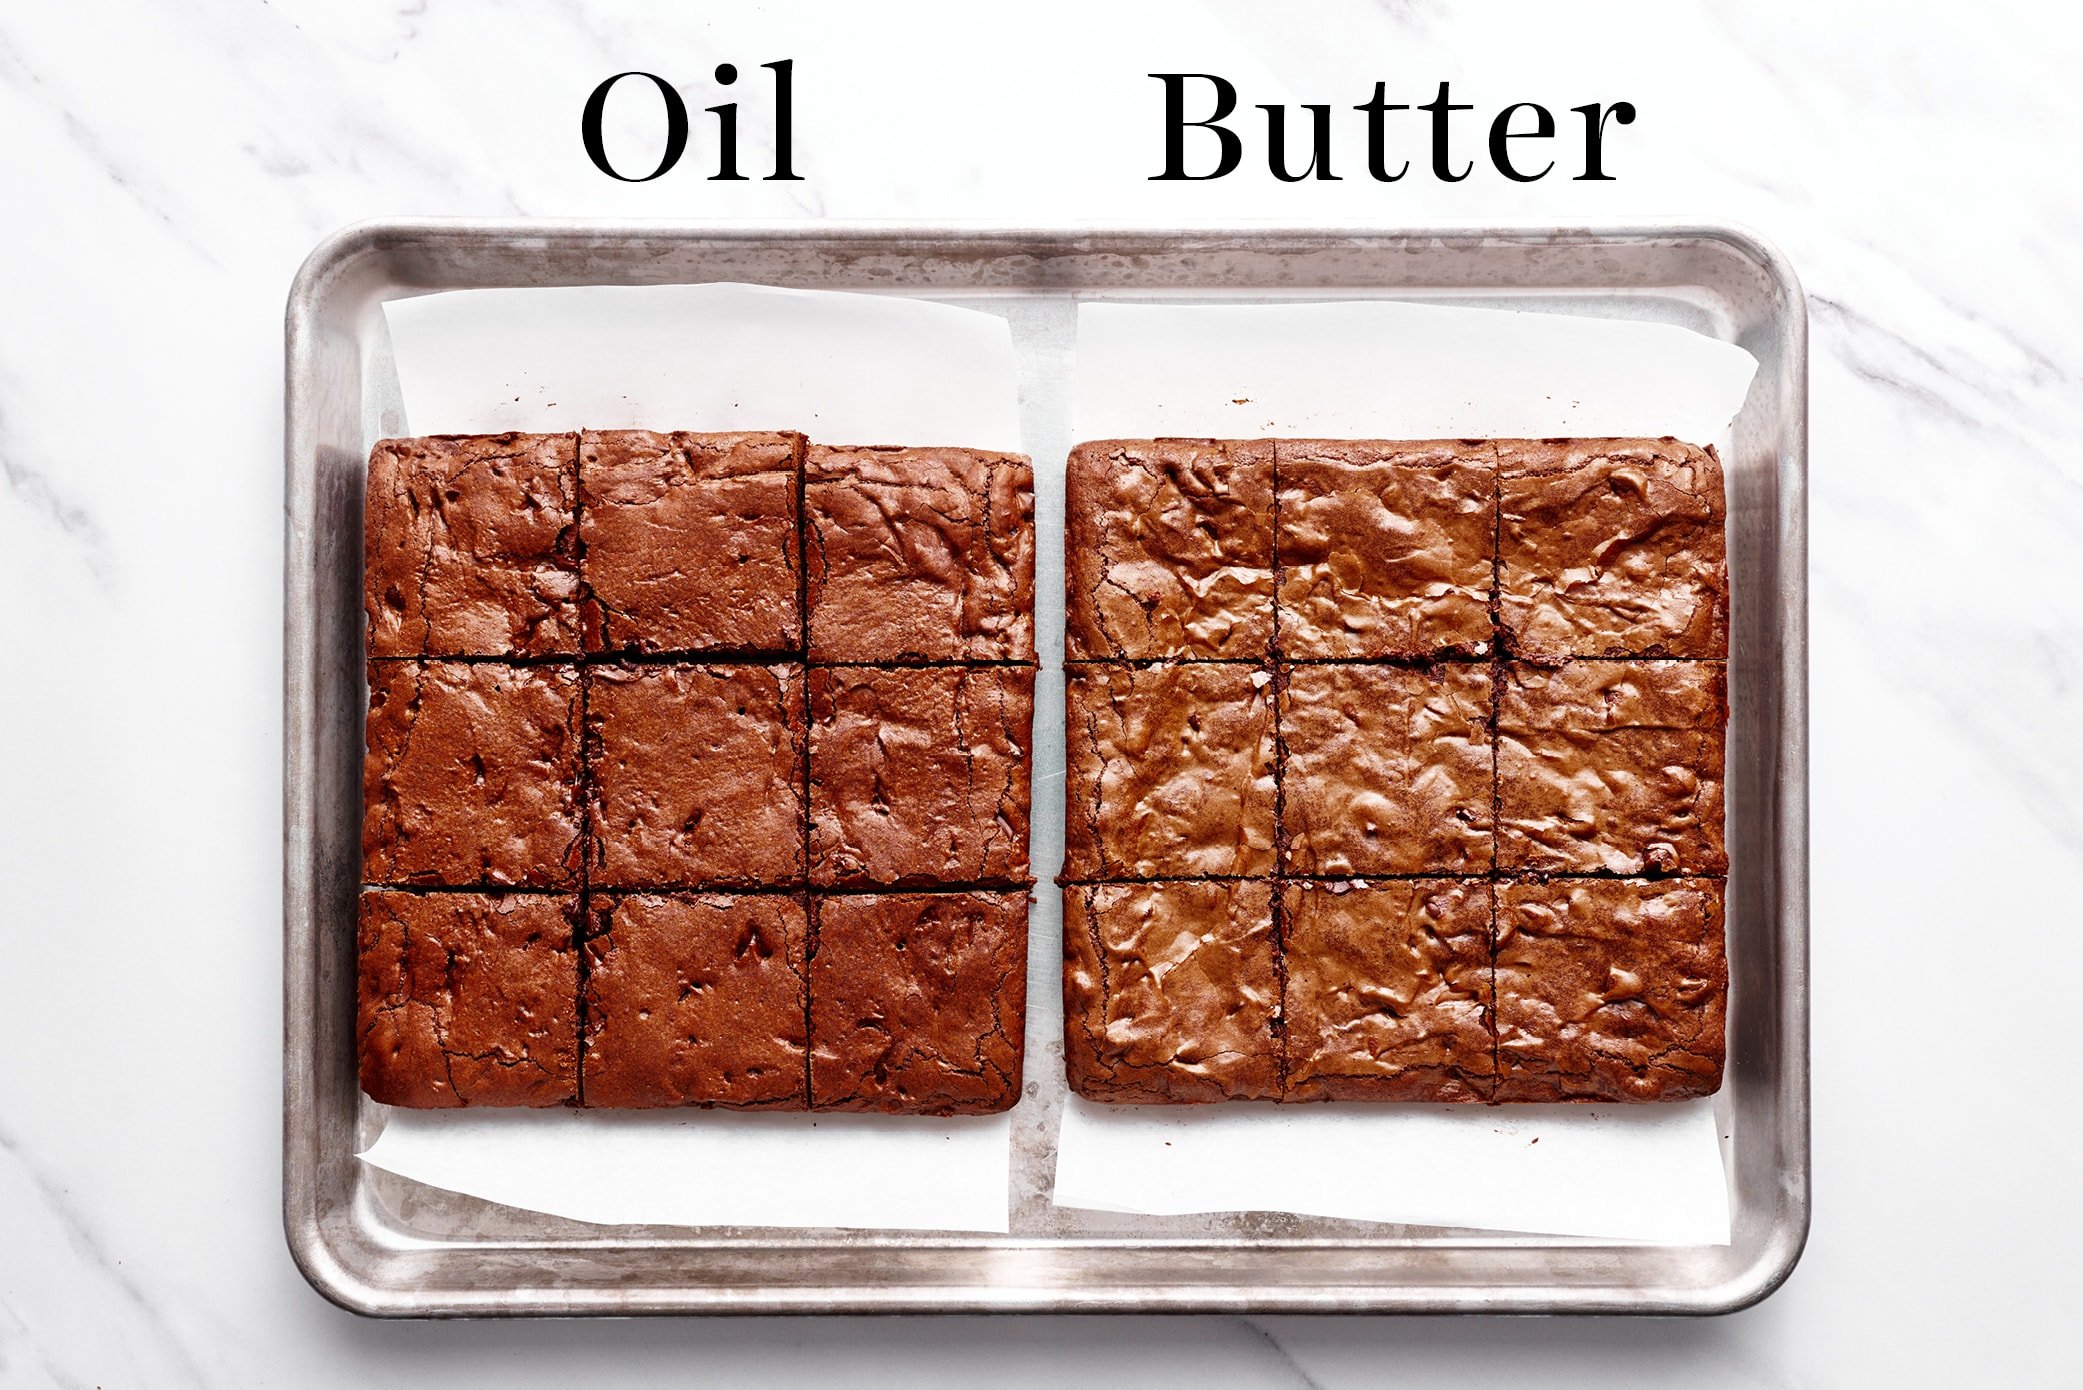
Oil vs. Butter in Brownies: Which is Better?
This recipe calls for butter instead of oil for the best flavor and fudgy, melt-in-your-mouth texture. The melted butter also helps to provide that beautiful crinkly crust on top (more on how to achieve that below).
Check out more side-by-side baking experiments with Oil Vs. Butter in Baking here.
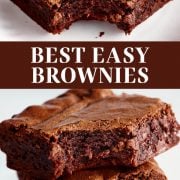
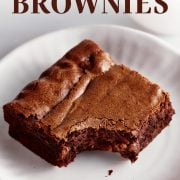
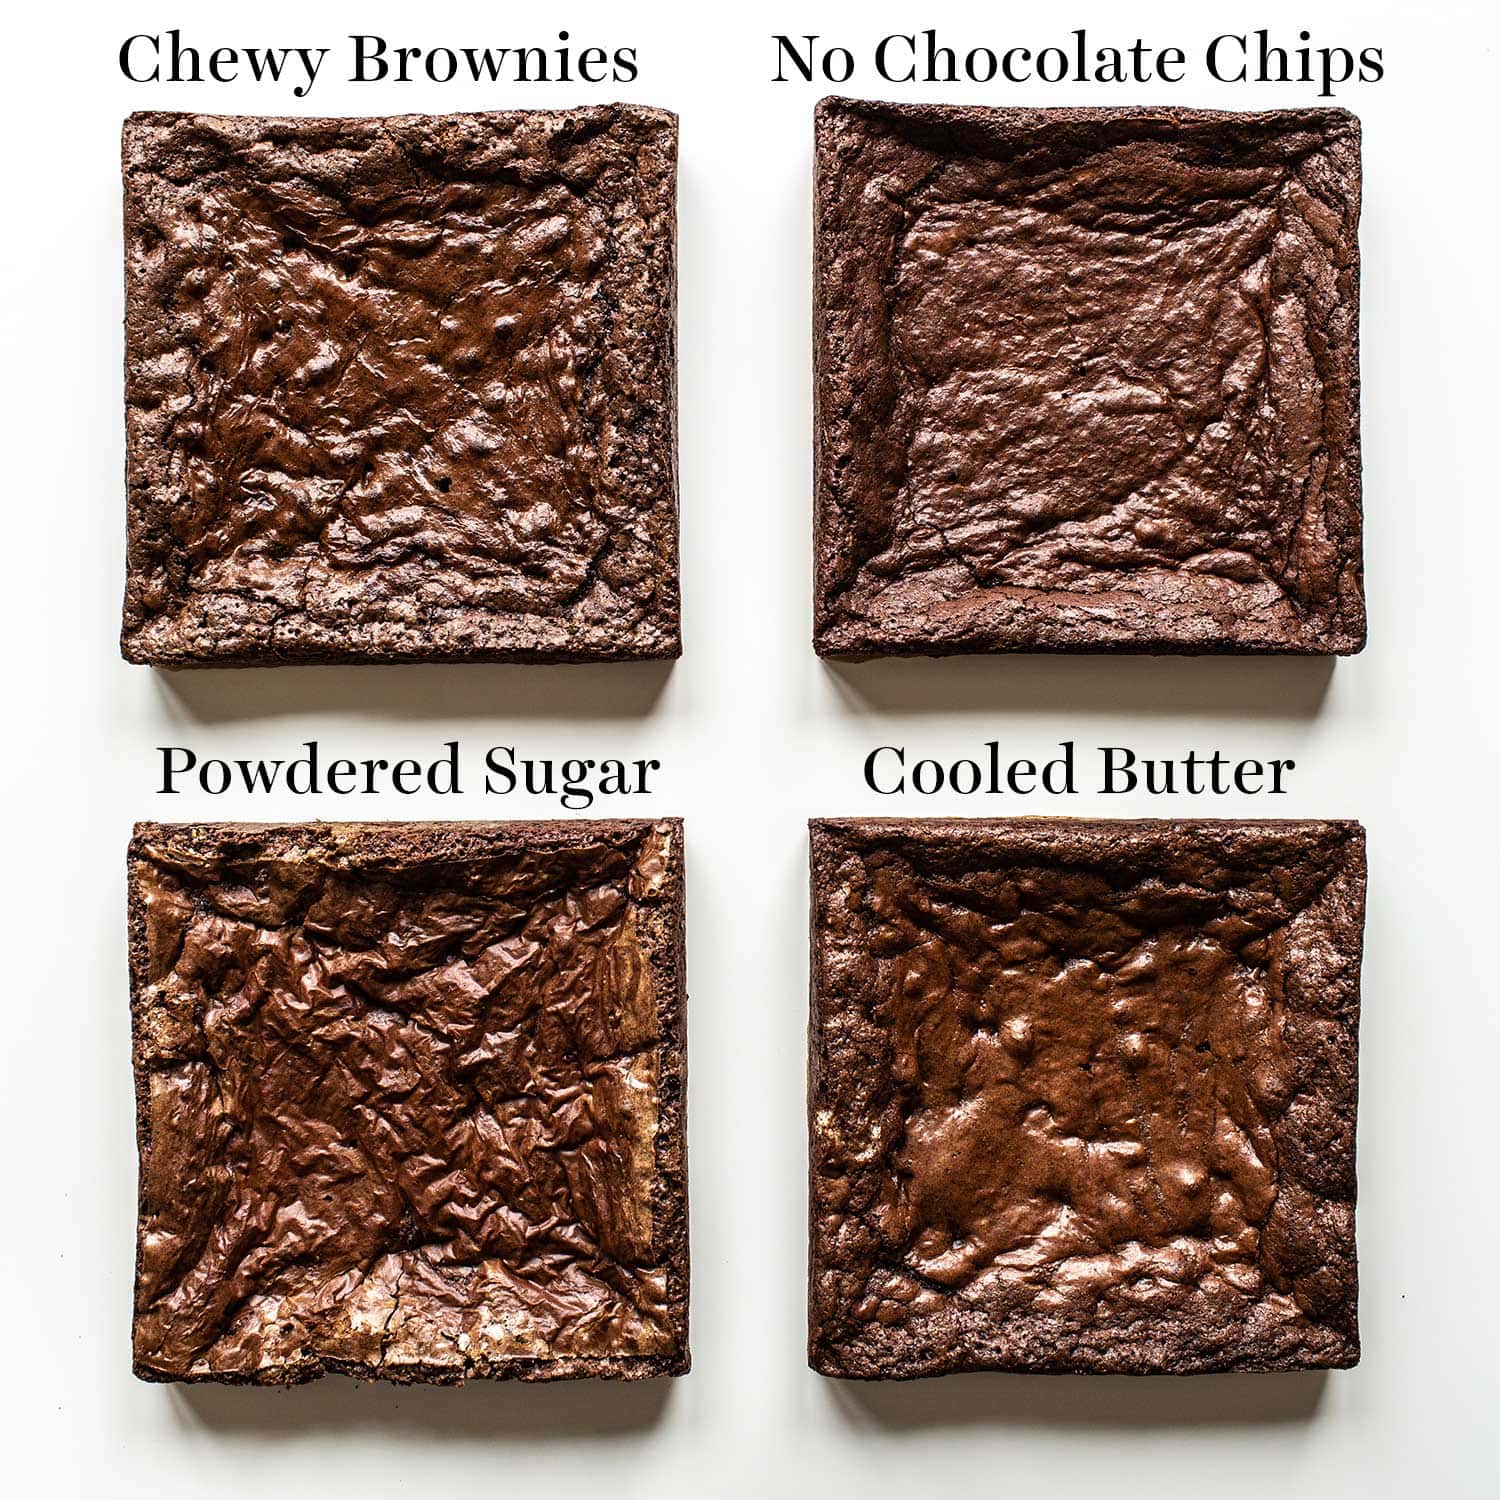
How to Make Brownies with Shiny, Thin, Crinkly Crust
You know that tissue-thin, shiny crust on top of brownies that we all love and want? It’s easier to achieve than you might think!
The key is to beat the eggs and sugar in the batter extremely well to create a sort of foam. After a ton of experimentation, I discovered a shortcut to that shiny crust: whisking the wet ingredients extremely well, until the batter itself is ultra smooth and shiny.
Secondly, don’t skip the chocolate chips! See the comparison pics below, and learn more about how to achieve crinkly crusts on brownies here.
What Is the Secret to Chewy + Fudgy Brownies?
Although my goal for this recipe was to make EASY homemade brownies, I still wanted them to be chewy. The first batches I made, the brownies were delicious and simple to make, but not chewy enough. So I added an extra egg yolk to the recipe, and it was the perfect simple way to achieve that extra chewy texture.
Why the yolk? The fat and protein in the egg yolk helps to create a rich and chewy texture.
If you don’t want that chewiness, or don’t want to deal with adding an extra yolk, feel free to skip it.
For fudgy brownies, it’s important that the batter is very moist and rich. That’s why we use a relatively small amount of flour and cocoa powder. Enough flour to provide structure and chew, but not so much that the brownies are dense or cakey. Enough cocoa to provide that rich chocolate flavor, but not so much that the brownies are dry.
Tessa’s Tip: Measure Your Ingredients Accurately!
To ensure you don’t accidentally add too much flour or cocoa (which is very easy to accidentally do), I recommend using a digital kitchen scale. If you don’t have one, be sure to lightly spoon your flour and cocoa into your measuring cup so you don’t unintentionally compact too much in. Read more about how to measure your ingredients accurately here.
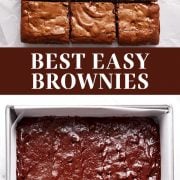
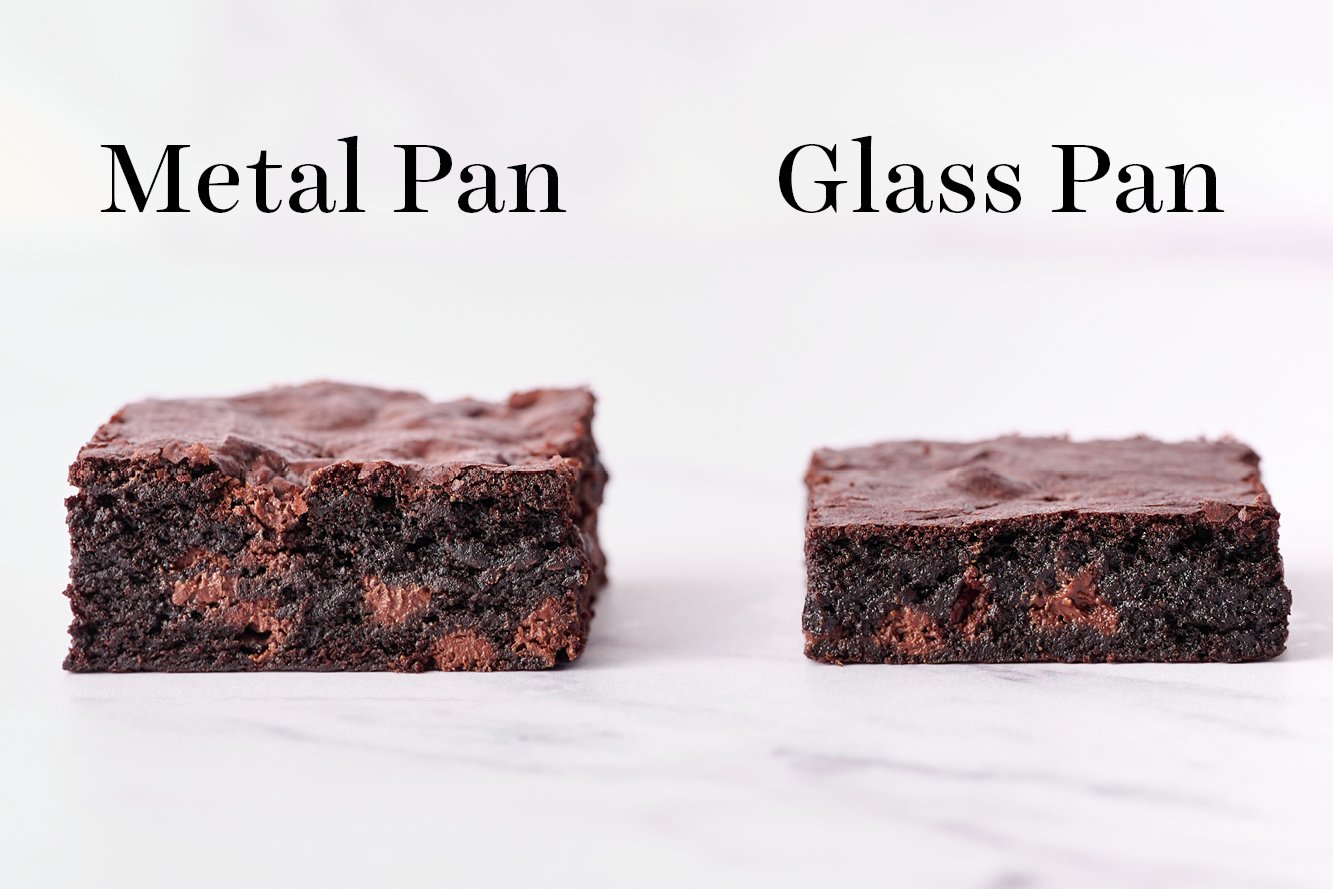
The Best Brownie Baking Pan
I highly recommend using a metal baking pan for baking any brownie recipe. I love this light-colored metal pan, but you can use any quality metal baking pan that isn’t too dark in color. The darker the color, the more likely you are to have dry edges.
Glass pans and ceramic pans will take MUCH longer to bake, and the texture of your brownies may become gummy or dense. Learn more in my Glass vs. Metal Baking Pans article.
I like to line my pan with parchment or foil, leaving an overhang so I can easily lift out the entire pan of brownies to cut and serve.
Can I Double this Recipe?
You can easily double this recipe and bake in a 9 by 13-inch metal baking pan for about 35 to 40 minutes.
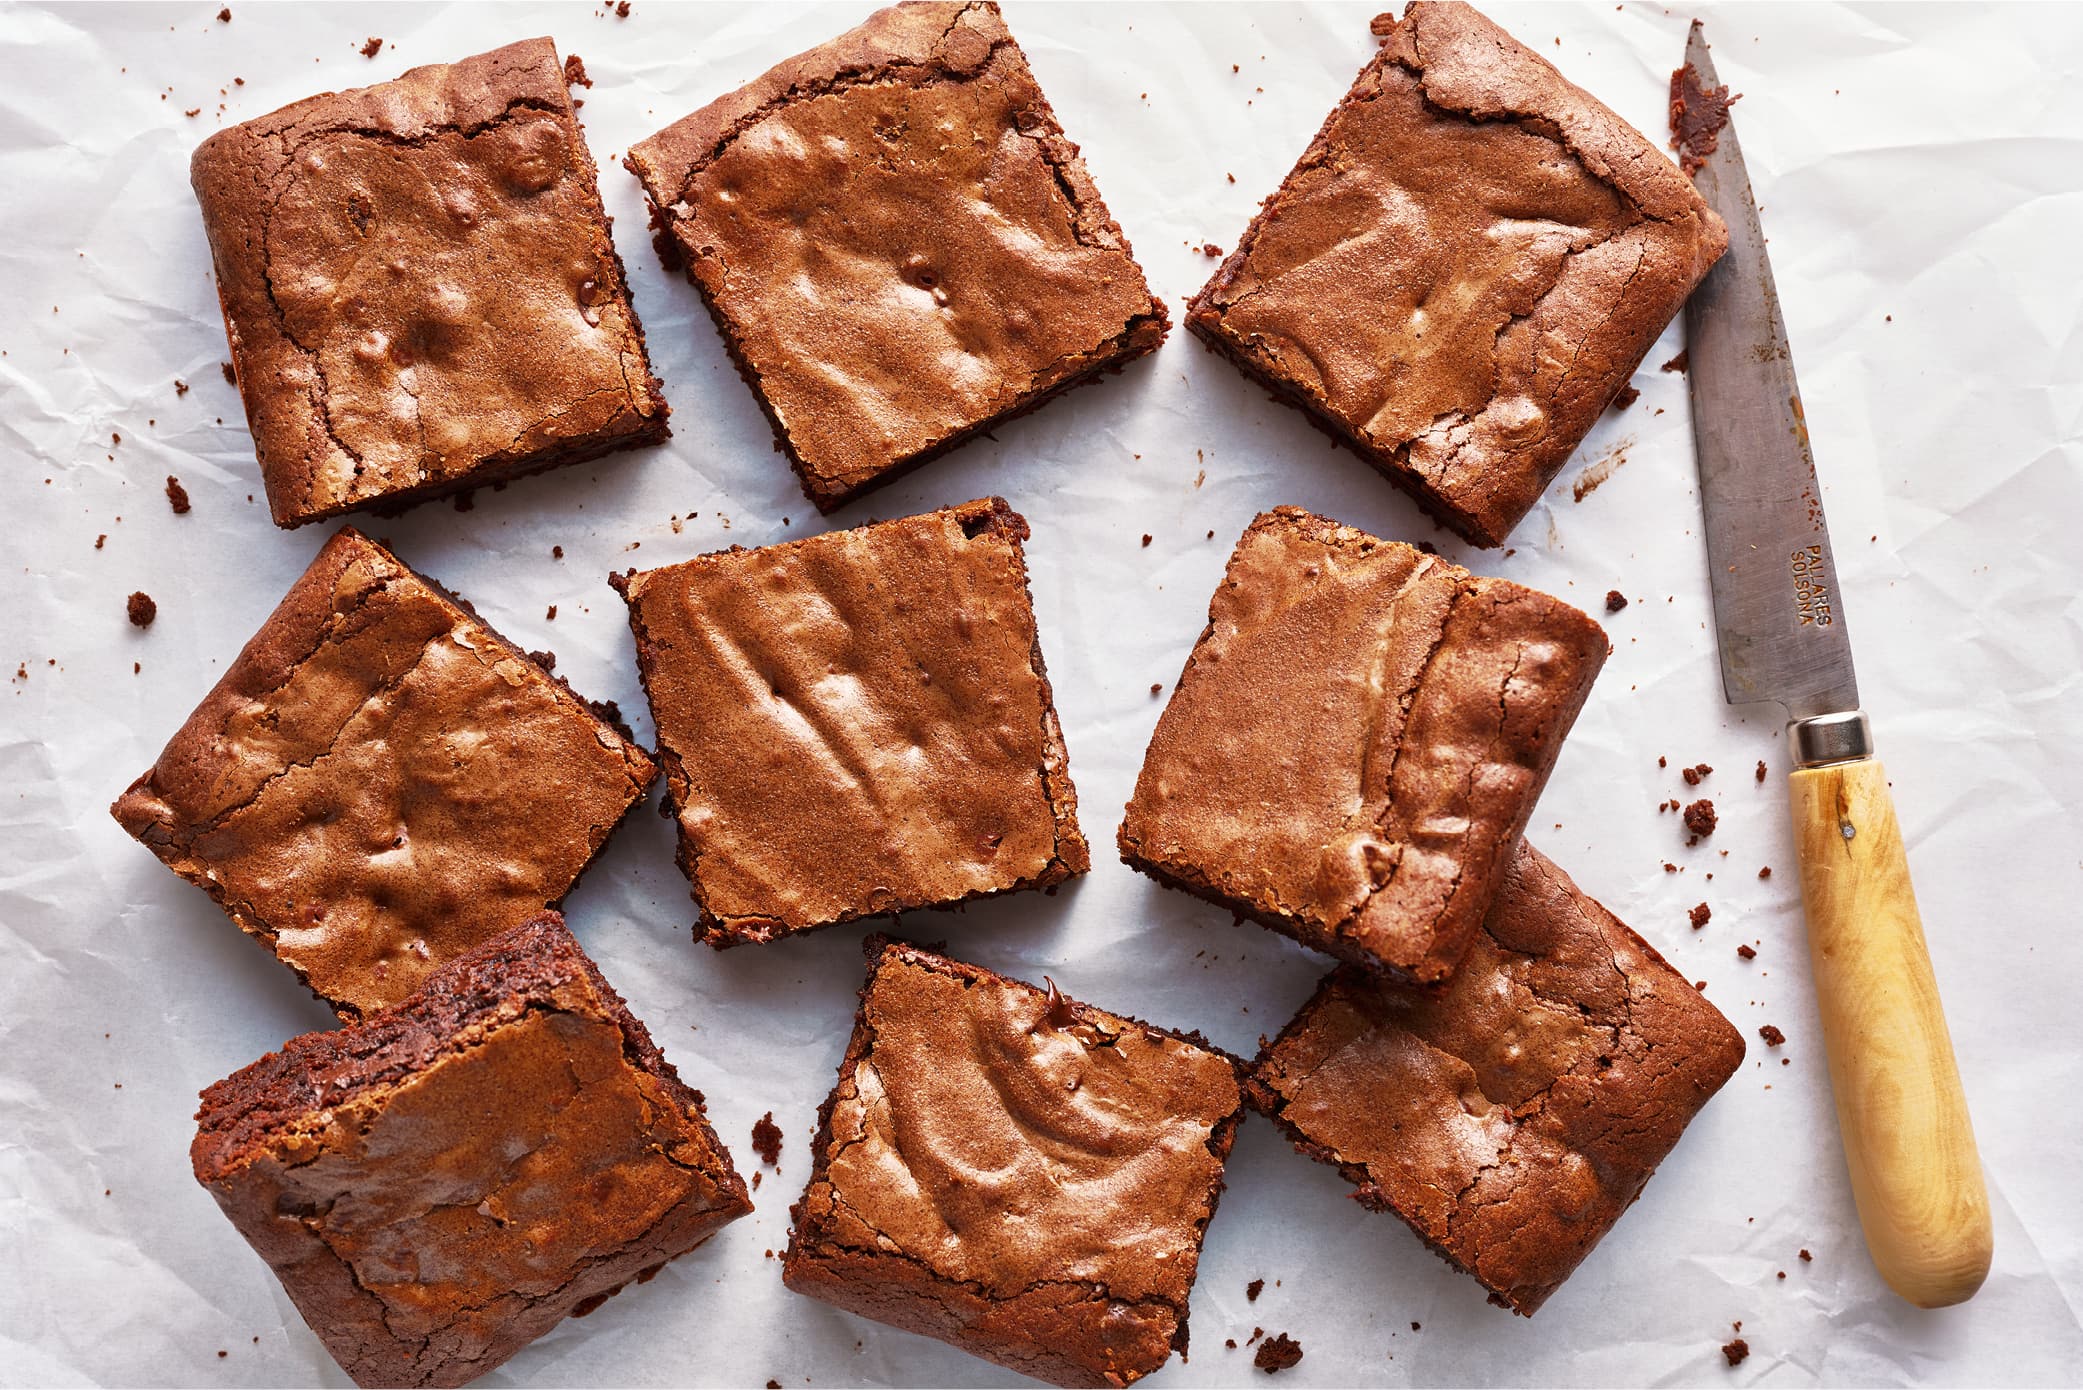
How Do You Cut Brownies Cleanly for Perfect Brownie Slices?
- Allow the brownies to cool completely.
- Run a large, very sharp knife under hot water for 5-10 seconds. Carefully dry the knife with a towel.
- Carefully press the knife through the brownies in one firm slice.
- Repeat with the remaining brownies, continuing to run the knife under water and drying in between each slice.
Check out my How to Cut Brownies Cleanly in 5 Steps article for even more tips.
How Long to Bake Easy Brownies
Do NOT overbake brownies! There should still be moist crumbs attached to a cake tester or toothpick by the end of the baking time. I find that 25-30 minutes results in perfectly baked brownies. Err on the side of under-baking here.
How to Store Easy Brownies
Easy Brownies taste best the day they are baked, but can be stored in an airtight container for up to 2 days at room temperature or up to 4 days in the fridge. They are even more fudgy when they’re chilled! If you prefer, you can microwave them to serve warm.
Baking Magic
If you’re still curious about how baking ingredients and techniques work, and how I create my recipes using the science of baking, come join me in my online baking class, The Magic of Baking. Everything in the class is already there, waiting for you to go through at your own pace and at your convenience. I go in-depth on how baking works, so you can have complete confidence every time you enter the kitchen.
More Homemade Brownie Recipes:
- Best Ever Chewy Brownies – my most popular brownies!
- Brown Butter Brownies
- Toffee Brownies
- Malted Brownies
- Peanut Butter Stuffed Brownies
Best Easy Brownies

Email This Recipe
Enter your email, and we’ll send it to your inbox.
Ingredients
- 10 tablespoons (142 grams) unsalted butter
- 4 ounces (113 grams) semisweet chocolate, chopped*
- 1 cup (200 grams) granulated sugar
- 2 large eggs plus 1 egg yolk
- 1 teaspoon vanilla extract
- 3/4 cup (95 grams) all-purpose flour**
- 1/4 cup (25 grams) unsweetened cocoa powder
- 1/4 teaspoon fine sea salt
- 1 cup (170 grams) semisweet chocolate chips
Instructions
- Preheat oven to 350 degrees F. Line a metal 8-inch square pan with parchment paper.
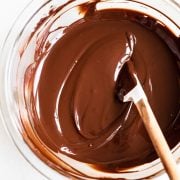
- In a large microwave-safe bowl, combine the chocolate and butter. Microwave in 30-second bursts, stirring between each burst, until the mixture is melted and smooth. Add the sugar to the hot butter mixture and whisk vigorously until combined. Allow to cool until just barely warm.
- Add in eggs, egg yolk, and vanilla extract, and whisk for about 1 minute, or until very well combined. This helps create that shiny crust on top.
- Use a rubber spatula to stir in flour, cocoa powder, and salt until just combined. Stir in the chocolate chips.
- Pour into the prepared pan and smooth out. Bake in the preheated oven for 25 to 30 minutes, or until a toothpick inserted in the center comes out with moist crumbs. Let cool in pan 30 minutes before slicing.
Recipe Notes

The Ultimate Cookie Handbook
Learn the sweet SCIENCE of cookie baking in a fun, visual way to customize your own recipes frustration-free. Plus, my best 50+ homemade cookies!


Can you add nuts?
Hi Lacey! Sure! Just be sure to keep the add-ins about the same as the recipe states; so 1 cup total of ALL add-ins. So because this recipe already contains 1 cup of chocolate chips, feel free to reduce the chocolate chips to 1/2 cup and add 1/2 cup nuts. You could also add just nuts in without chocolate chips (but know the crinkly crust may not be as noticeable – see the Tip Box above this recipe for more details). You won’t need to adjust the bake time. I hope that helps! Happy baking 🙂
pretty good but tasted a little bit like flour
Hi Louise! Glad to hear that you enjoyed these brownies. It sounds like perhaps a little too much flour may have been accidentally added, as these brownies shouldn’t taste like flour at all. How do you measure your ingredients? By volume (using cups), or by weight (using a digital kitchen scale)? When measuring by volume, it’s so easy to mis-measure ingredients (particularly flour and cocoa powder) and throw off the entire chemistry of a recipe – resulting in things like floury-tasting brownies. Check out Tessa’s article here, where she talks about how to best measure ingredients, with or without a scale! I hope that helps, and I hope you’ll give these brownies another try sometime – they really are delicious! Happy baking 🙂
Can I double this recipe? What pan size would I use?
Hi Gina! As Tessa mentions in the pink tip box (above the recipe): “You can easily double this recipe and bake in a 9 by 13-inch metal baking pan for about 35 to 40 minutes.” Happy baking 🙂
Best Easy Brownies is an understatement!
Handle the heat is my go to website when I’m looking for a no fail recipe.
Hello, hope you are well. Thank you for sharing the recipe. Just wondering, if I were to bake this a few days ahead whats the best method for me to keep it fresh until the day of the event? Would it be okay if I wrap it cling wrap/film? And do I need to reheat it before hand? Thank you
Hi Emiko! Keeping these brownies for a couple of days inside an airtight container, stored in the fridge, will work just fine. If you need to store more than a couple days, I recommend following the freezing directions (in the pink tip box, just above the recipe) for best results. No need to reheat before serving – in fact, these brownies are extra chewy, fudgy and delicious when served cold! Happy baking 🙂
Is the sugar meant to dissolve when mixed into the sugar chocolate mix?
Hi Mario! No, the sugar won’t entirely melt when mixed into the sugar/chocolate mixture; this just slightly melts the sugar, encouraging the sugar to melt further when in the oven, and assisting in forming the shiny thin crust on top of the baked brownies. I hope that helps! Let us know what you think of these brownies once you’ve given them a try 🙂
Thanks for the reply! It was my first time making brownies so I was unsure of the process. It turned out great 🙂
Yay! So glad to hear that 🙂
Love the texture and moistness!
My family would prefer them to be sweeter/less bitter. Should I use less cocoa powder? I used milk chocolate chips instead of semi-sweet but still want to reduce the bitterness/ make them a little sweeter.
Thank you!
I make this recipe all the time since finding it almost 2 years ago. It’s so easy, I always have the ingredients on hand. My family loves it and I also add in a cup of fresh cranberries, a trick I learned on a field trip to the cranberry bogs years ago, so good! My sister-in-law doesn’t even like brownies, but loves them when I make this recipe and add the cranberries.
I made these for my son’s birthday. They were easy and delicious! I only had a glass pan available at the time and did the decreased temp and longer baking time and they turned out perfectly. My new go to brownie recipe! My husband was obsessed (and so was I!)
So wonderful to hear that, Lauren!!
Made a double recipe. It’s still warm, but my 7 year old granddaughter and I couldn’t wait any longer. The brownies are delicious. My granddaughter loves brownies so I’ll be making these regularly. Plus the recipe is pretty easy. I hope to try the Nutella brownies soon.
Yay!! So thrilled to hear that you and your granddaughter enjoyed these brownies so much, Eleanor! We can’t wait to hear what you think of Tessa’s other brownie recipes 🙂
I can’t see a video option. Just the word “recipe video” which doesn’t do anything. However, I’m going to try the recipe anyway.
Hi Eleanor! Yes, sorry, we are having trouble with the buttons that jump to the videos, and we’re working on that! There is a video; just scroll down from the top a tinyyyyy bit, and it’s right under where it says “Recipe Video” 🙂 let us know what you think once you have given these a try!!
I’ve made it several times, and so many positive feedback from my family and friends. We love it very much.
Yet, i don’t know why, my brownies were shrinking after came out form the oven.
Is it normal? or do you have any advice to fix them?
thank you sooo much!
Hi Frisca! That sounds super strange! It’s normal to have a tiny bit of settling, but not a whole lot of shrinking or sinking! Here are a few thoughts as to what might have gone wrong here – hopefully something here will prove helpful!
– Firstly, did you bake these brownies in a light-colored metal pan? We recommend this pan, but something similar will work too! Using a glass or ceramic pan will take much, much longer for the middle to bake, often drying out the edges in the process, and/or even leaving the middle underdone.
– Your oven also could be running too hot or too cold. Ovens are almost always lying to us about their real temperature! We recommend using an oven thermometer, to ensure accuracy, and make sure your baked goods are baking correctly! Tessa talks about oven temperature accuracy and using an oven thermometer, in this article here!
– Lastly, how do you measure your ingredients; by volume (using cups), or by weight (using a digital scale)? Measuring by volume makes it super easy to add too much flour into a recipe, messing with the chemistry of the recipe and throwing your end result off completely! In this article, Tessa talks about how to measure correctly, to ensure a great end result every time!
I hope something here helps! If not, please feel free to reach out to us here, or at [email protected], for more help troubleshooting! I’m glad these brownies taste great, even if their appearance is a little off! Good luck and happy baking 🙂