




Tessa’s Recipe Rundown
Taste: The perfect balance of chocolate sweetness.
Texture: CHEWY, of course 🙂
Ease: Super easy. One bowl, no electric mixer needed.
Why You’ll Love This Recipe: This Brownie Recipe is WAY better than a box mix and almost as easy. It’s my go-to recipe!
This post may contain affiliate links. Read our disclosure policy.



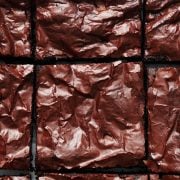


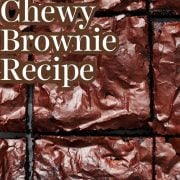
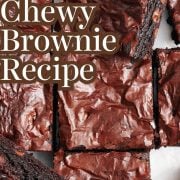




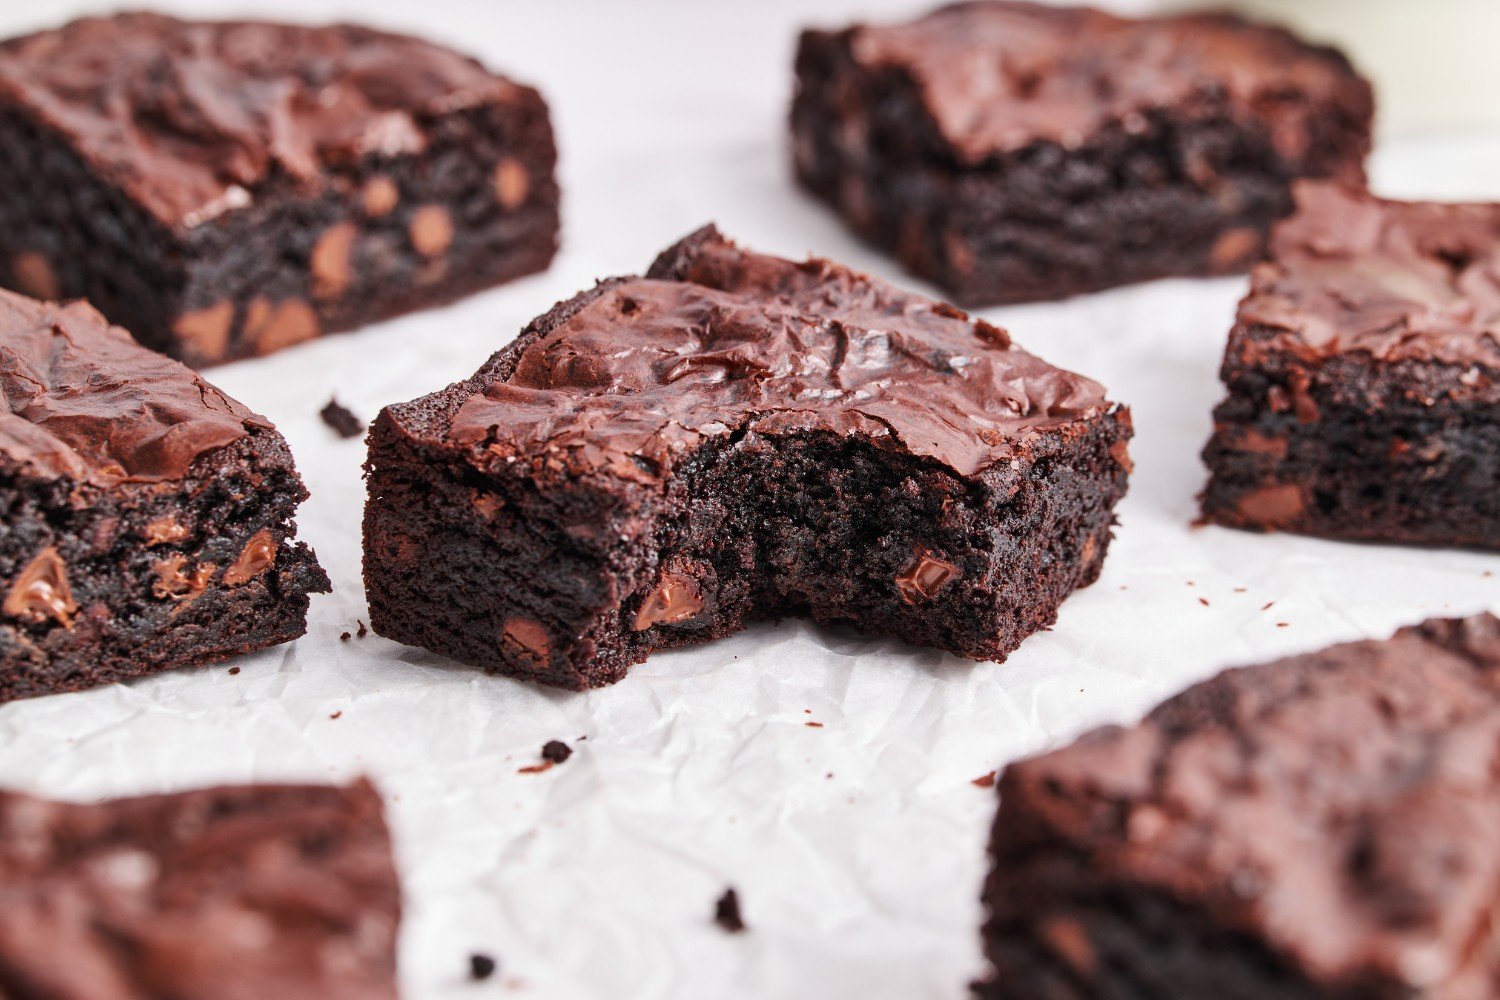
These Chewy Brownies are my go-to recipe when I need a quick, easy, crowd-pleasing dessert. I’m not exaggerating when I say I’ve made it over 200 times. It’s truly the best!
There’s even a secret ingredient that helps to mimic that box-mix texture (but with way better flavor!).
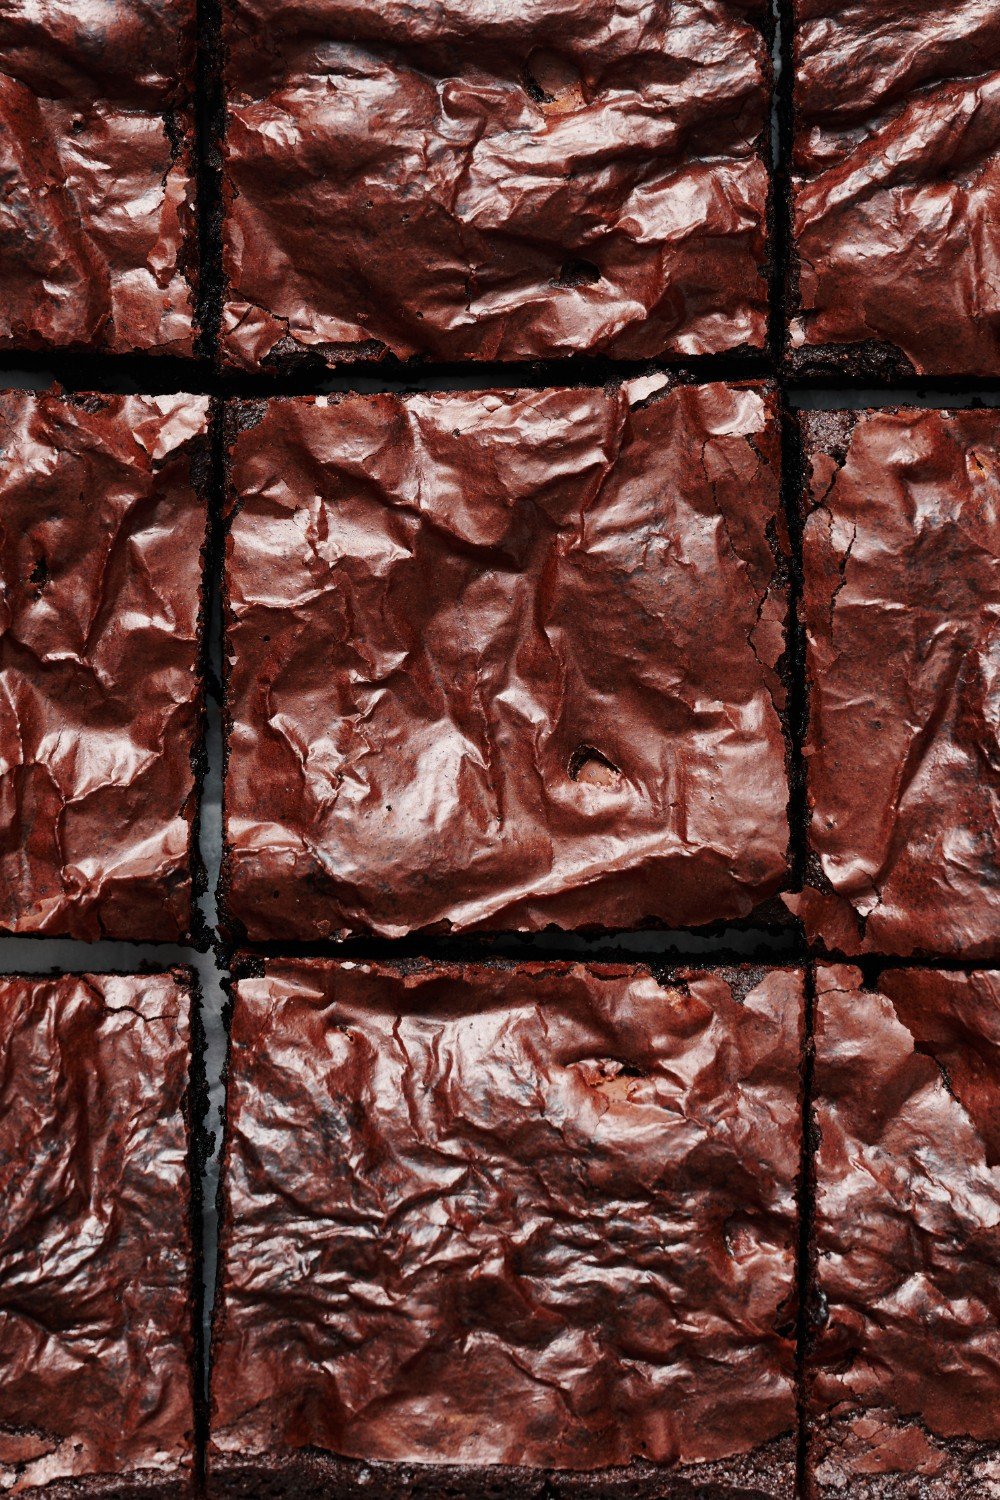
These brownies are my everyday go-to recipe. Check out just a couple of the 1,000+ 5-star reviews for these best homemade brownies:
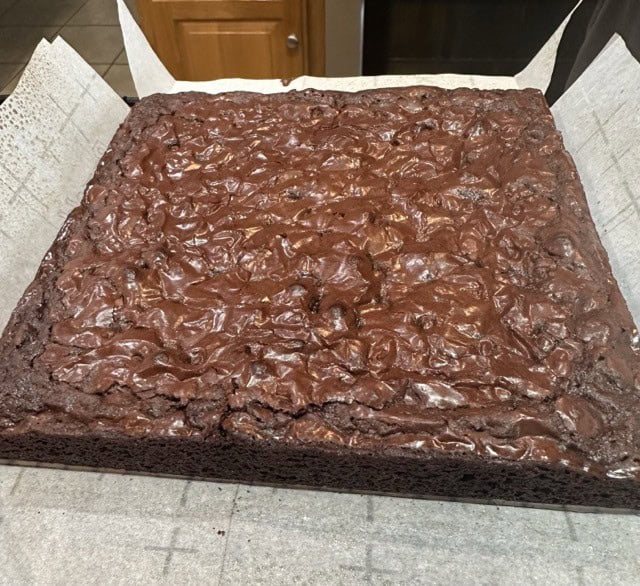
Best chocolate brownies ever. Easy to make. I added pecans to mine and we just love them.
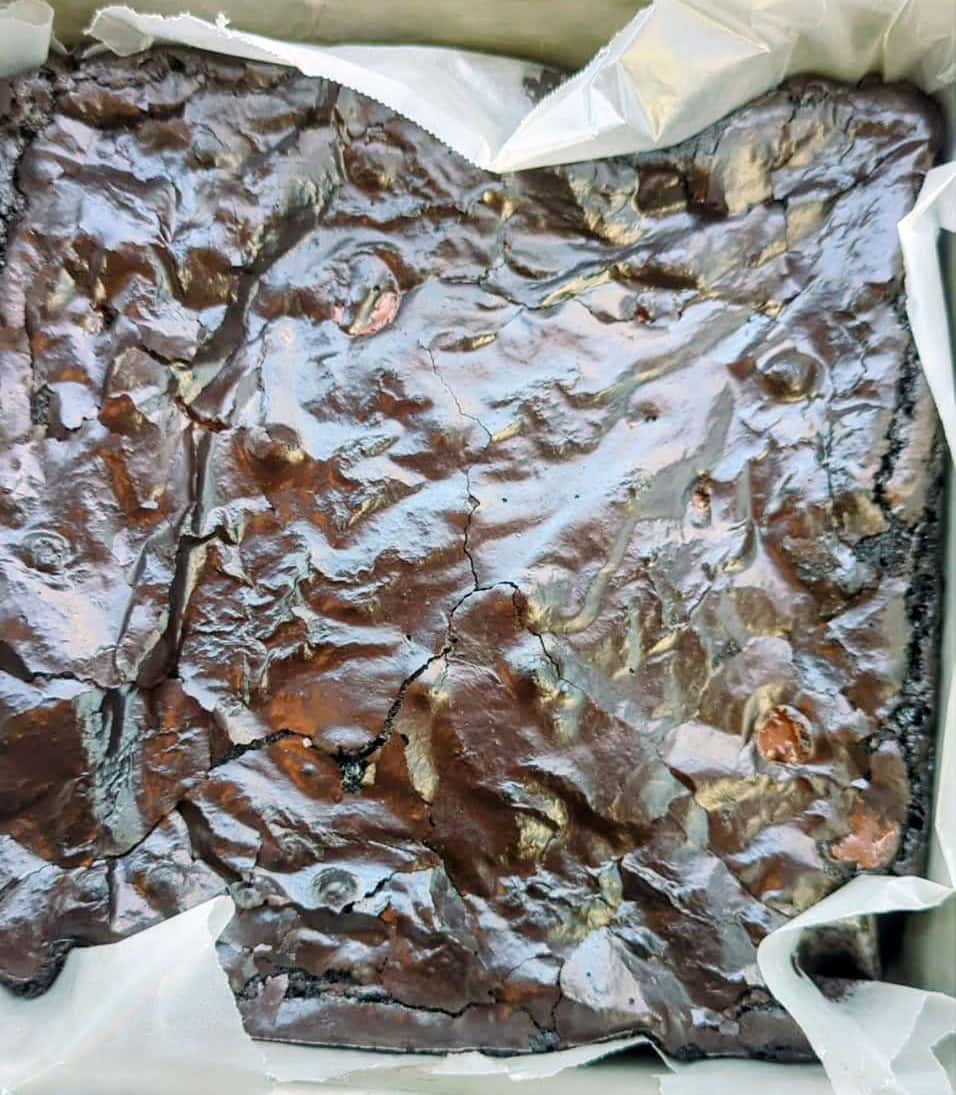
I made these and they were soooo chewy. Definitely the chewiest and crackliest homemade brownies I’ve ever made. Great recipe!
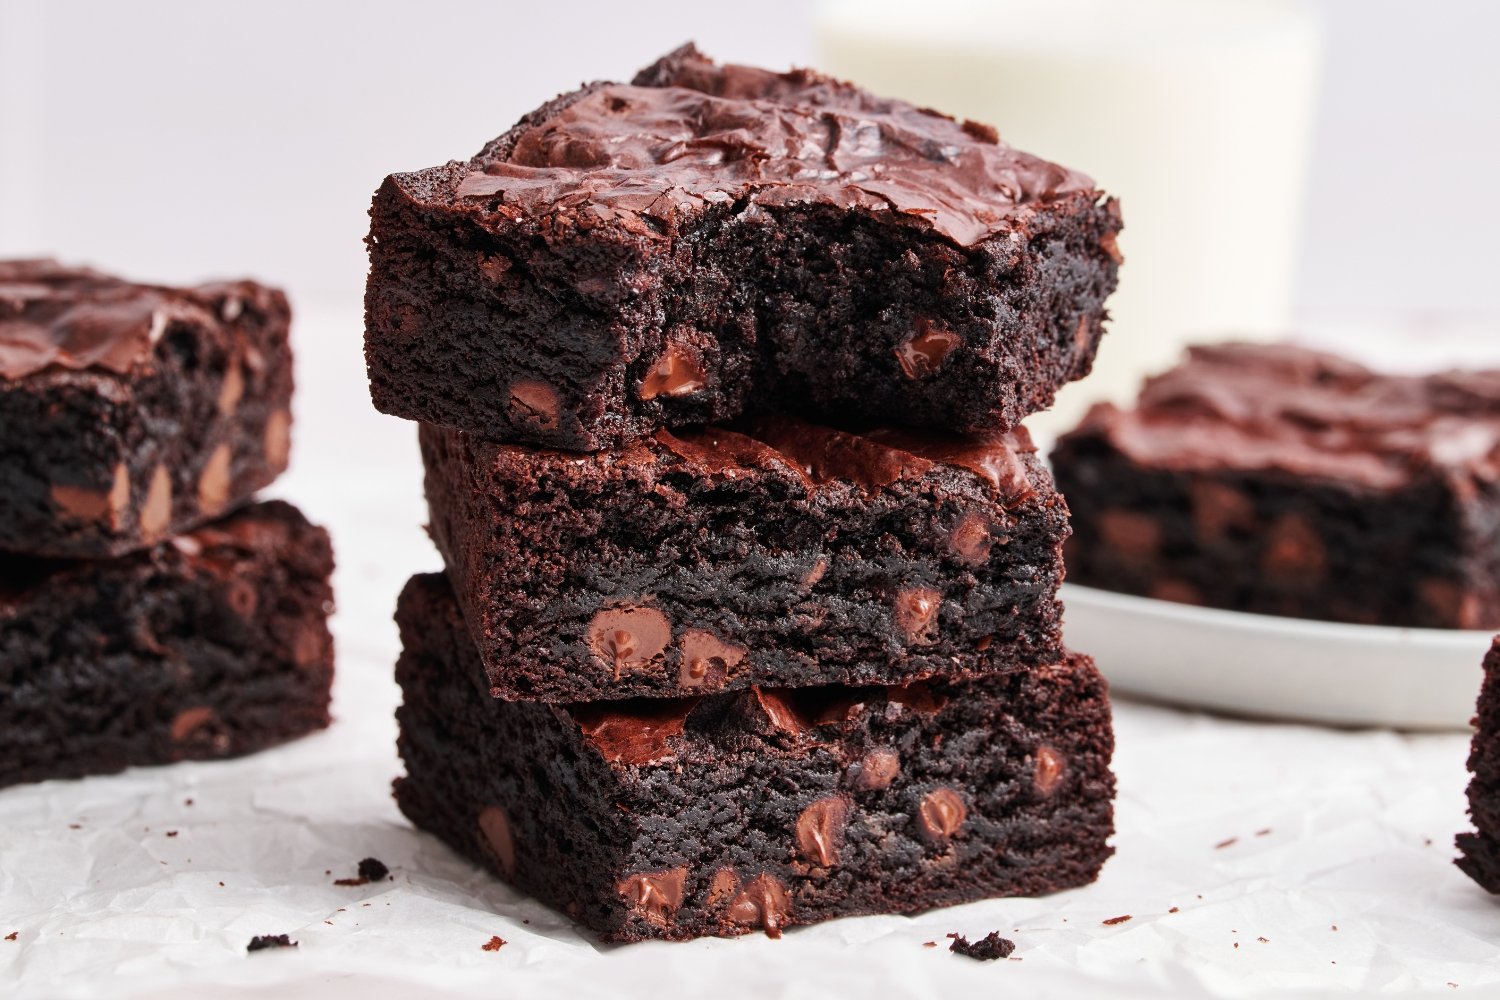
The Kitchn tested this recipe, raving about how quick and easy it is! Even Bon Appétit used the recipe as part of their research in their quest to create a perfect chocolate brownie.
Ingredient Notes for Success
Butter and Oil: Melted butter plus oil provides the best taste and texture. This is key!! You can use any neutral flavored oil that’s liquid at room temperature (such as vegetable, canola, avocado, etc.). Make sure your oil is fresh to avoid any off flavors.
Sugar: White/granulated sugar will dissolve more easily into the batter than brown sugar, helping to produce that shiny crust on top. More important notes on sugar below in the Sprinkle of Science section.
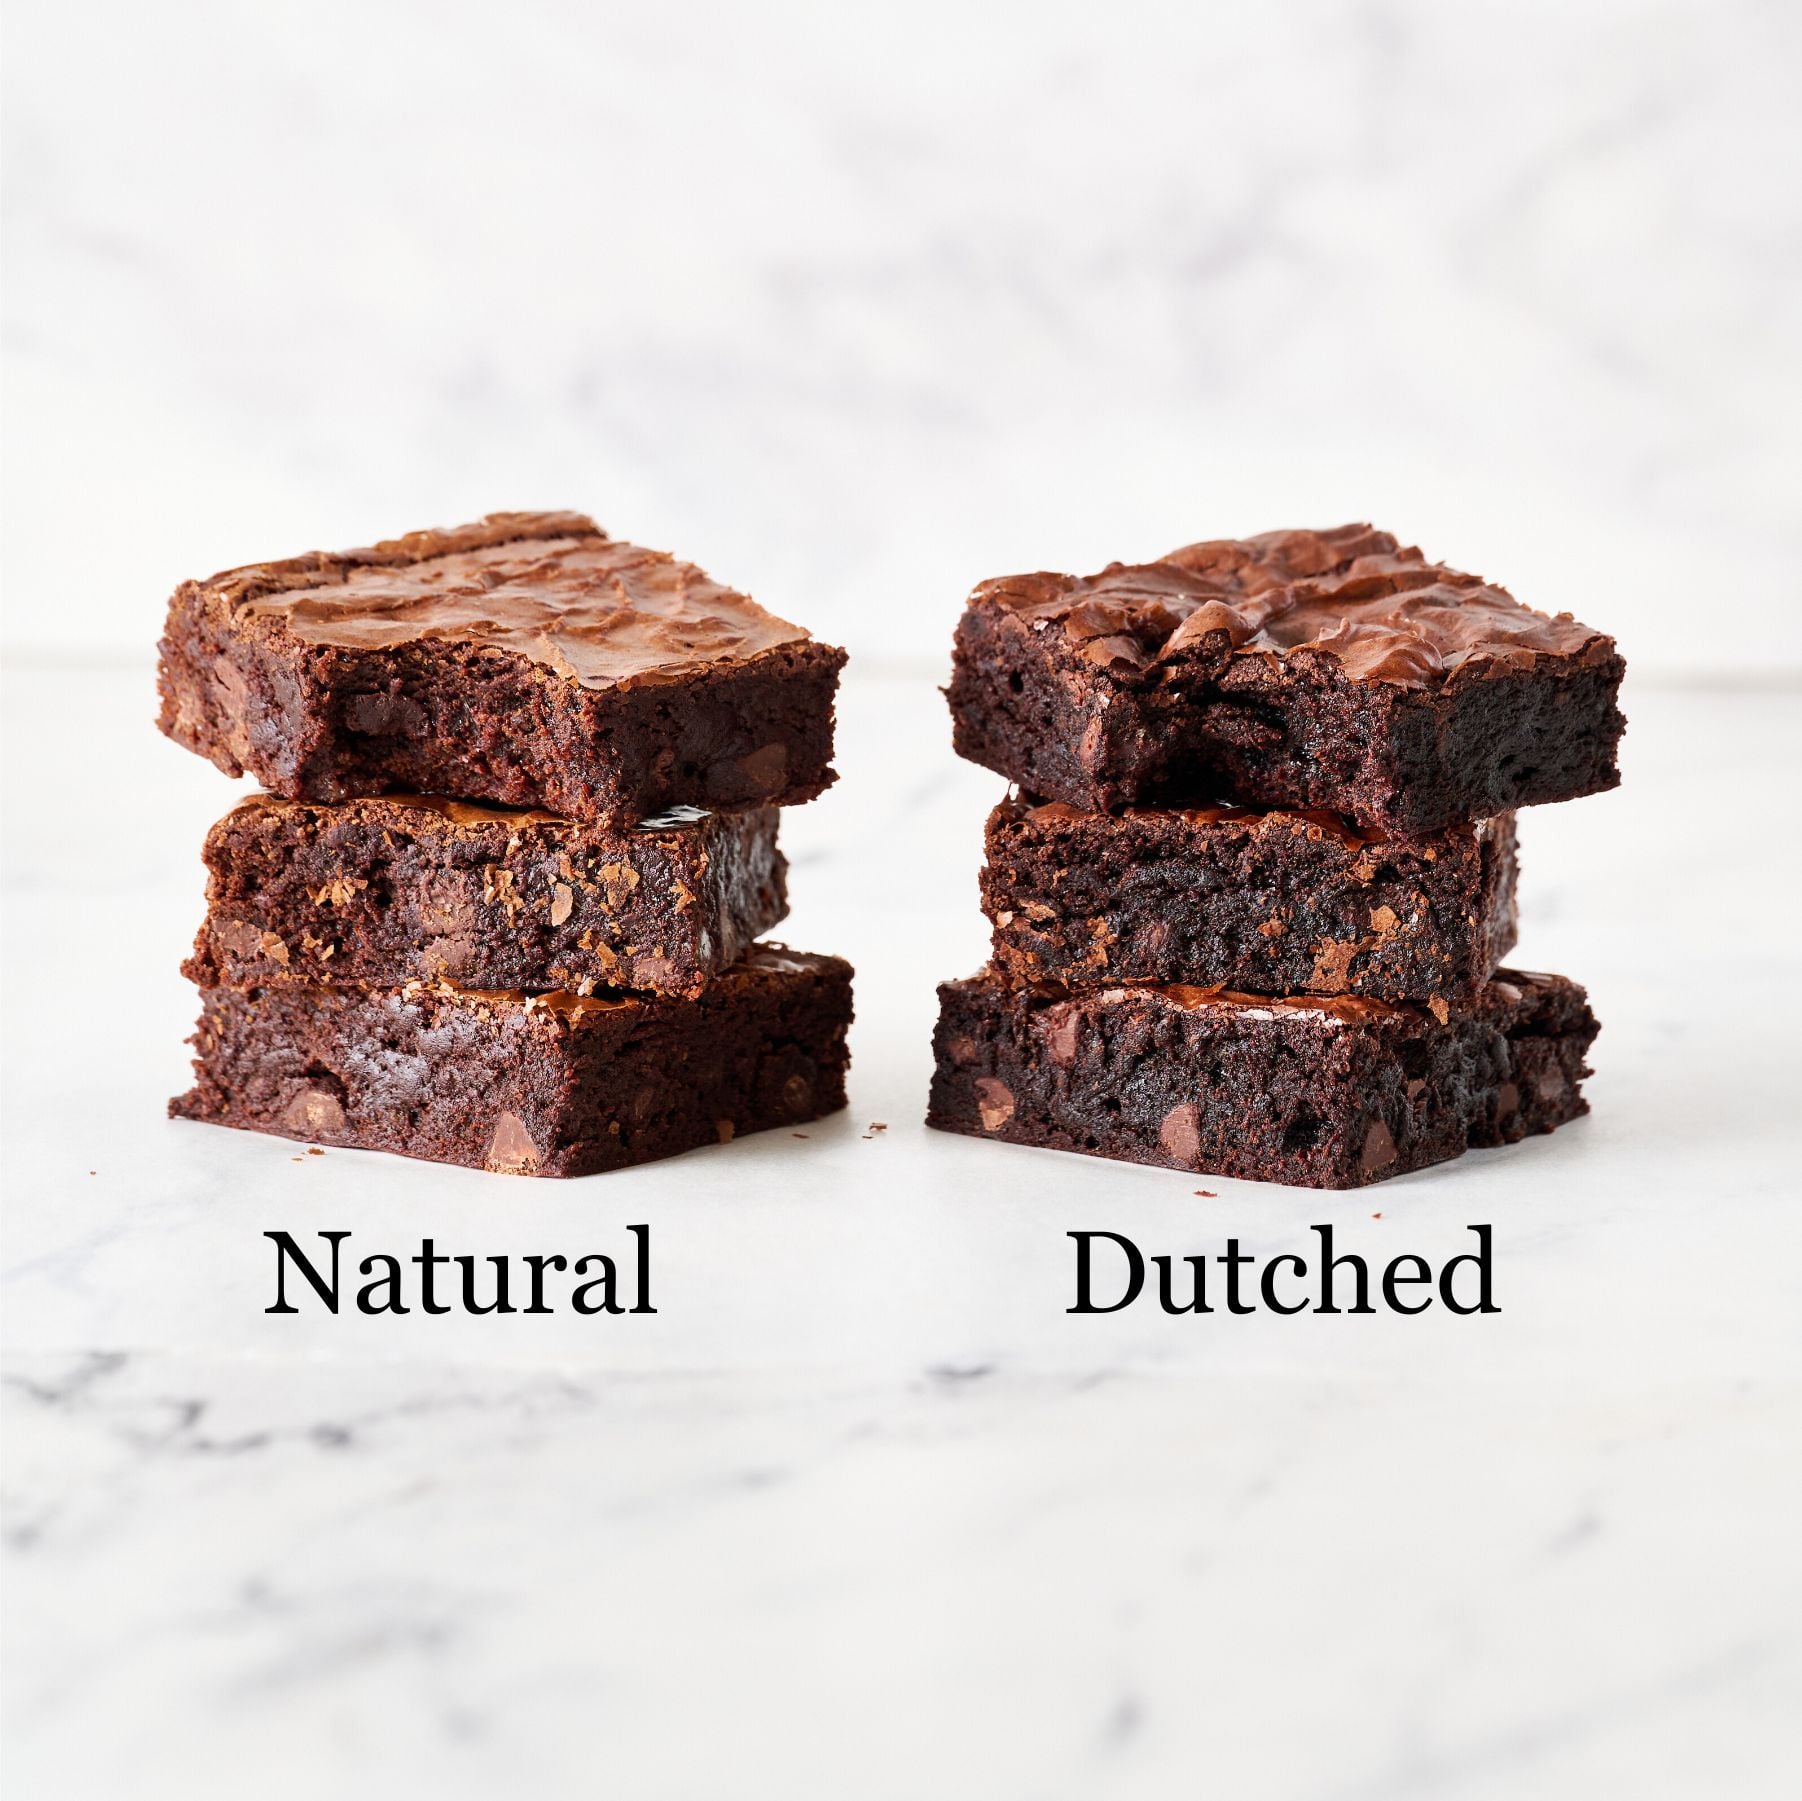
Cocoa Powder: I recommend using Dutch-processed cocoa powder for a deeper flavor and fudgier texture. Natural unsweetened cocoa will offer a more nostalgic chocolate flavor and a slightly drier but chewier texture. My favorite Dutch cocoa powder for brownies is Penzey’s or Guittard. Ghirardelli is also great in a pinch. Learn more about how Natural and Dutch-process cocoas affect your baking here.
Eggs: Two whole eggs plus an egg yolk for extra chewiness and richness. I never worry about bringing my eggs to room temp for this recipe, and it always turns out perfectly.
Flour: A small amount of all-purpose flour is essential for creating Chewy Brownies — but avoid adding too much, as this can cause dry, cakey brownies. Use a digital kitchen scale to prevent accidental over measuring. If you don’t have a digital scale, use the spoon-and-level method described here.
Cornstarch (secret ingredient!): Cornstarch mimics the texture of box mix brownies, creating thicker, chewier brownies with a nice shiny crackly top. Don’t skip it if possible.
Stop Baking Brownies In Glass or Ceramic Pans!
Struggling with gummy, sunken, underbaked (even raw) or dry-edged brownies? Ditch the glass or ceramic pan and use a light-colored alumnized metal baking pan instead.
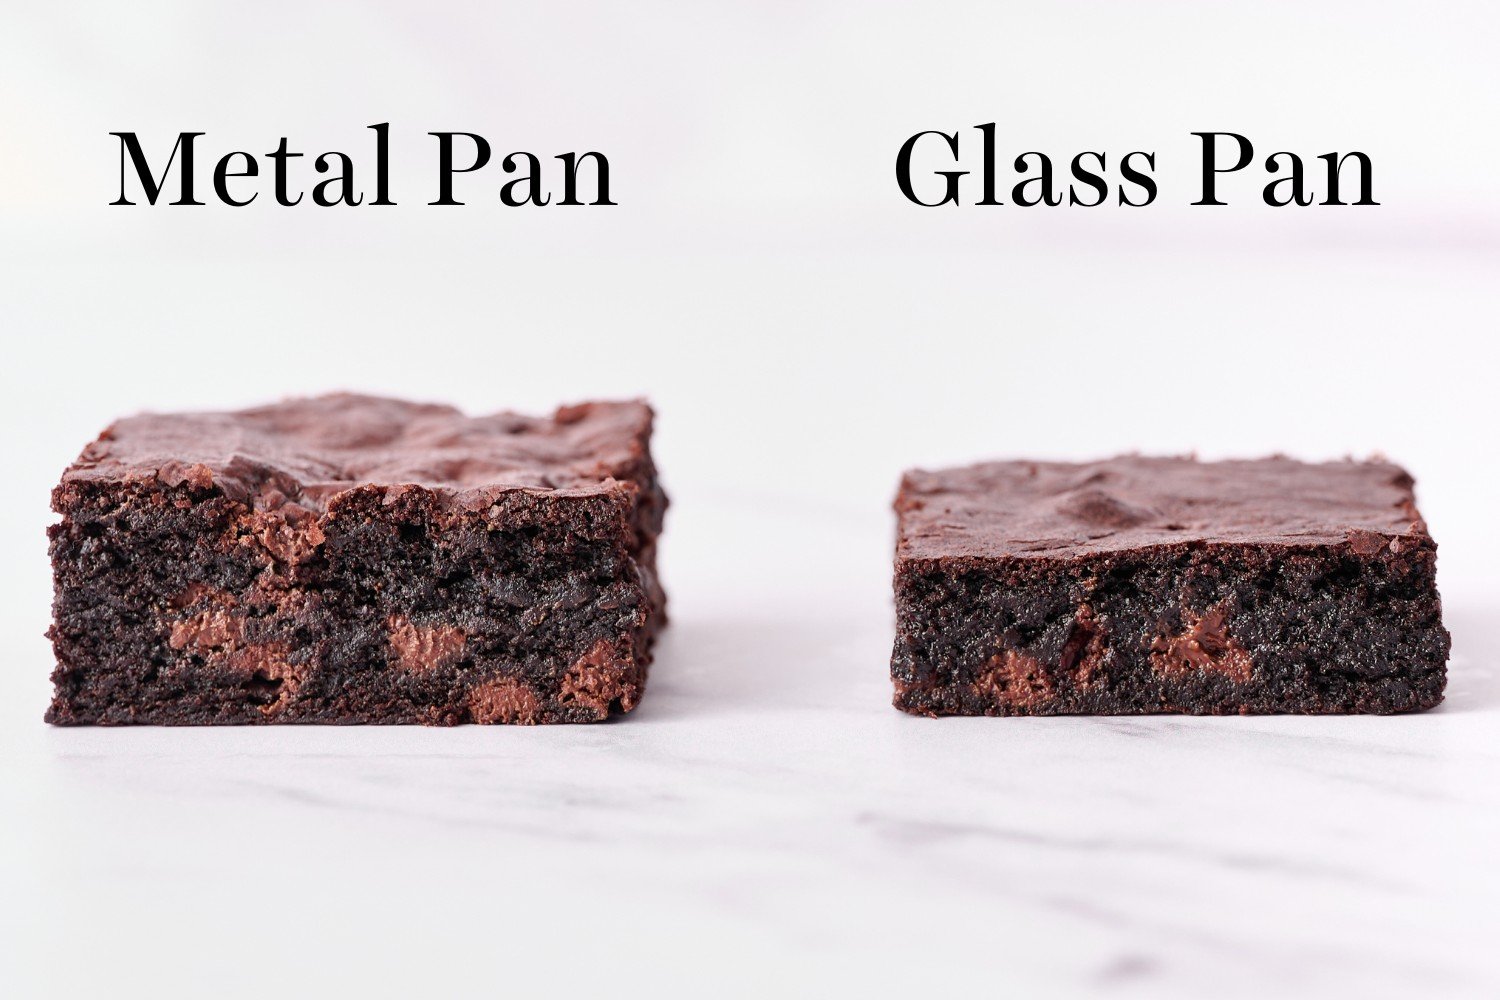
Metal conducts heat far more effectively. If all you have is glass or ceramic, add an extra 5-10 minutes baking time. Learn more about the differences between Glass vs. Metal Baking Pans here.
Sprinkle of Science (open me!)
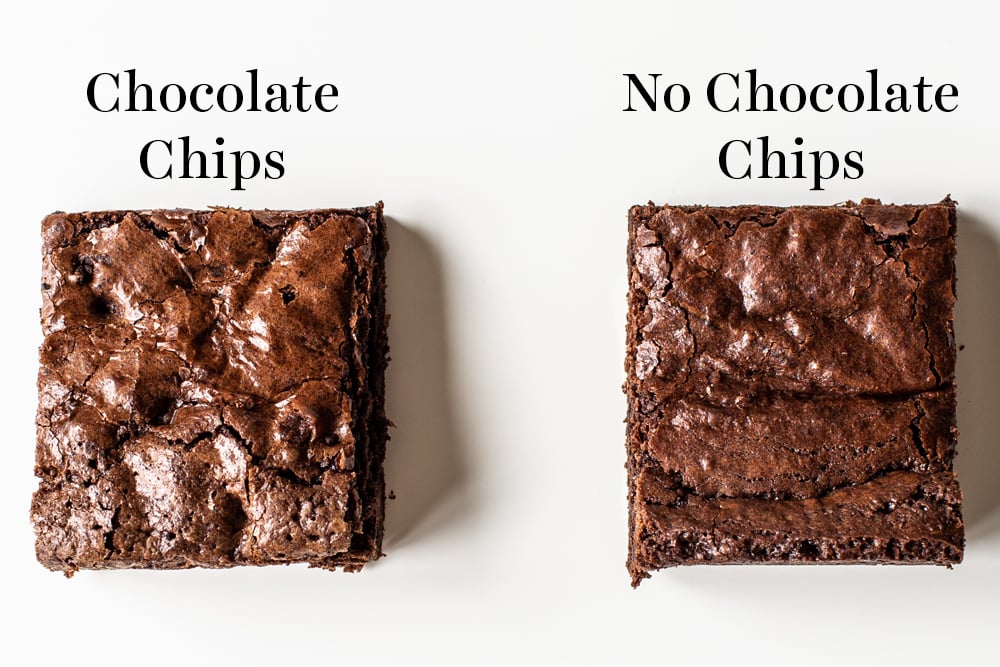
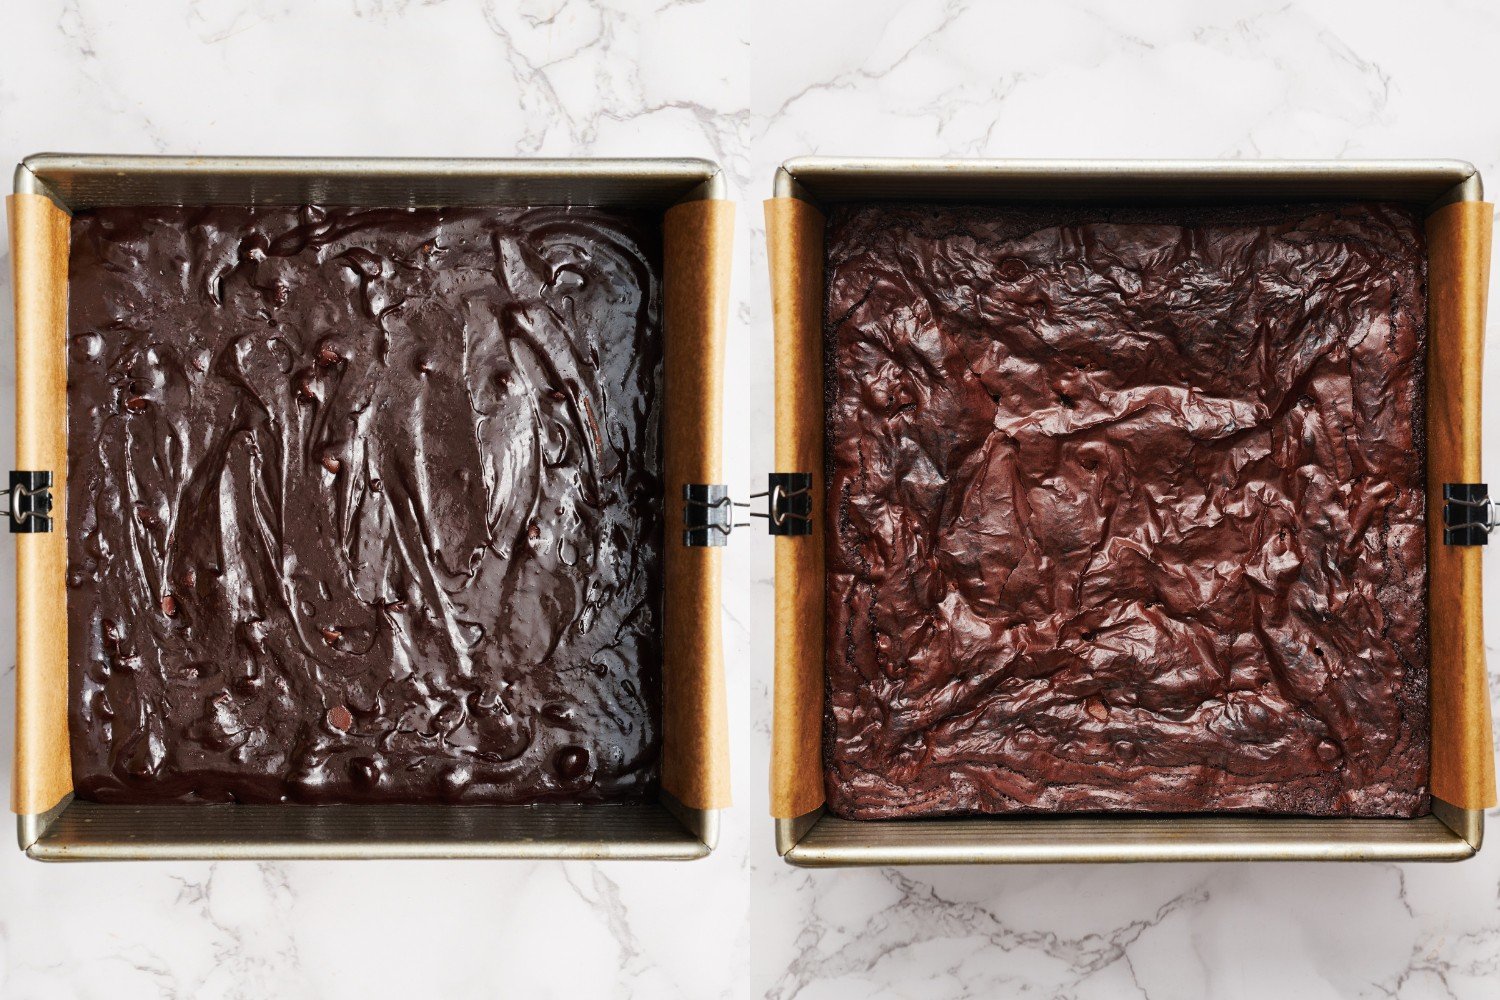
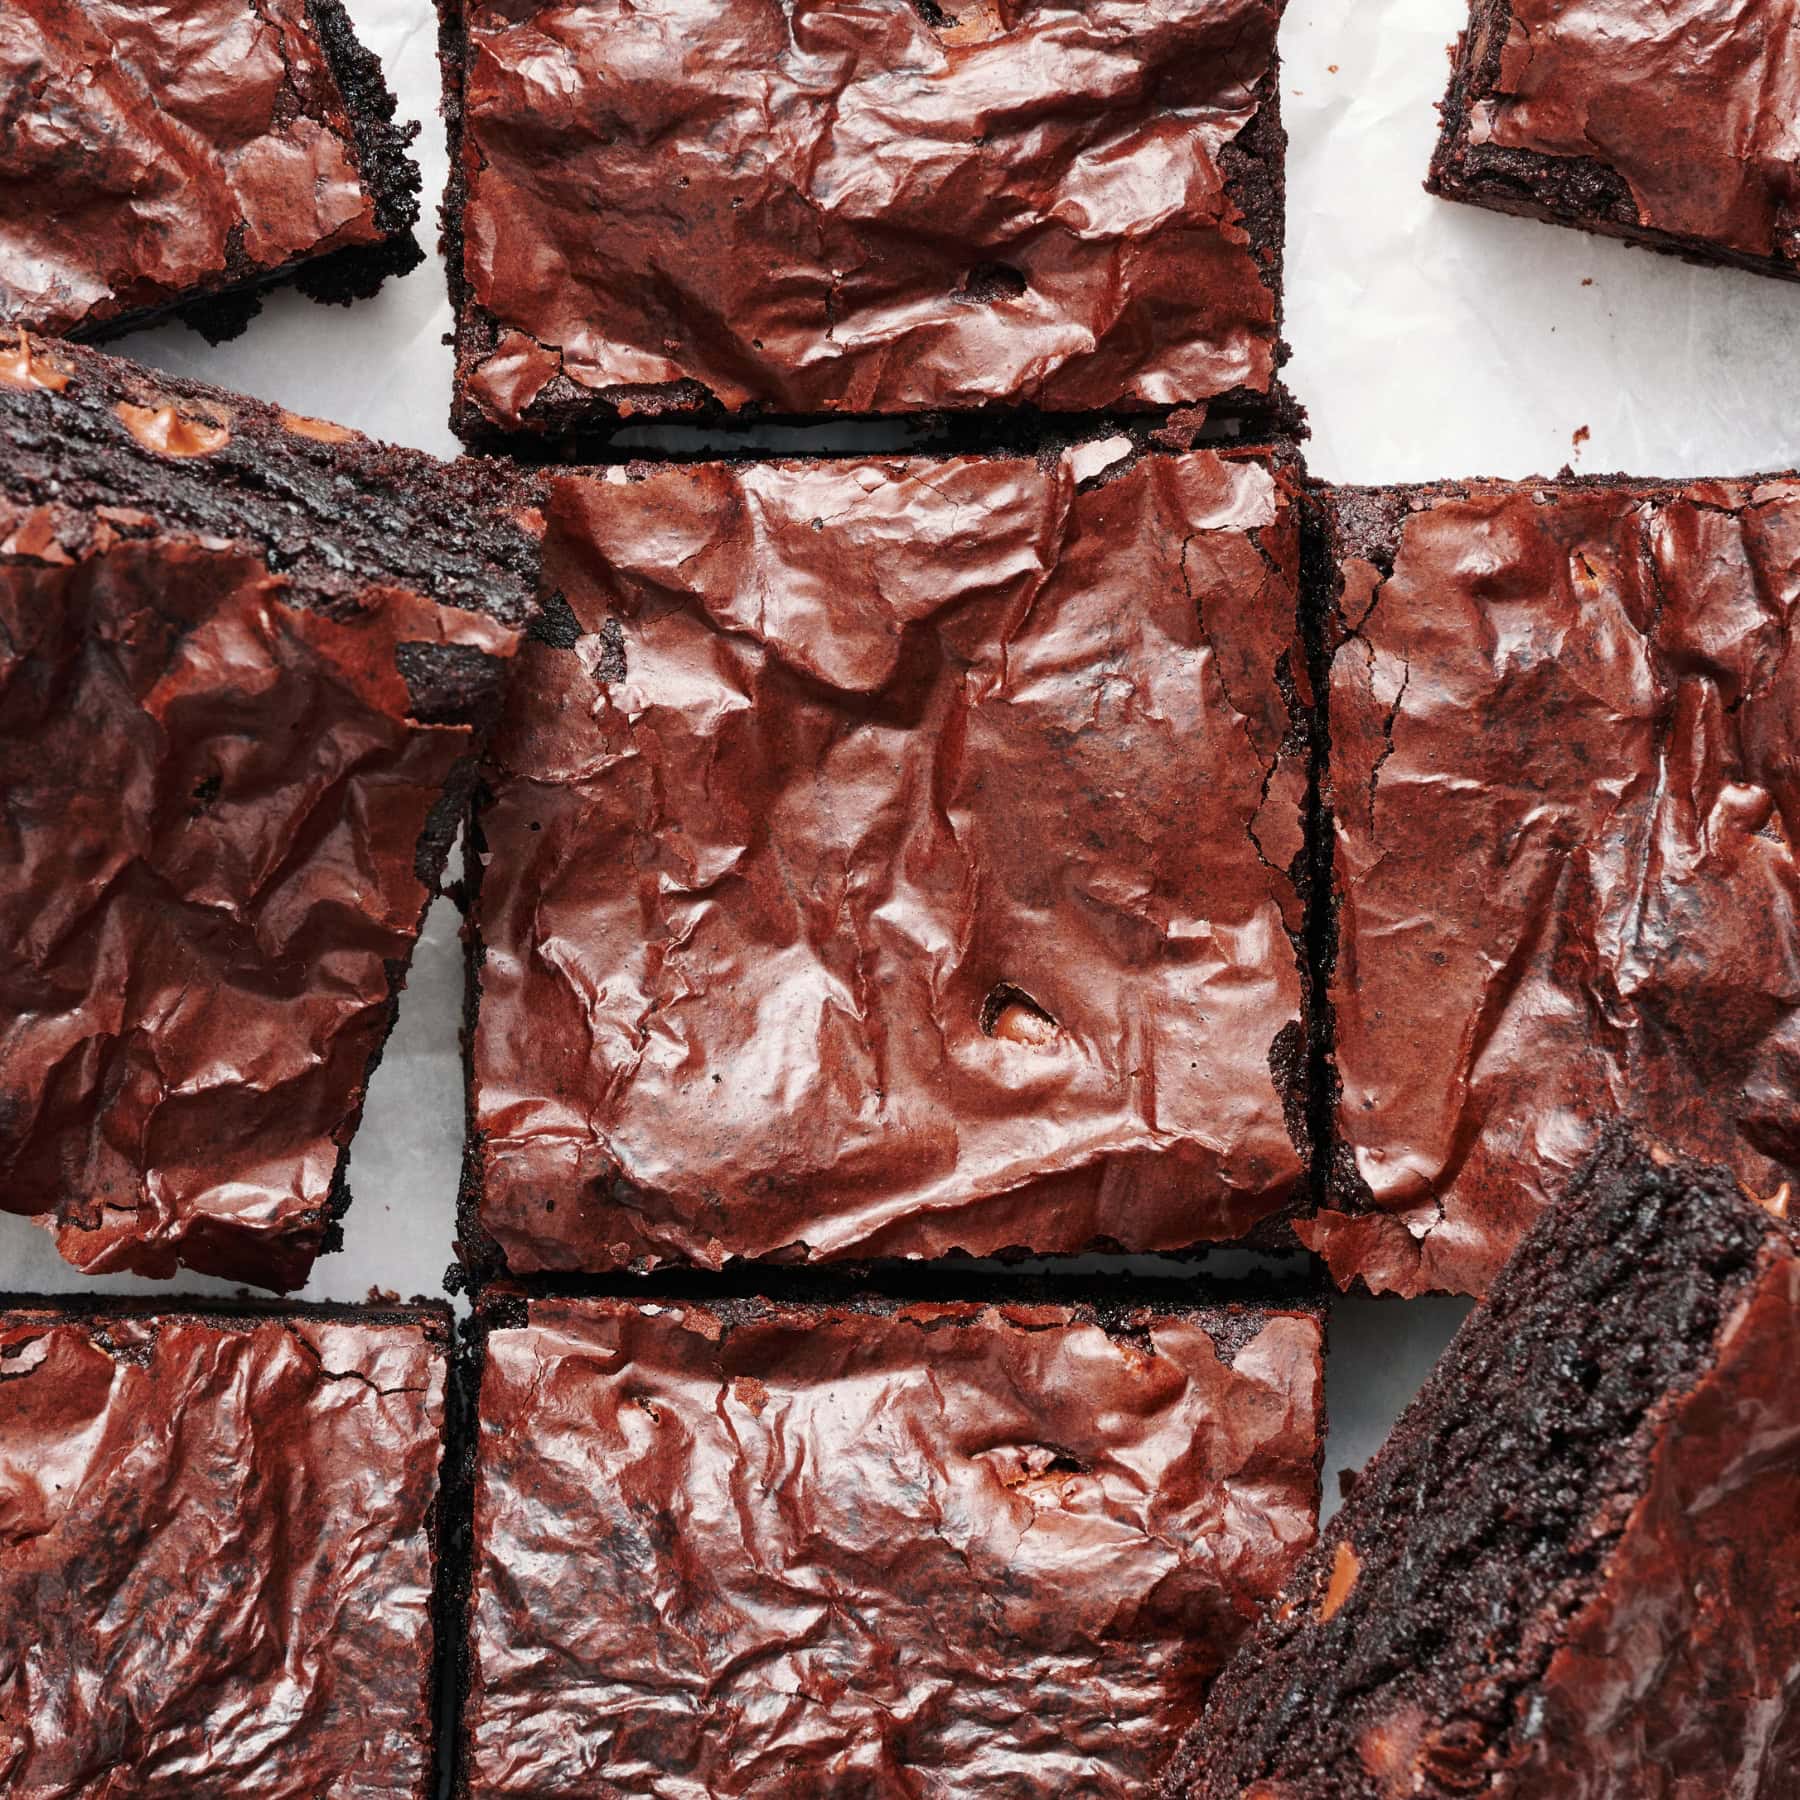
If you want that crinkly, shiny thin crust on your brownies, don’t skip the chocolate chips! The key to that crust forming is getting enough dissolved sugar into your brownie batter. This can be tough to do consistently, so adding chocolate chips (which contain dissolved sugar already!) is a great shortcut. Learn more about that shiny brownie crust here.
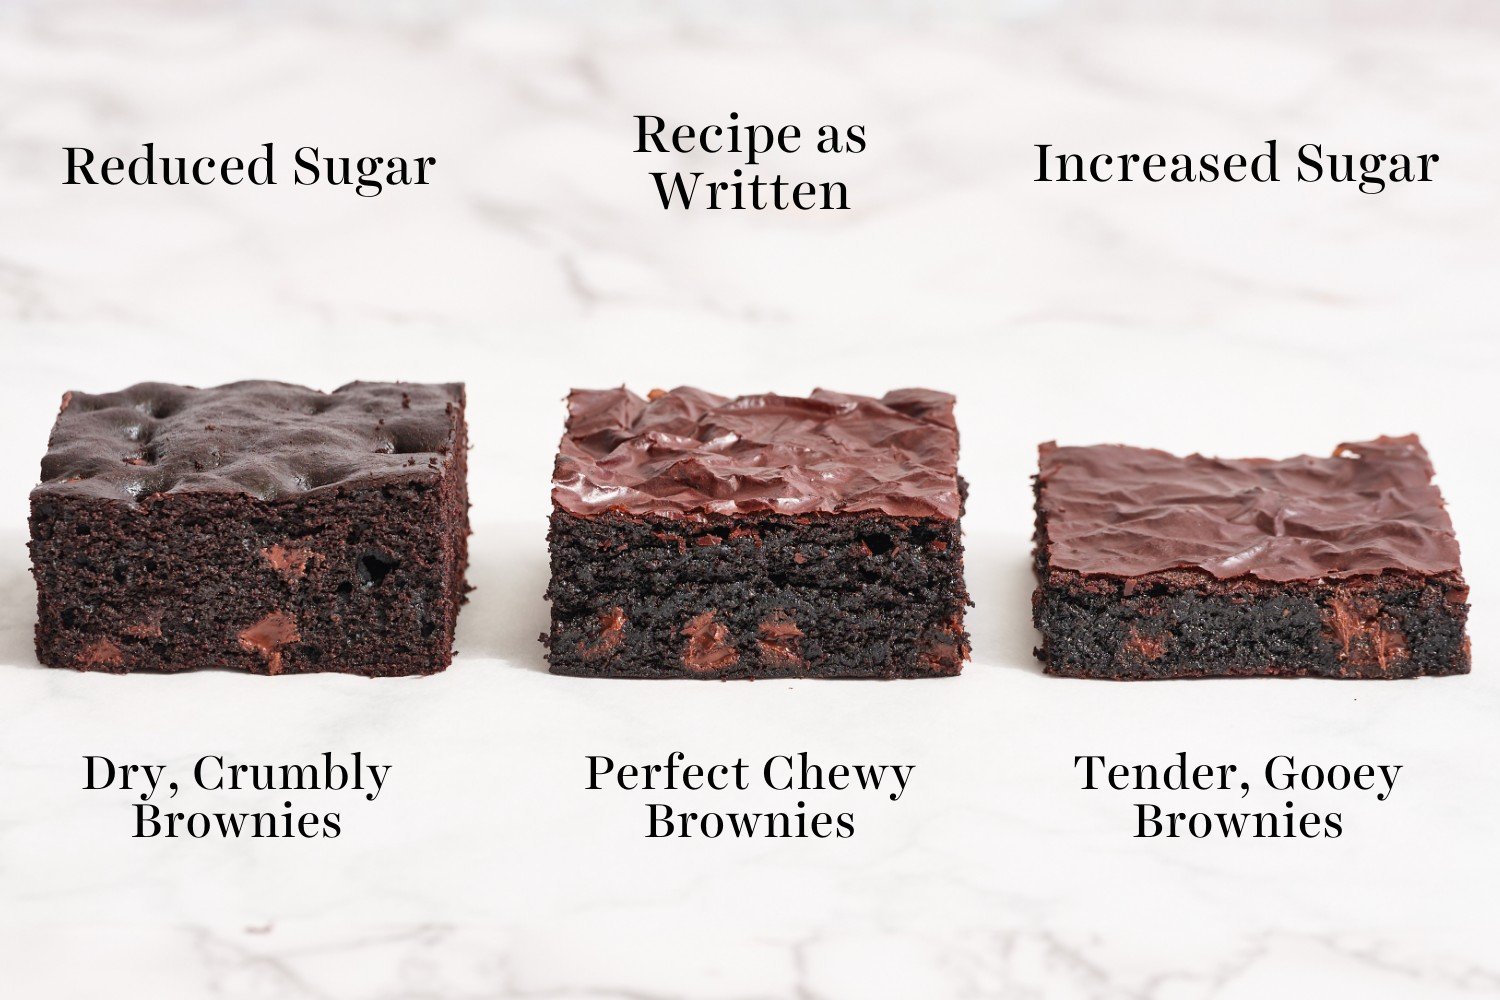
I’ve done extensive experiments with the amount of sugar in this brownie recipe. The takeaway? Reducing sugar yields drier, crumblier brownies that stale quickly. It also prevents that shiny crust from developing on top.
Storing & Freezing Brownies
Serving: For best texture and taste, allow the brownies to cool to room temperature fully before slicing and serving. Easier said than done! But warm brownies will taste more sweet and won’t be as chewy in texture.
Room Temperature & Fridge: Store in an airtight container for up to 3 days at room temperature or up to 5 days in the fridge. They are fudgier when they’re chilled!
Freezer: Wrap the cooled whole slab or individual slices of brownies in plastic wrap inside an airtight container. Store in freezer for up to 3 months. Thaw overnight in the fridge, or for a couple hours at room temperature, before serving.
FAQs
Yes! Double all ingredients and bake in a 9 by 13-inch light-colored metal baking pan (don’t use a glass pan!) and add a few minutes to the baking time.
I prefer no baking soda or baking powder for rich, dense brownies that are not even remotely cakey. If you’re team cakey, don’t even bother with this recipe. It’ll be far too chewy and fudgy for you!
You can, but note that the brownies will be thinner and may not develop that shiny crust on top.
Not only does this make the recipe quicker and easier, but it yields denser, chewier, and fudgier brownies.
I haven’t tested that, but readers have had success with a 1:1 gluten-free flour blend. You may need to add 1/4 teaspoon xanthan gum if your GF blend doesn’t have any binders.
Yes, replace the butter with an equal amount of a vegan butter block that’s firm at room temperature. Use dairy-free chocolate chips. Or, try my Coconut Oil Brownies with dairy free chocolate instead.
I have not found a suitable replacement for the eggs in brownies yet. Feel free to experiment!
A cake tester or toothpick inserted into the center should come out with moist crumbs attached. For me, 30 minutes yields my perfect brownie that’s just ever-so-slightly gooey in the center. If you prefer a drier consistency, bake for 33-35 minutes.
Surprisingly, the best tool is a plastic knife! Yes, like the ones you buy for a picnic or BBQ. If you don’t have one, use a large sharp knife and run under hot water and wipe off after each slice.

Email This Recipe
Enter your email, and we’ll send it to your inbox.
Ingredients
- 5 tablespoons (71 grams) unsalted butter
- 1 1/4 cups (249 grams) granulated sugar
- 2 large eggs plus 1 egg yolk, cold
- 1 teaspoon vanilla extract
- 1/3 cup (74 grams) neutral oil (like vegetable or avocado)
- 3/4 cup (75 grams) cocoa powder*
- 1/2 cup (63 grams) all-purpose flour, measured correctly
- 1 tablespoon cornstarch
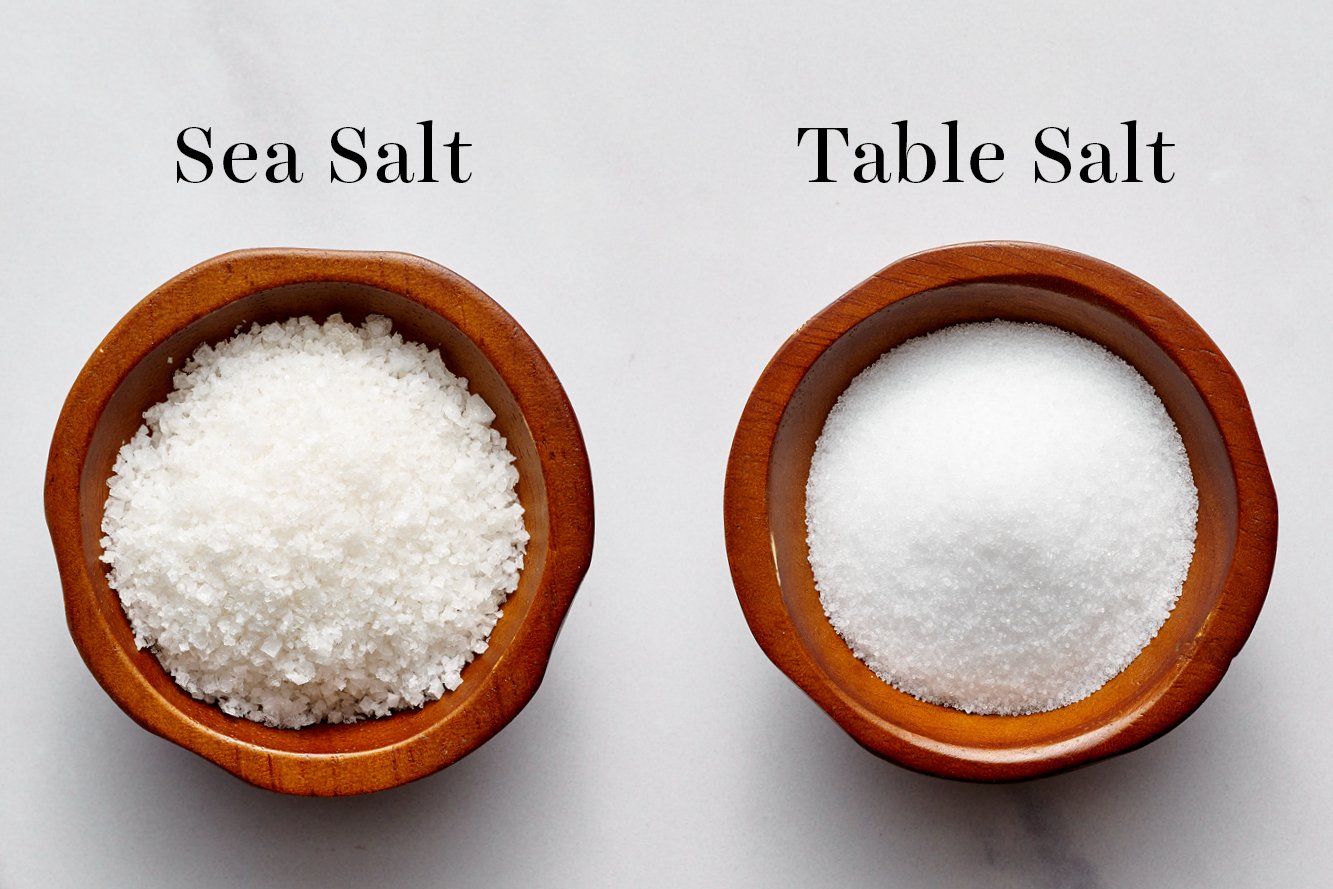
- 1/4 teaspoon fine sea salt
- 3/4 cup (128 grams) semisweet chocolate chips**
Instructions
- Preheat the oven to 325°F. Line an 8 by 8-inch light-colored metal pan*** with foil or parchment paper and spray with nonstick cooking spray.
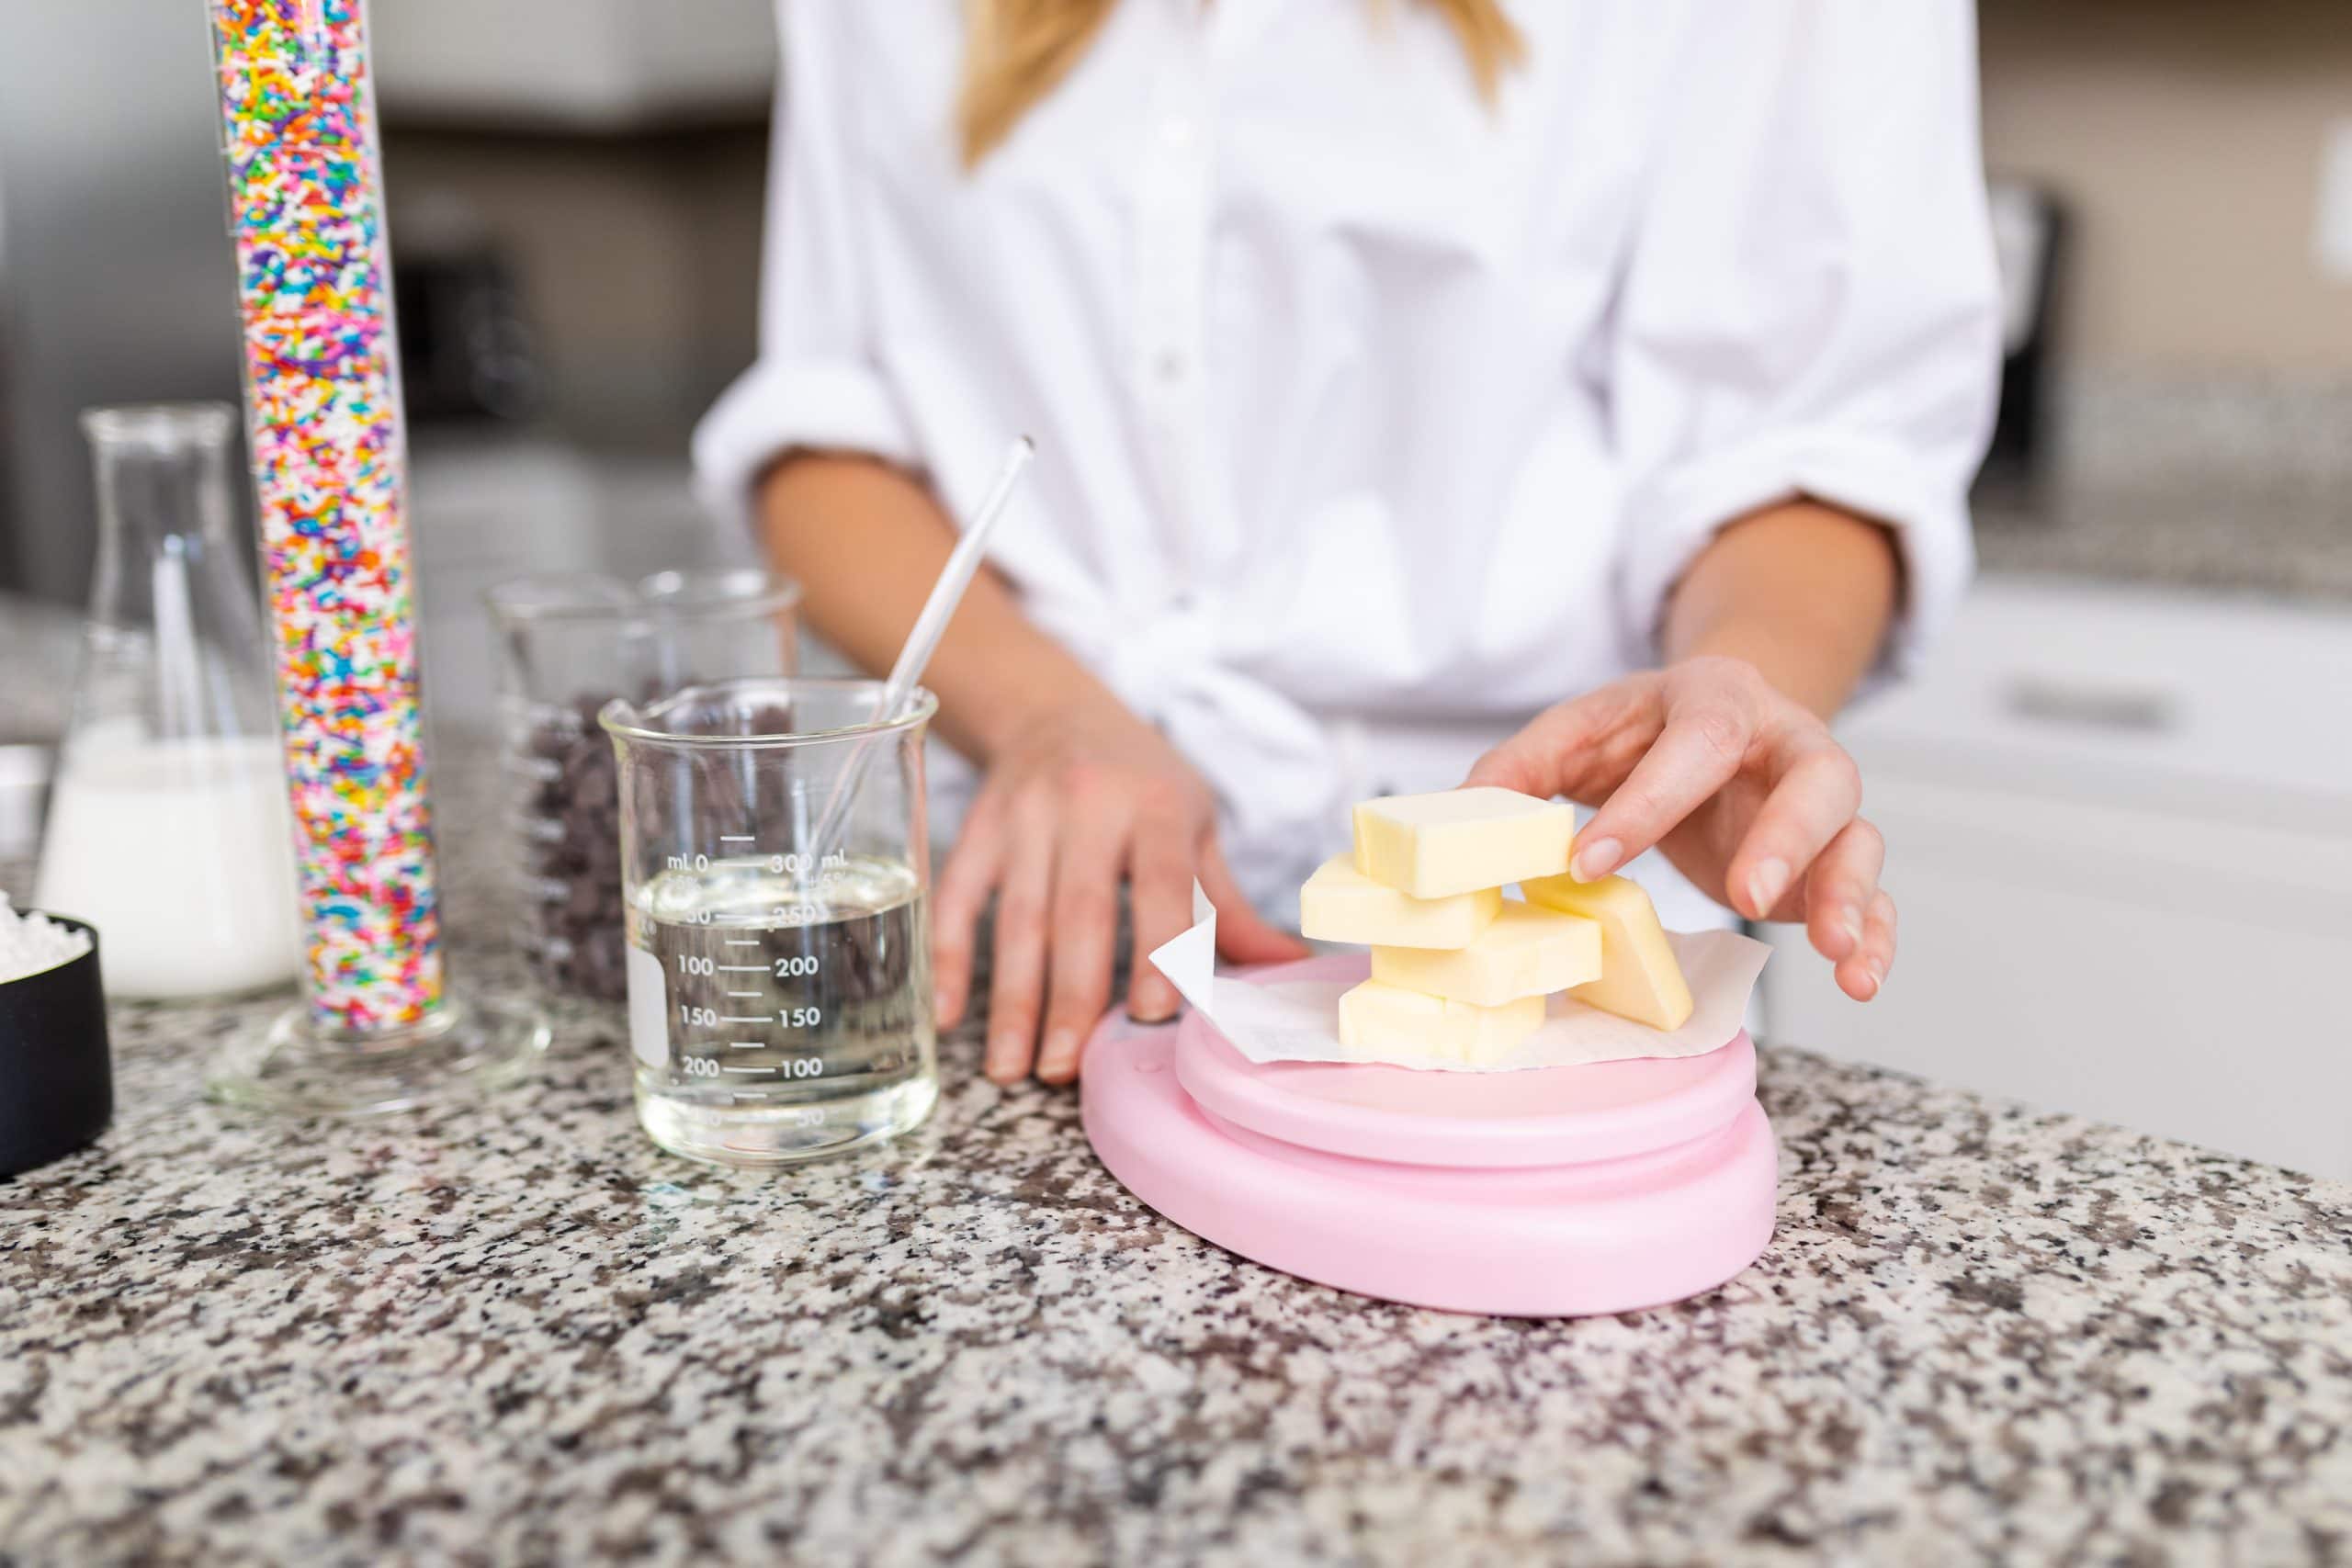
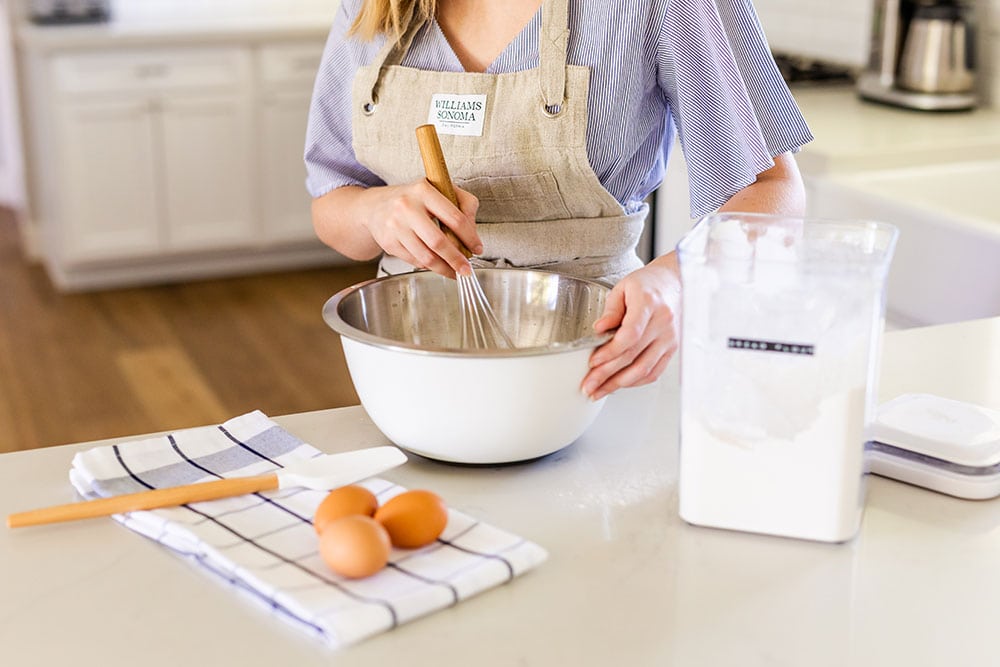
- In a microwave-safe bowl, add the butter and sugar. Microwave for about 1 minute, or until the butter is melted. Whisk in the eggs and egg yolk, whisking vigorously for 1 minute. This helps produce a shiny crust on top. Whisk in the vanilla, then stir in the oil and cocoa powder.
- With a rubber spatula, stir in the flour, cornstarch, and salt until combined. Stir in the chocolate chips.
- Spread the brownie batter evenly into the prepared pan. Place in the oven and bake for 30 minutes, or until the brownies are set and a cake tester inserted into the center has moist crumbs attached. Do not overcook. Let cool completely to solidify before cutting and serving.
- Brownies can be stored in an airtight container at room temperature for up to 3 days. Brownies will be gooey and taste the sweetest when served warm, chewy when served at room temperature, and fudgy when served chilled.
Notes
More Brownies Recipes You’ll Love:
- Malted Brownies – made with brown butter!
- Toffee Brownies – use store-bought or homemade toffee bits!
- Brookies – cookies + brownies combined!
- Copycat Cosmic Brownies – ultimate nostalgia!
- Oreo Brownies – tastes like an Oreo, but better!
This recipe was originally published in 2017 and has been updated with additional baking tips and new photos. Recipe photos by Joanie Simon.


Made these today and I have almost ate the whole pan Easy and so Good
So happy to hear you love these brownies, Lani! 🙂
Delicious! I’d like to double the recipe. Would you recommend a 9×13 pan?
Hi JB! Yes, use a 9 x 13″ pan to double the recipe. The bake time should remain about the same 🙂
Without oven one can’t make this recipe,?
Hi Jennifer! Yes, this recipe requires an oven. I know some people have luck baking certain things in air fryers or toaster ovens, but I can’t say how well that works, particularly for this recipe, as we have not tried it any way except in an oven! Of course, you can experiment with any other appliances you have access to, but the results will differ. Good luck!
Wow, I’m pretty impressed. First, I’m not much of a baker but these turned out so good I think I could fool anyone.
I’ve tried homemade brownies before but they always turn out more cakey…no matter how many times they say chewy and fudgy. We have found that Ghirardelli brownies are the best box…well now that I have found these there is no excuse to buy the box again.
I have no need to try new brownie recipes, I’ve found the one.
SO excited you loved these brownies and their truly chewy texture, Destiny!! I hope you give some more of our recipes a try, now that you know you can bake to impress 🙂
what tips would tou recommend when baking half of this recipe?
Hi Myrah! Cutting this recipe in half is a bit tricky, since it calls for an egg yolk and you would need to cut that in half, as well as everything else! I would advise making the full recipe as written, and freeze the other half in plastic wrap or an airtight container for future use! If you do want to make just half the batch, check out this great article to help determine what size pan you would need! Follow the sensory indicators in the recipe to help you know when the brownies are done. Good luck 🙂
Made these used a metal pan 30 minutes was way under baked, baked for 37 with moist crumbs still seem under baked
Hi Maria! There will absolutely be moist crumbs attached to a tester after 30 minutes of baking. That’s what we want, to ensure these stay ooey gooey and delicious! They do continue to bake in the pan for awhile after removing from the oven, too, from the residual heat. Tessa talks about this in the pink box above the recipe! The only reason these might be underbaked after 30 minutes, if is your oven isn’t actually at the right temperature. Many home ovens run cold, and without an oven thermometer, you might not know! Tessa talks about oven temperatures in this article, linked here. Please let me know if you would like any further help troubleshooting here! I hope your brownies were delicious!
At 35 minutes tester comes out totally wet baked them 40 minutes to get moist crumbs. I have two oven thermometers so it was definitely at the right temperate. I used the recommended pan.
Hi Maria! That’s so strange! There are some other things that could be going wrong – feel free to email us at [email protected] if you would like us to help you troubleshoot any further! Have a great week 🙂
Delicious, moist, and chewy! If you doubled the recipe to make them thicker, how would you need to adjust cooking time?
Hi Tisha! I’m so happy you loved these brownies! I can’t tell you exactly how long that will take, because we have not tried that! I would just recommend starting by adding an extra 15 minutes (likely will take a lot longer, but just to be safe, start there!). Watch the brownies carefully, and remove them from the oven when the middle is set and a toothpick inserted into the center has moist crumbs attached. Good luck! 🙂
Probably the best looking brownies I’ve made before, however they were a bit on the sweet side. I think cutting the sugar in half next time is best. Would the butter ratio also change?
Hi Amira! Unfortunately, this recipe is written exactly how it is to work exactly the way it does, so by reducing the sugar and/or adjusting other ingredients, the results will not be the same. The amount of sugar in this doesn’t just contribute to the sweetness; it also adds moisture, provides structure, tenderness, and also assists in the leavening (taller and lighter end result), just to name a few!
Take a look at our extensive brownie index for other recipe options. There are a ton of brownie recipes there, including these skinny brownies! Alternatively, if you really liked this specific chewy brownie recipe, you could try adding bittersweet chocolate chips or some toasted nuts to the batter, to give another flavor profile and bring down the sweetness that way! I hope that helps 🙂
They look amazing! Has any other type of oil been used besides vegetable oil? Thanks!
Hi Deb! Tessa created this recipe specifically as written, to maximize chewiness and delicious chocolate flavour! Feel free to experiment with other oil types, but as we have not tested others, we cannot guarantee they will have the same wonderful chewiness and delicious chocolately flavour! Alternatively, we do have countless other brownie recipes (Brownie Index linked here!), including THIS Coconut Oil Brownie Recipe! I hope that helps 🙂
I did not see to not bake them in glass pan. What can I do so they will cook?
Hi Christine! I would suggest that you lower the oven temperature by 25°F (so 300°F for this recipe). Watch the brownies carefully in the oven, and be prepared to have to bake much longer than stated in the recipe. Remove from the oven when the middle is set and a toothpick inserted into the center has moist crumbs attached. Good luck! 🙂
These brownies are AMAZING! My friends always make me bring them some when I make them. They’re so rich and perfectly gooey.
I’m so excited to hear that you love these brownies, Samantha! We love them too, but we might be a little biased 🙂 Happy baking!!
This may be my favorite brownie recipe so far! I try lots of different ones. It had the best flavor and texture.
I love reading all of the science behind the ingredients. thank you!
Woohoo, so thrilled to hear this, Victoria! I’m so happy you enjoy all of Tessa’s science-backed tips and explanations! We love the technical side of baking here at HTH, too! Happy baking 🙂