





This post may contain affiliate links. Read our disclosure policy.





Tessa’s Recipe Rundown
Taste: The perfect amount of sweetness.
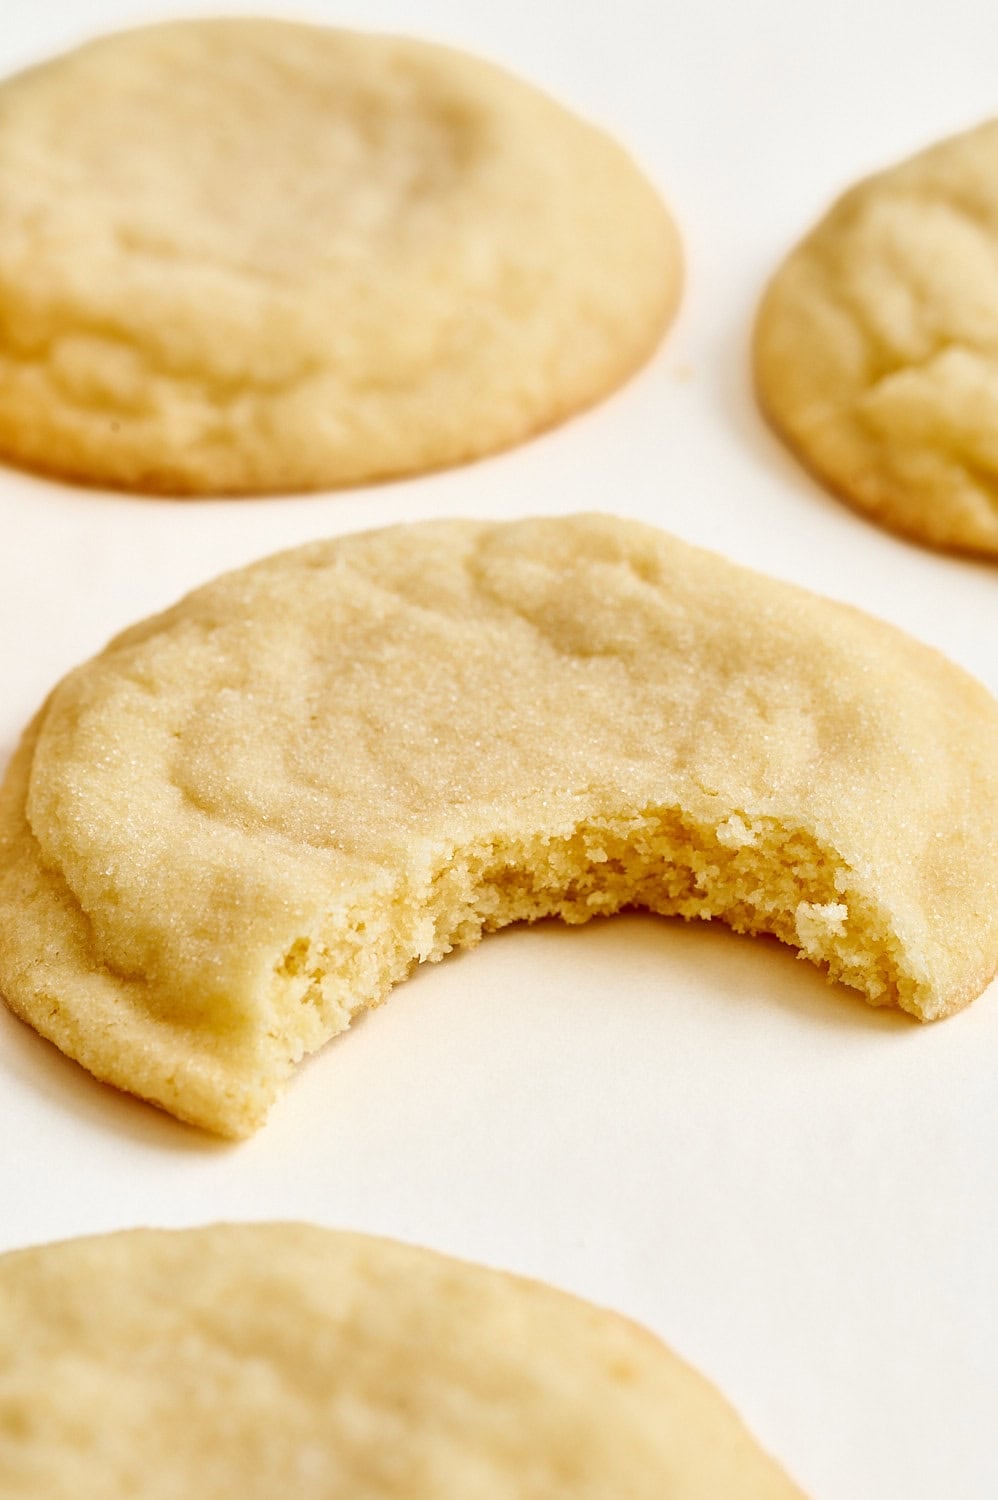
Texture: My favorite part, each bite is the ideal balance between soft and chewy.
Ease: Super easy 30-minute sugar cookie recipe with no chilling required.
Why You’ll Love This Recipe: Fun, simple, and perfect for holidays from Christmas to Valentine’s Day, even 4th of July. Everyone LOVES these cookies.
Not to boast, but everyone who has tasted or made this sugar cookie recipe has said it became their instant favorite!! It took weeks of testing to get it just right.
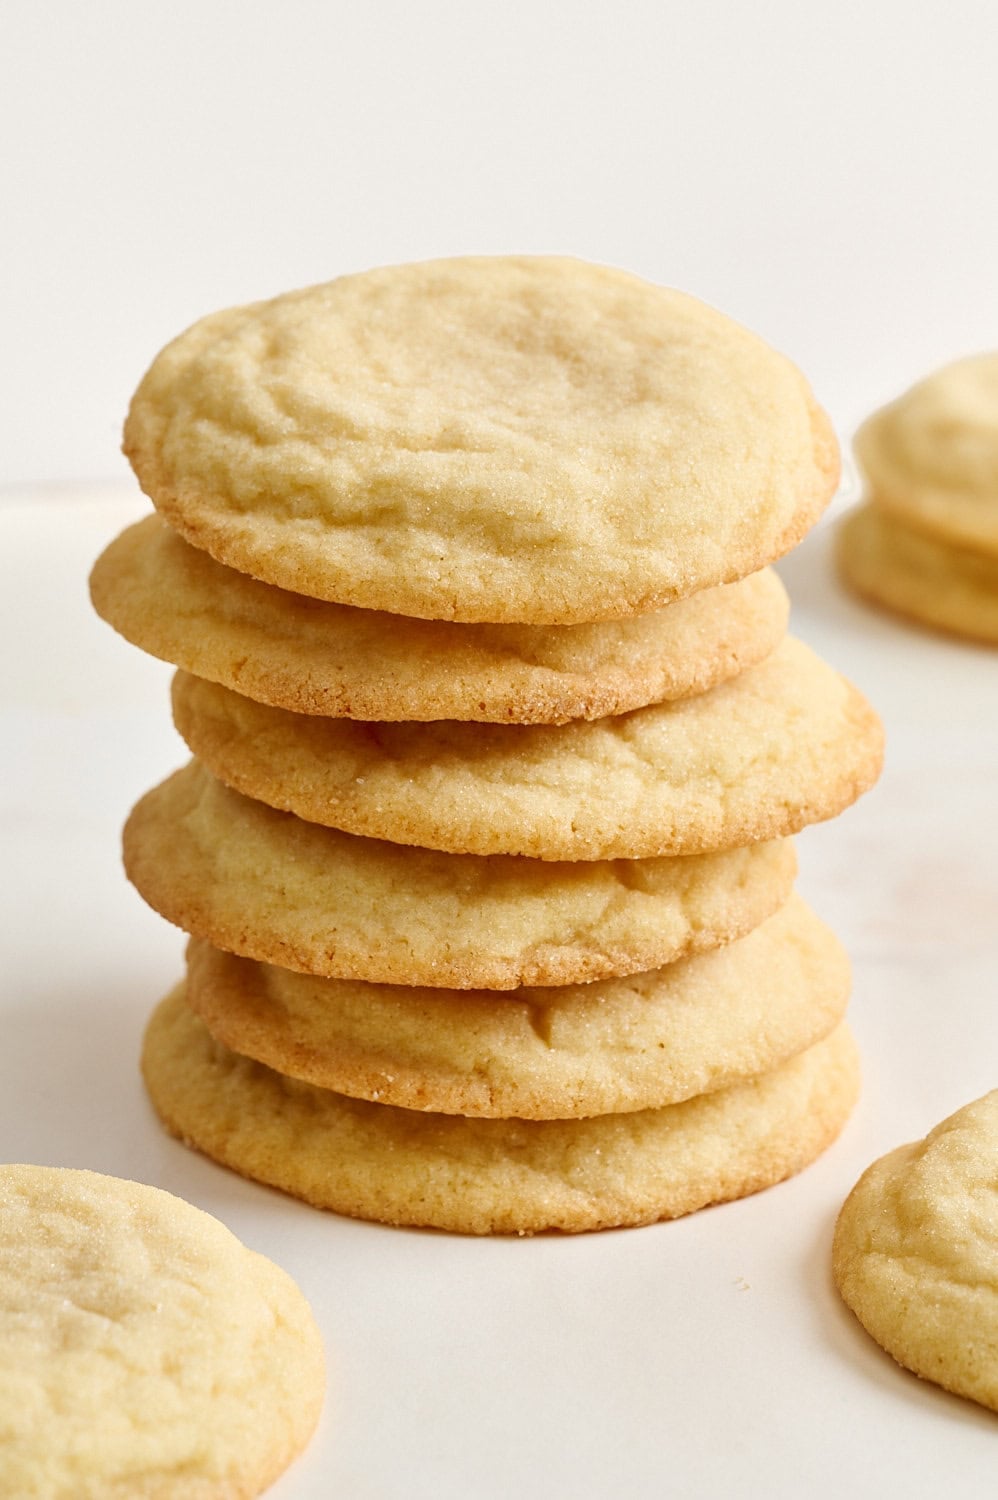
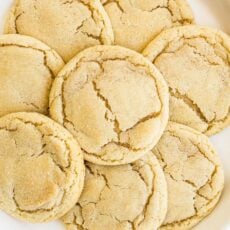
These Soft & Chewy Sugar Cookies require NO CHILLING and are incredibly easy to bake up.
Reader Love
Delicious! Just made these with my 3 year old daughter. Easy to follow recipe and will be my go-to for sugar cookies! Only difference was adding rainbow sprinkles (the round ones) to the sugar to roll the balls in before baking.
Absolutely amazing cookies, A great recipe, and the cookies turned out so well too, just like your photos. Definitely a recipe to repeat.
I tested versions with cream cheese, but found they became too claggy. I also tested smaller sized cookies, but found they didn’t stay as soft and chewy in the center.
After many rounds of recipe testing, I finally nailed an easy sugar cookie recipe that’s soft and chewy (and STAYS soft) and has that perfect sparkly crackled top.
Recipe Ingredients
All-purpose flour – Make sure to weigh your flour accurately. This is KEY. If you add too much flour, your cookies won’t spread at all and won’t be soft or chewy.
Baking powder – This gives the sugar cookies lift, without adding too much spread or browning.
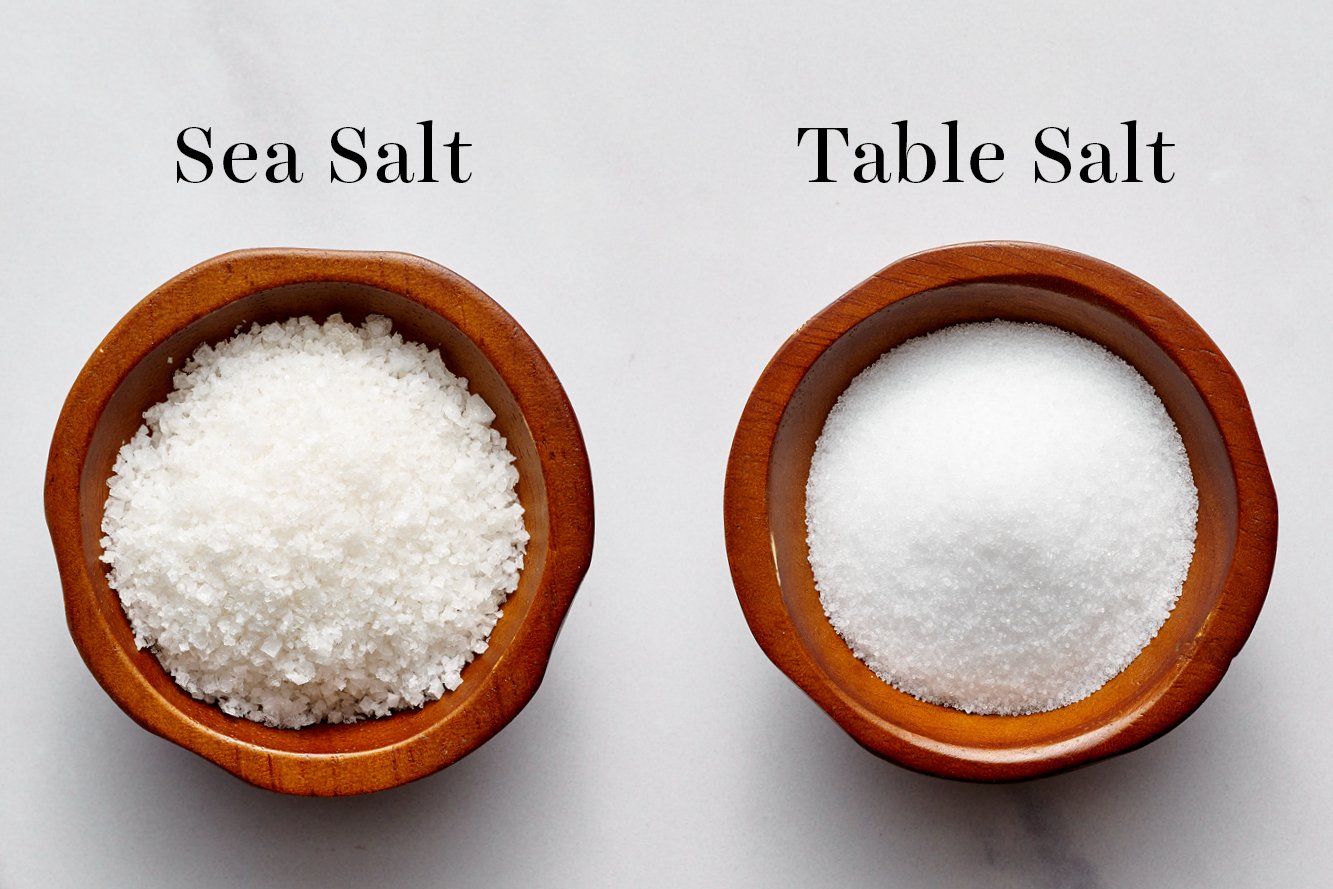
Fine sea salt – So important to balance the sweetness! I prefer the taste of sea salt over table salt, but you can use that too. Don’t use kosher salt, it won’t dissolve as readily and you might end up with salty pockets.
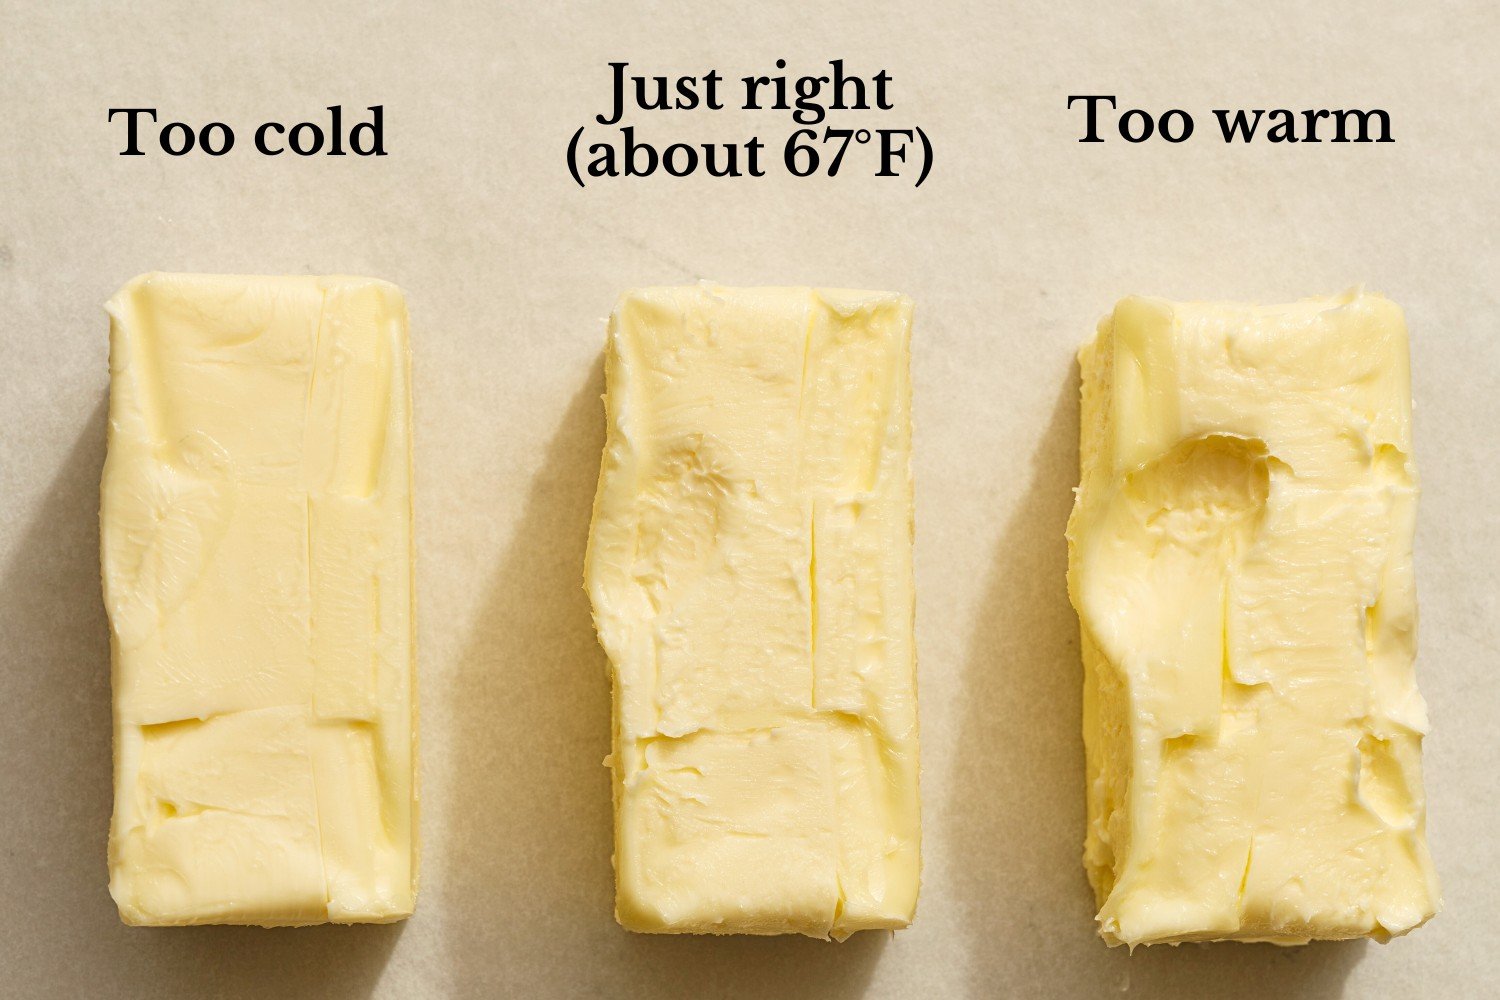
Unsalted butter – It’s important that your butter is at a cool room temperature (around 67°F), otherwise your cookies may spread. If using salted butter, reduce the salt added to 1/4 teaspoon.
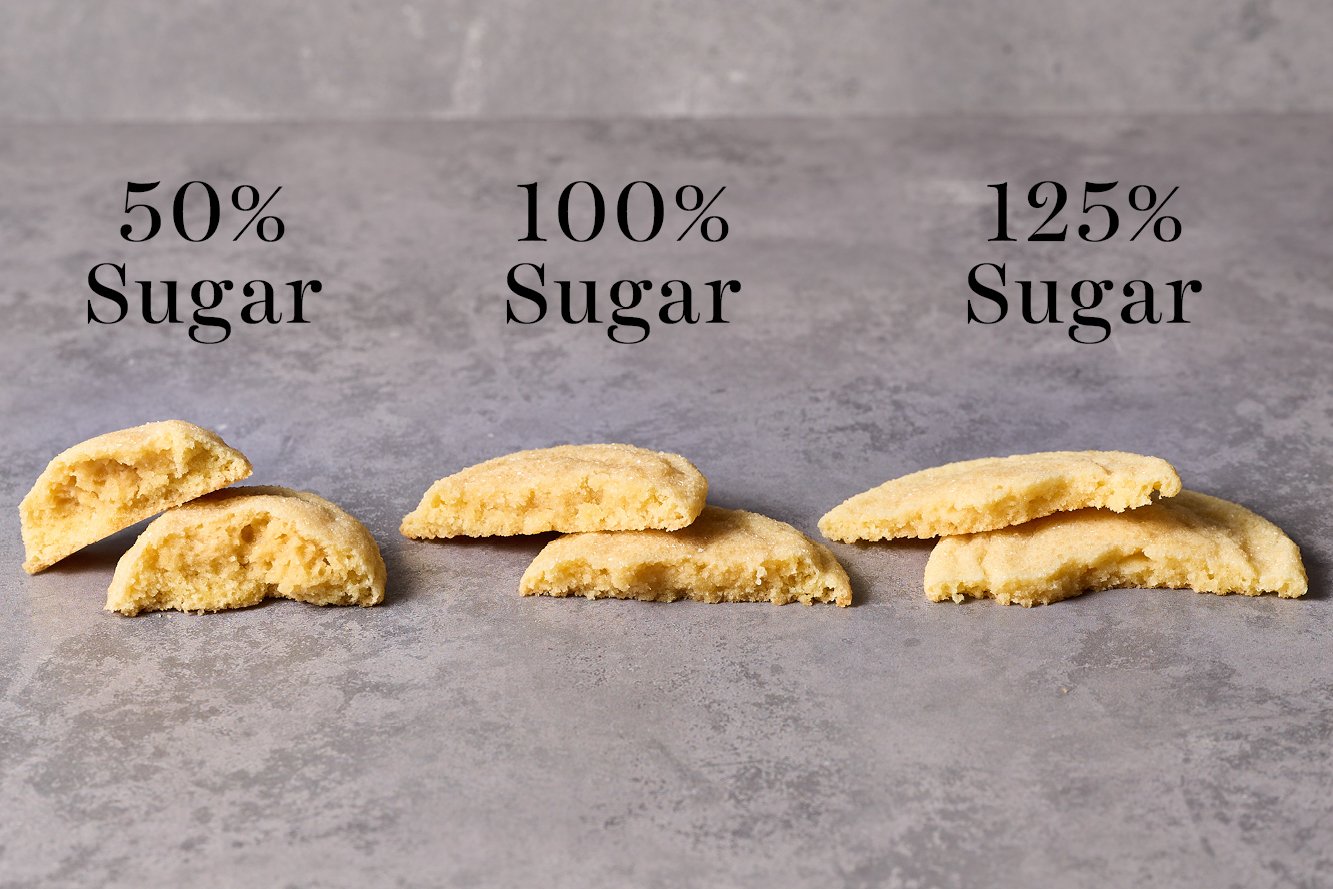
Granulated sugar – The star ingredient! Don’t reduce the sugar – find out why here and peek the Sprinkle of Science section below.
Eggs – One whole egg with an extra egg yolk lends richness and chewiness to the texture. Make sure they’re at room temperature.
Vanilla extract – No sugar cookie recipe is complete without the flavor of vanilla extract. Feel free to experiment with other extracts!
How to Make Sugar Cookies (Step-by-Step)
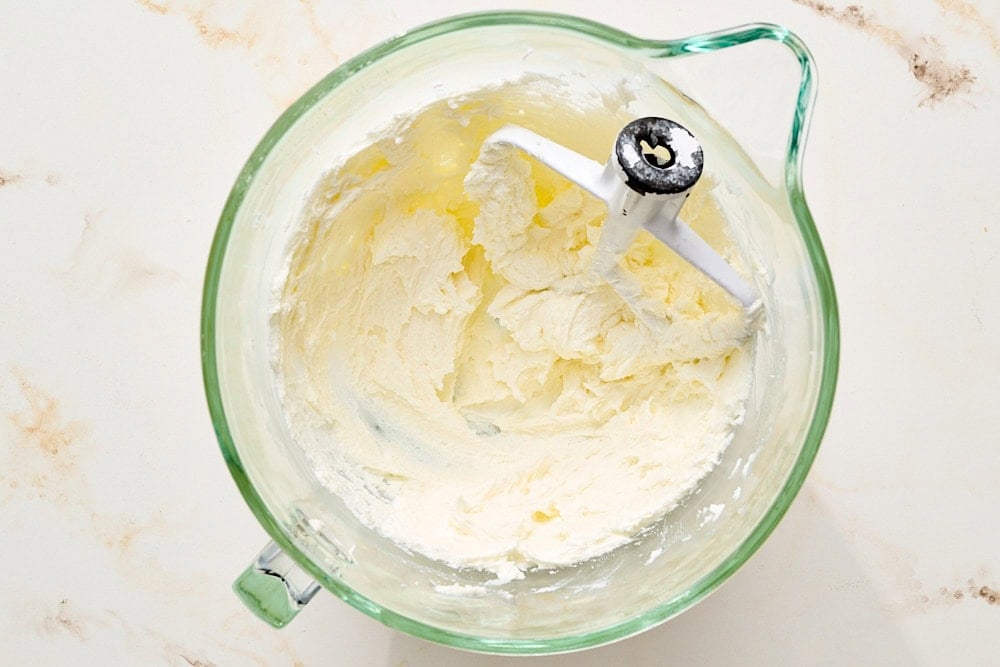
Cream butter & sugar. Use butter at a cool room temperature (about 67°F) and beat with the paddle attachment (not the whisk) until lighter in color and larger in volume.
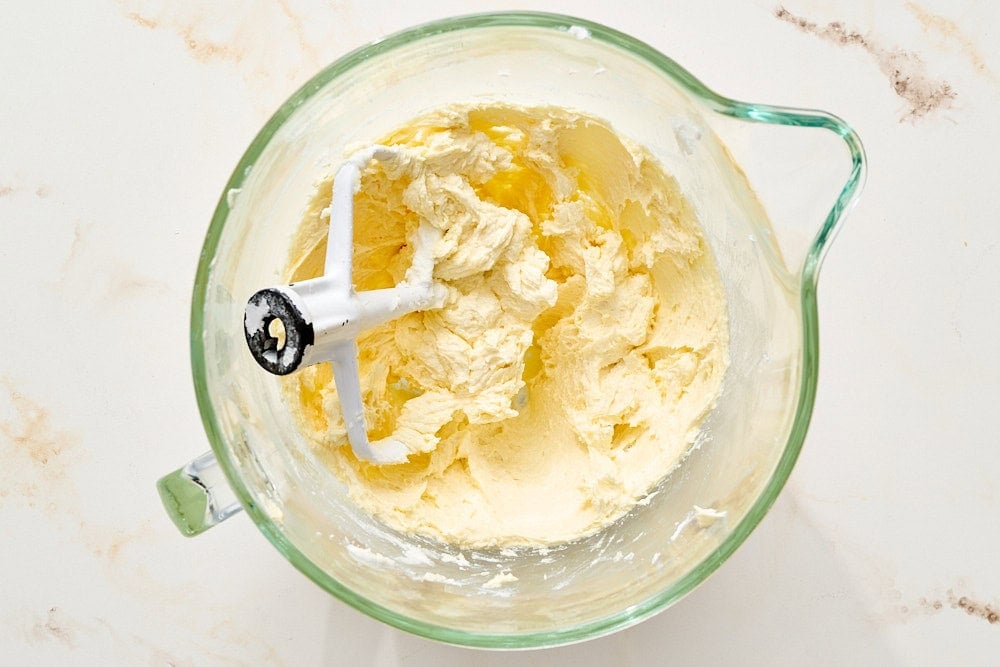
Add egg, egg yolk, and vanilla. Room temperature eggs will incorporate more easily. Beat very well until thoroughly combined, scraping down the sides & bottom of bowl and paddle as needed.
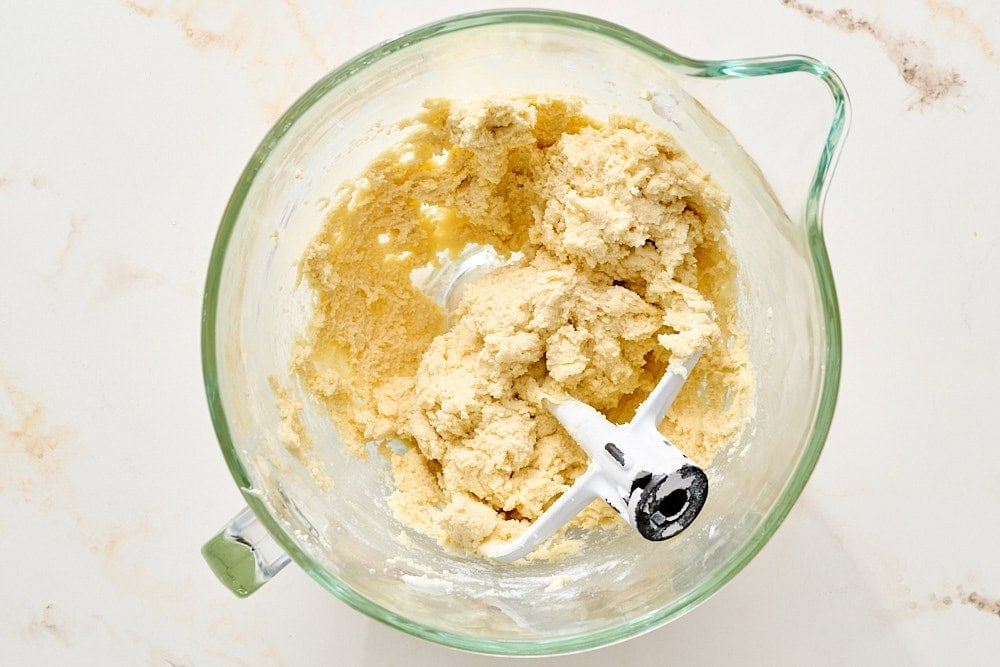
Add dry ingredients. Don’t overmix, this will create stronger gluten networks and may result in tough cookies.
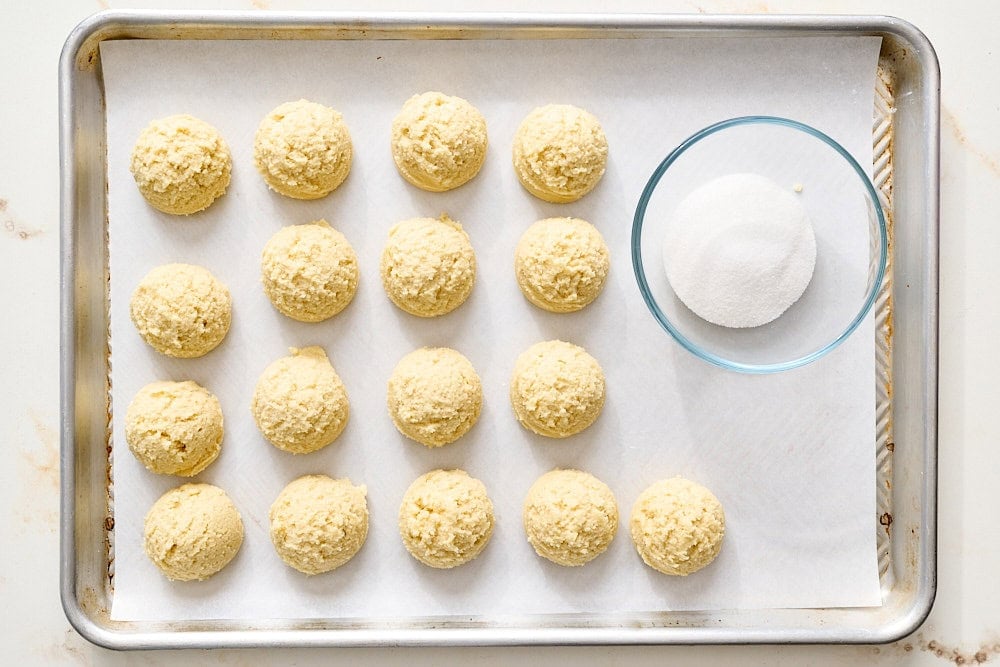
Scoop into balls. A spring-loaded scoop makes quick and efficient work of this.
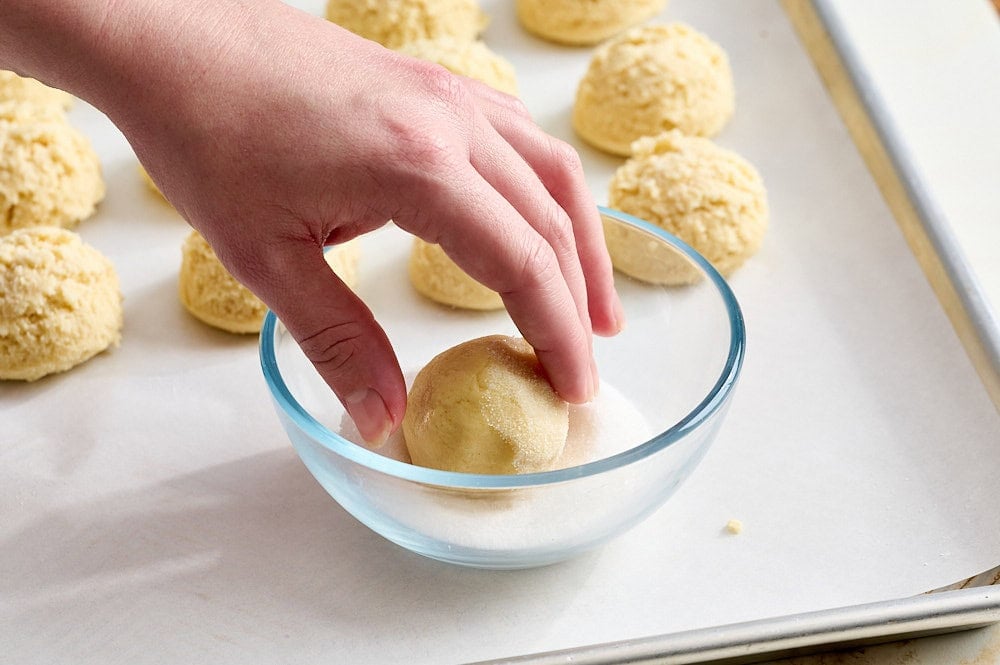
Roll in sugar. Don’t skip this step, it’s key to those crackly, sparkly tops! Only skip if you plan to frost the cookies.
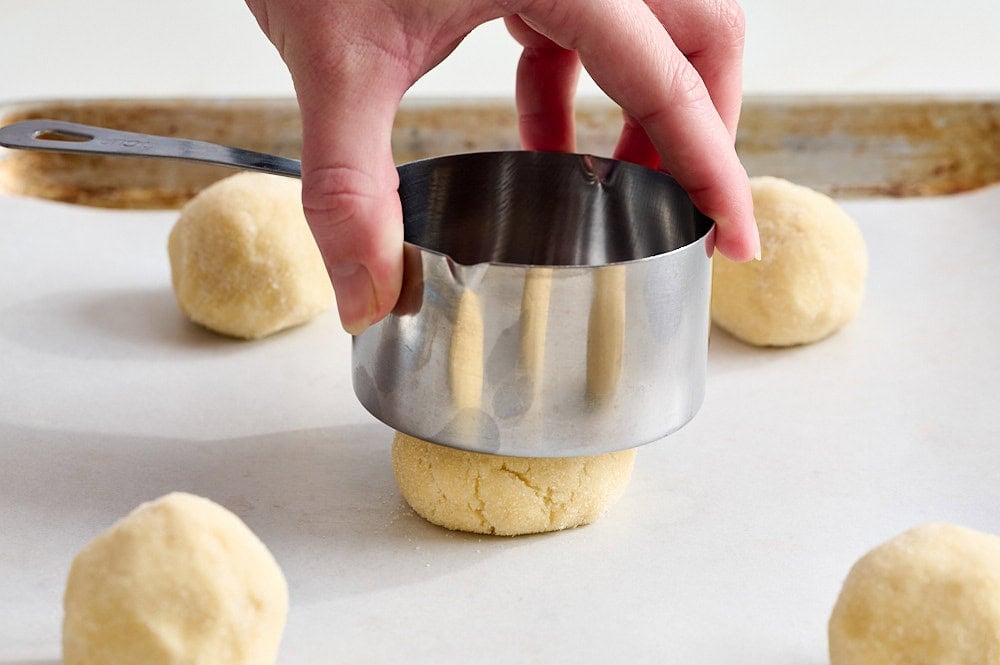
Flatten slightly. Gently press down each cookie dough scoop with the bottom of a measuring cup or your palm. This ensures proper spread.
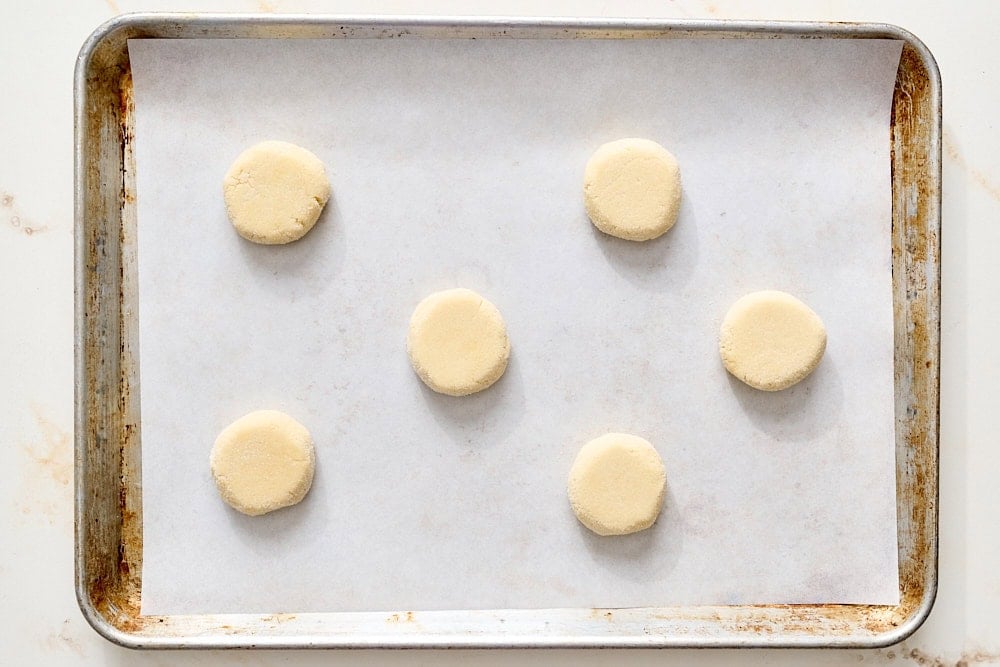
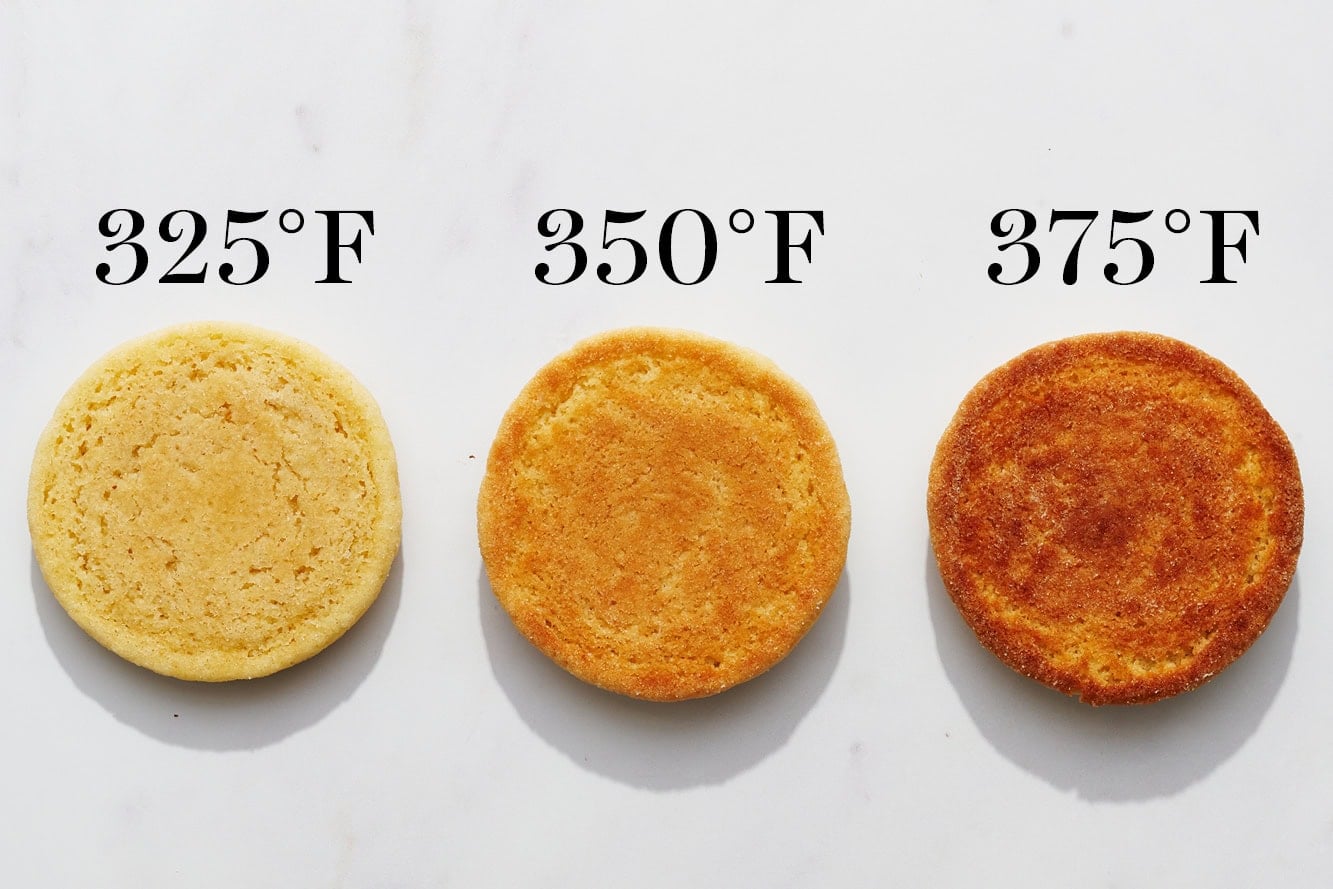
Bake. At 350°F for just 10-12 minutes. Don’t overbake! The cookies should be set at the edges but look just slightly ‘wet’ on top. They’ll continue cooking from the heat of the pan.
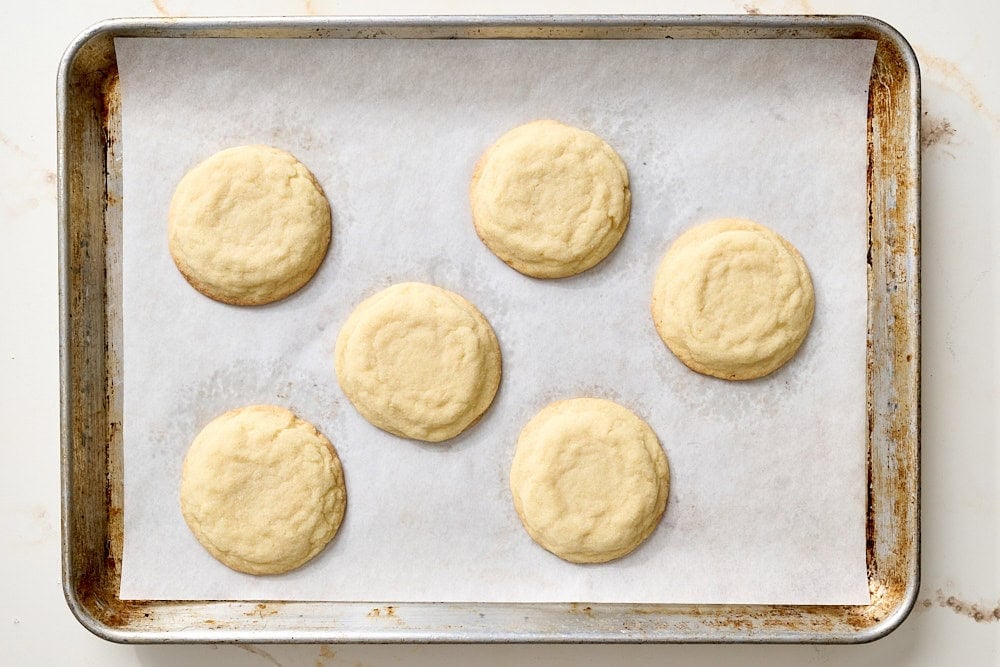
Let cool. For the chewiest texture and best flavor, allow the cookies to cool completely before enjoying.
Keys to SOFT Cookies
- Do not over-measure your flour. For best results, use a kitchen scale (I promise you this is a game-changer). If you don’t have one, use the spoon-and-level method. Too much flour is the #1 cause of dry crumbly cookies that don’t spread properly.
- The extra egg yolk helps to add more moisture and richness, for a soft and chewy texture.
- The other trick is found in the size of the dough ball… a whole 3 tablespoons in each! This creates larger cookies that spread out perfectly with ultra-soft centers.
- Whatever you do, don’t overbake this sugar cookie recipe. They should still look ever so slightly ‘wet’ in the center when you pull them from the oven.
How to Prevent Cookie Spreading
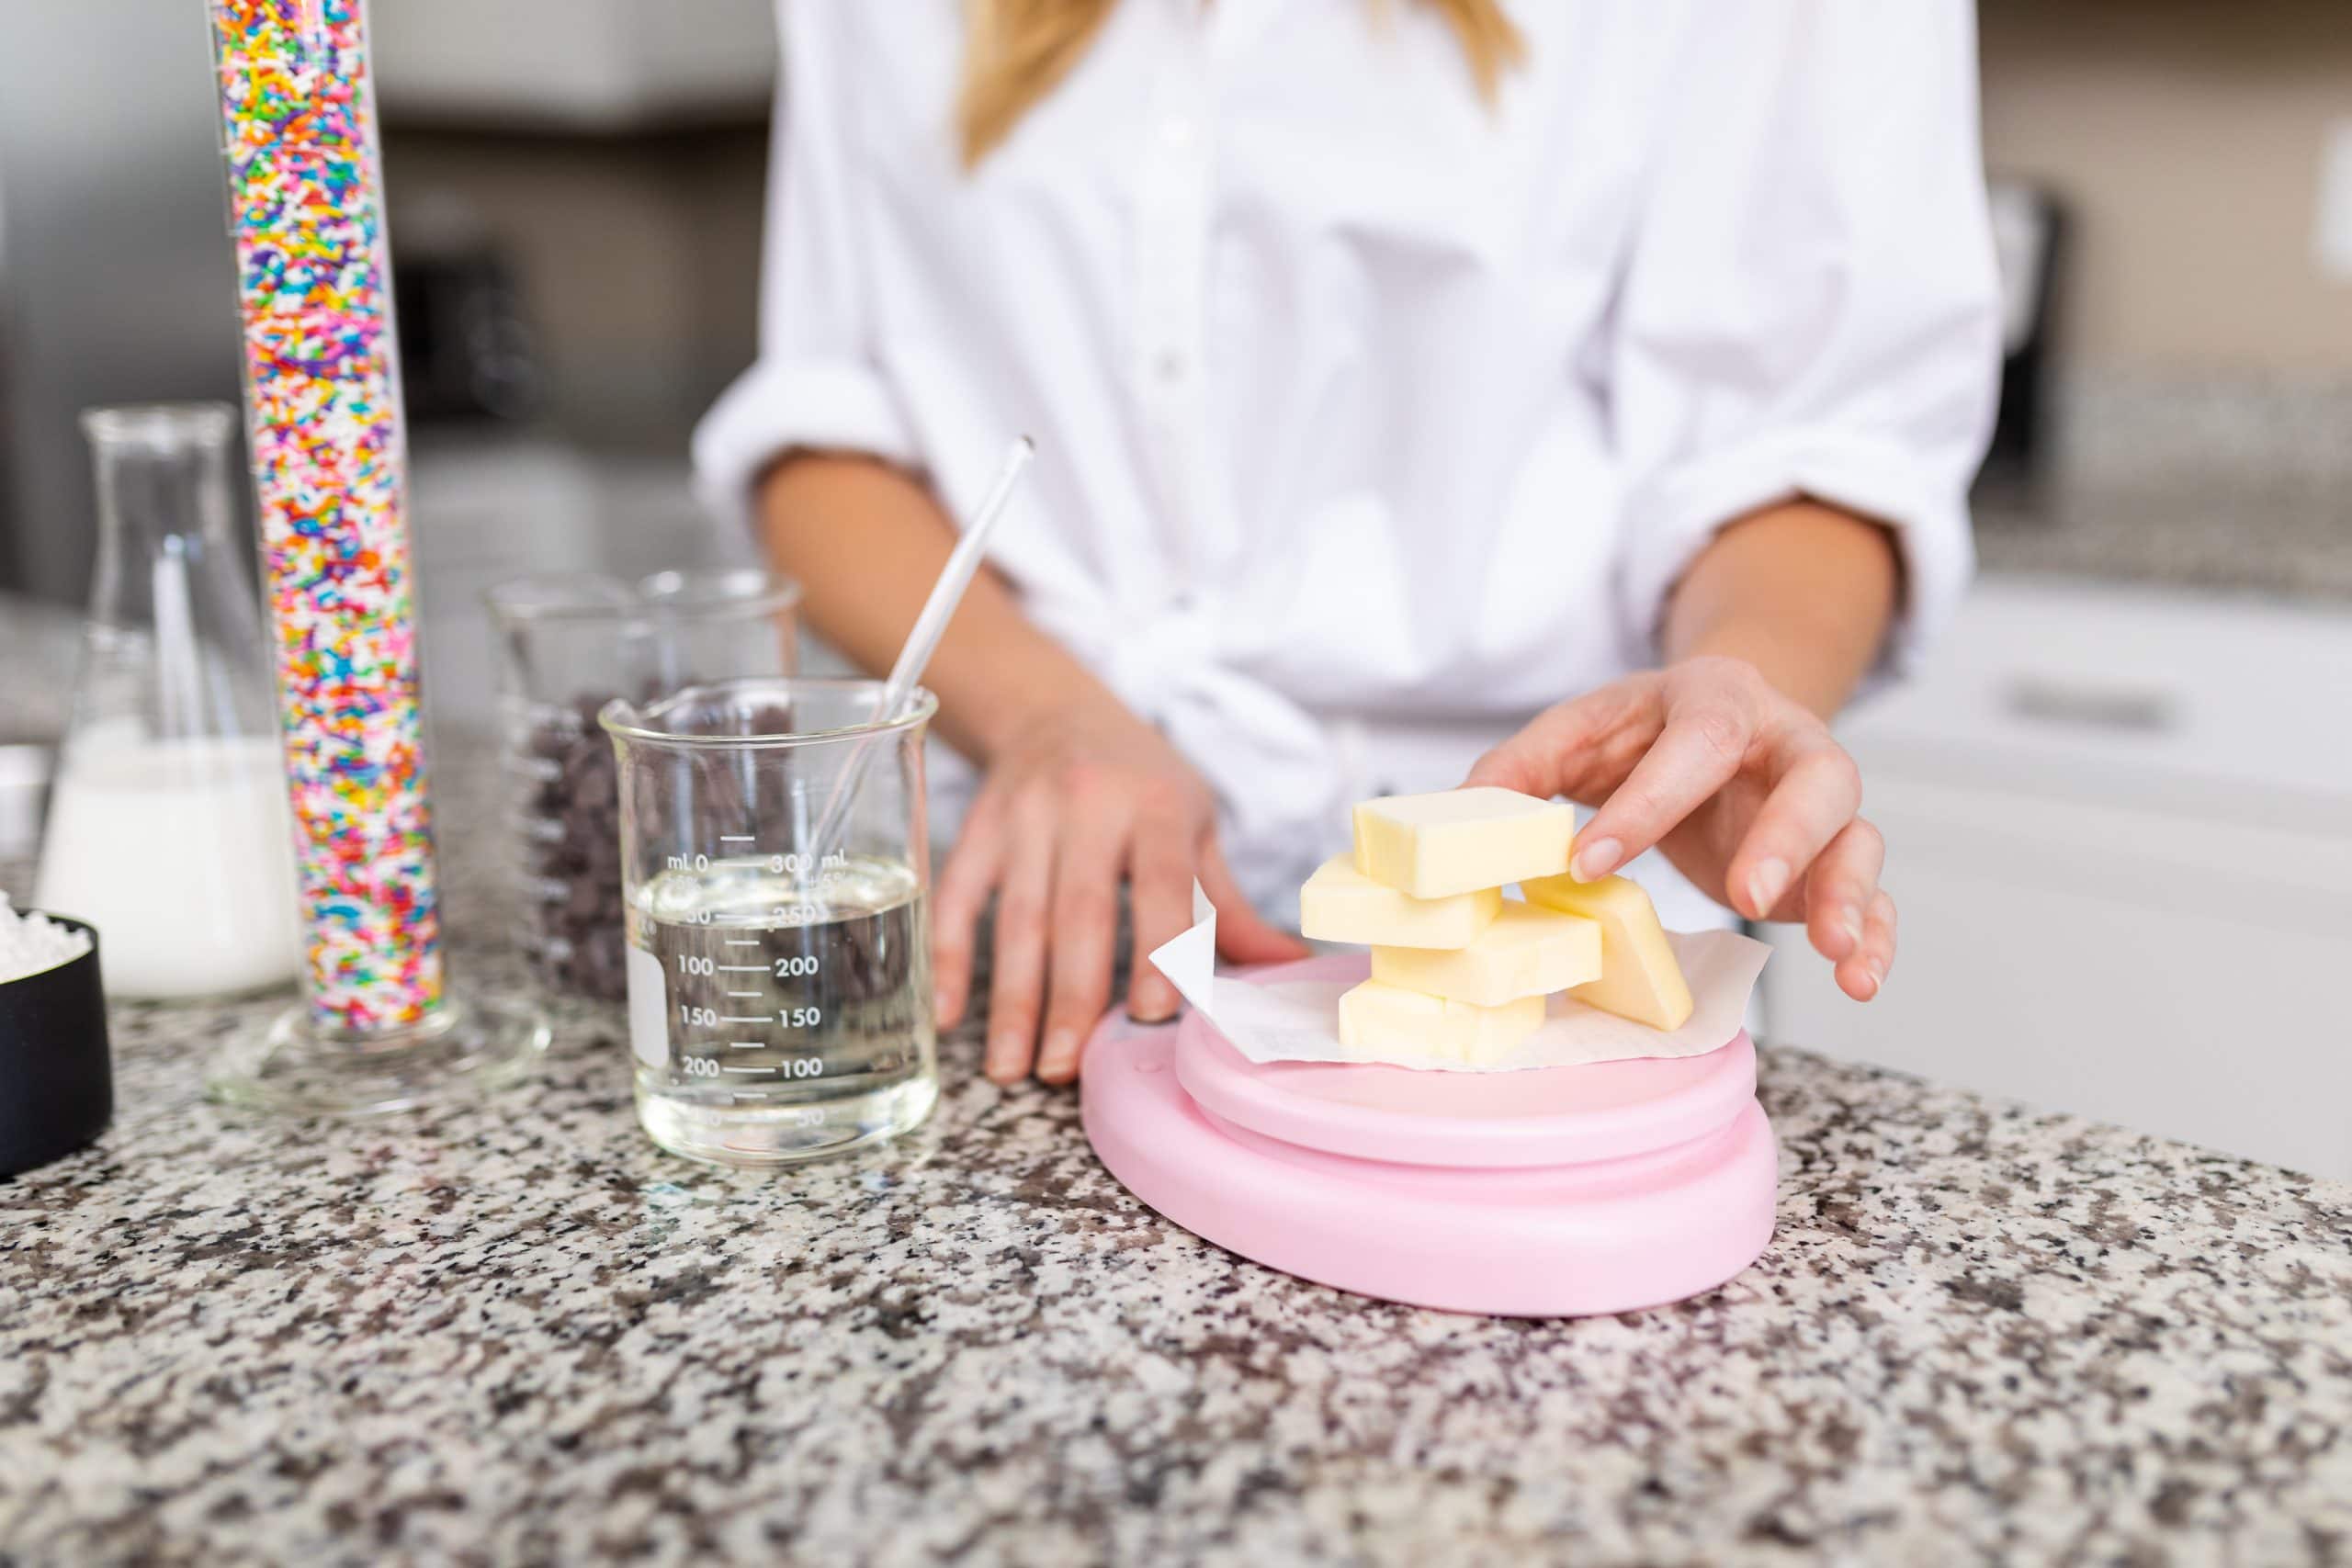
To prevent flat sugar cookies that spread into little puddles, it’s important to make sure your butter is at a COOL room temperature.
Your sticks of butter should give slightly when pressed with your finger but still hold their shape. To be precise, your butter should be 67°F.
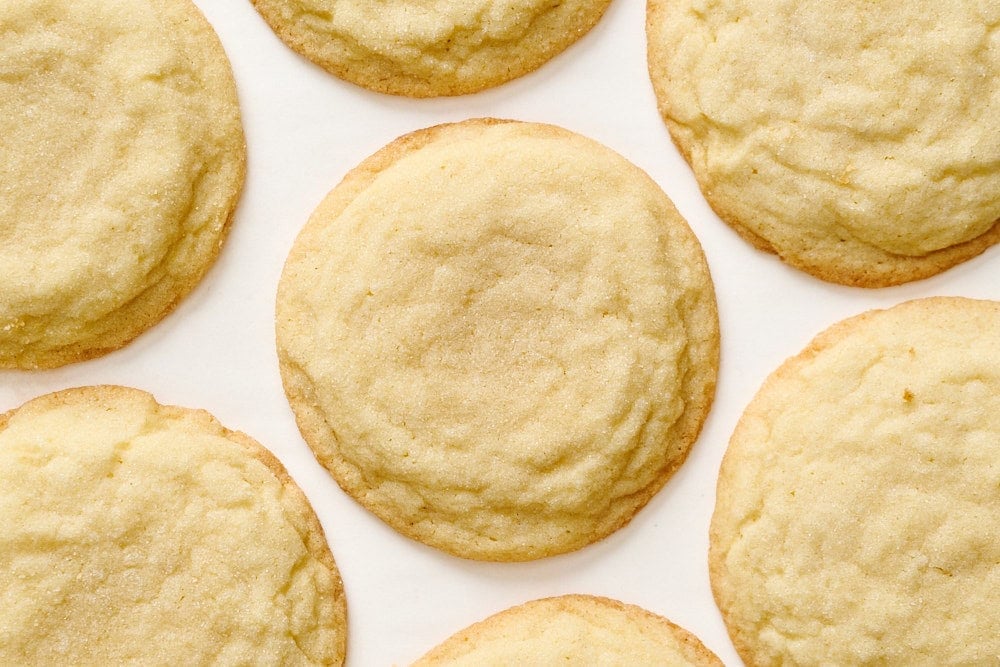
Crinkly Tops in Sugar Cookies
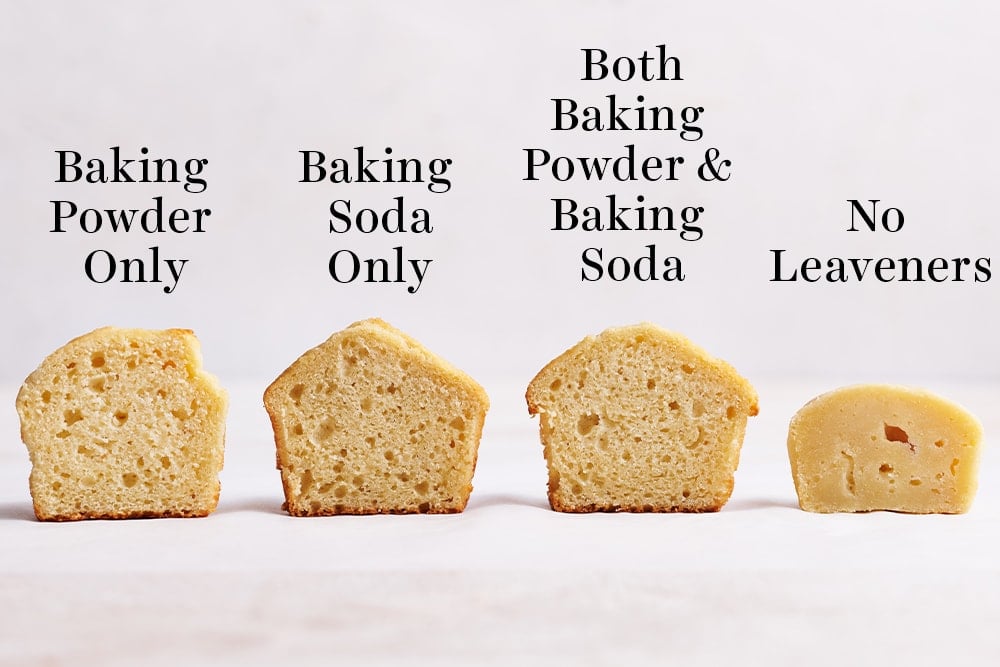
Besides rolling in sugar, baking powder is one ingredient that gives these cookies their characteristic cracks, so make sure your baking powder is fresh.
TIP: When the cookies are piping hot out of the oven, use a round cookie cutter to swirl around the edges of each cookie to re-shape into a perfect circle and enhance those crinkly tops.
Do You Need to Chill the Dough?
It’s not required, baking immediately after mixing will result in absolutely delicious cookies.
However, if time permits, chilling the scooped dough in an airtight container for 24-72 hours does result in cookies that are thicker, chewier, and more flavorful. Roll in sugar after chilling otherwise the sugar will absorb into the dough. Learn more about chilling cookie dough here.
Sprinkle of Science (open me!)
If your cookies spread too much, it may be the temperature of your butter. Many home bakers allow their butter to get too warm, soft, and even greasy before creaming. This leads to excess spreading, which can even can occur even after you’ve chilled the cookie dough! Butter is an emulsion of water and fat and once it breaks by getting too warm, it can wreak havoc. Learn more about butter temperatures on my Instagram here!
In experimenting with sugar ratios for this recipe, I found that reducing the sugar led to cookies that didn’t spread and were dry, crumbly, bland, and staled much faster. Adding too much extra sugar led to cookies that over-spread and were overly sweet.
Learn more about the science of sugar in baking here.
For cookies that stay soft but develop enough flavor, 350°F proved the best baking temperature in my testing. Any hotter, and the cookies became too crisp and hard. Any cooler, and the cookies had underdeveloped flavor and were more delicate. Not all ovens are accurate, so check yours with an oven thermometer to make sure!
Storage & Make ahead
How to Store to Keep Cookies Soft: Store in an airtight container at room temperature for up to 3 days. Store cookies with a tortilla, apple wedge, or piece of bread to keep them soft for longer.
Freeze: Freeze the uncoated, pre-portioned balls of cookie dough in a freezer-safe container, tightly wrapped in plastic wrap, or in a Ziploc bag up to 6 weeks. Allow them to thaw overnight in the fridge or for 30-60 minutes at room temperature for best results, then bake as directed below.

Email This Recipe
Enter your email, and we’ll send it to your inbox.
Ingredients
- 2½ cups (318 grams) all-purpose flour*
- 2 teaspoons baking powder
- 3/4 teaspoon fine sea salt
- 2 sticks (226 grams) unsalted butter, at cool room temperature
- 1¼ cups (250 grams) granulated sugar, plus ¼ cup (50 grams) for rolling
- 1 large egg plus 1 egg yolk, at room temperature
- 1 teaspoon vanilla extract
Instructions
- Preheat the oven to 350°F. Line baking sheets with parchment paper. Avoid dark-colored baking sheets, which may cause too much browning.
- In a medium bowl, whisk together the flour, baking powder, and salt to combine.
- In a large bowl, use an electric mixer fitted with a paddle attachment on medium-high speed to beat the butter and 1¼ cups sugar until light and fluffy, about 3 minutes. The mixture should increase in volume and become paler in color.
- Scrape down the sides and bottom of the mixing bowl. Add the egg, egg yolk, and vanilla, and beat until combined, scraping the bowl down as needed. Slowly beat in the flour mixture until just combined. Don't overmix.
- Place the remaining 1/4 cup sugar in a shallow dish. Using a large (3-tablespoon) spring-loaded scoop, divide the dough into balls, then roll in sugar to coat evenly. Place the dough balls on the prepared baking sheets, spacing 2 inches apart, and flatten slightly with the bottom of a measuring cup.
- Bake for 10 to 12 minutes, or until the edges are set and very lightly brown, but the centers still look soft or 'wet'. Do not wait for the centers to brown unless you want a crisper texture.
- Cool for 5 minutes before removing to a wire rack to cool completely. Cookies can be stored in an airtight container at room temperature for up to 3 days.
Notes
Frequently Asked Questions
Yes! A hand mixer will work just as well as a stand mixer.
No, this sugar cookie recipe was designed for simple drop-style cookies. If you want cookie cutter sugar cookies instead, check out my Cut Out Sugar Cookie recipe here.
It makes quick and easy work of portioning the dough uniformly so no one fights over the biggest cookie. I love using a 3-Tablespoon size cookie scoop for this sugar cookie recipe. Learn more about Cookie Scoops and how to use them here!
Yes! Feel free to add 1/2 – 1 teaspoon almond extract for a fun twist.
Yes, reduce the amount of added salt in the recipe to 1/2 teaspoon.
This is totally optional, as these cookies are so pretty by themselves – but if you want to make them a more colorful treat, here some ideas:
-Roll the balls of dough in colored sugar before baking.
-Fold in 1/4-1/2 cup of multi-colored jimmies or holiday jimmies or sprinkles as a last addition to the dough.
-Use my Best Buttercream Frosting recipe for decorating.
-Another favorite is my Best Cream Cheese Frosting recipe!
I prefer parchment paper for cookies over silicone mats, it’s easier and quicker to clean up. Learn about parchment vs. Silicone mats here.
Whatever you do, never use nonstick cooking spray when baking cookies. This will lead to too much browning and spread (hello, burnt cookie puddles).


I scrolled through the entire blog and couldn’t find the measurements for the recipe. Please make it easier to find next time
Hi Clair! I’m sorry you experienced that issue! At the top of the page, please tap “Jump to Recipe!” to be taken right to the recipe and instructions.
Thank you awesome recipe!
Getting ready to make these they look so yummy. Are they sturdy enough for icing?
This is one of Team HTH’s favorite holiday recipes! Can’t wait to hear what you think when you give them a try 🙂 They’re sturdy enough for icing, though it’s not required! You can always roll them in festive-colored sugar or sprinkles too! 🙂 We link our favorite sprinkles and frosting recipes in the pink tip box above the recipe. Enjoy!
Best cookies I have ever baked. They were gone the day I made them!
So happy to hear that!
How much sugar do I add? The ingredients say 1¼ cups all together but the steps say add 1¼ cups to the dough and roll in another ¼ cup. So do I need 1½ cups of sugar all together then?
Hi Rachel! The recipes lists “1¼ cups (250 grams) granulated sugar, plus ¼ cup (50 grams) for rolling” so yes, 1¼ cups go in the cookie dough, and another ¼ cup is for rolling just before baking. Let us know what you think of these cookies once you have given them a try! 🙂
Does this dough work well using a cookie press?
Hi Debbie! We haven’t tried that, so I can’t say for sure! Let us know if you give that a try 🙂
I am not one to substitute ingredients in recipes….. but I found out last minute I ran out of vanilla extract, so I used maple extract instead. The cookies turned out delicious! Texture is perfect.
Positive thoughts first:
These are absolutely delicious. They taste as good as any bakery sugar cookie I’ve ever had. My husband can’t stop eating them.
The recipe is very simple and it comes together quickly.
I decorated mine with Christmas colored sprinkles and sugar. They’re awesome.
My problems:
I couldn’t bake them in a consistent manner.
I baked a couple immediately and they were perfect.
I chilled the dough overnight and baked the rest.
The cookies I baked chilled were great, the ones that warmed up for 15 or so minutes spread too much.
Also, when I removed the dough from the fridge, it looked like dough you would roll and cut. I always weigh my ingredients, so I’m not sure what went wrong.
When I made the dough, I was worried that my butter was too warm so I threw it in my freezer for 3 minutes (I used a timer). When I creamed it with sugar, it was not smooth but chunky like sand. There seems to be a fine line between warm, cool, and cold butter. The eggs helped, but when I added the flour, I brought the dough together with my hands rather than my hand mixer (I don’t have a stand mixer). I didn’t mix it for long. I’m at a loss.
All this being said, I HIGHLY regret these. They really do taste fantastic. I’m just a perfectionist.
Hi Melissa! Glad to hear that you enjoyed these cookies, even if you experienced a few issues. You can always pop the dough in the fridge until right before you bake them – straight from fridge to oven is just fine! As for the butter, it sounds like it may have been under-creamed and possibly not the right temperature. Using a digital thermometer to ensure the butter is right about 67°F when creaming takes out the uncertainty, so you know your butter will cream perfectly. Learn more about creaming butter and sugar, and the importance of butter being the correct temperature, here. I hope that helps! Happy baking 🙂
Thanks for the response. I do agree with your assessment about the butter. Next time, I will use a thermometer. Even with that issue, they are SO delicious.These are now my husband’s favorite holiday cookie.
Typo edit for original comment: I highly recommend these cookies, I definitely don’t regret them.
Haha so glad to hear they’re such a hit, Melissa 🙂 Happy holidays!!
Made these today. Rolled in red and green sugar. So fun and festive.
Oh wow… these are probably the best sugar cookies I’ve ever had… definitely the best ones I’ve made! SUCH a good tip about the butter, you can tell that’s what really made a difference here – loved the pictures to tell you how soft was too soft. Actually did manage to cream the sugar with a manual hand mixer – basically got it soft, mushed it all with a spatula, then mixed it again to make it fluffy, and just used a Tbs measuring spoon to measure out 3Tbs balls. We’ve only eaten one to test them (one didn’t quite spread out as much), but I’m assuming the others aren’t any different. This will definitely be my go-to recipe from now on!!
Followed the recipe to the T and it came out so good!! I am not normally a fan of sugar cookies because it’s usually too dry and way too sweet for me but this one definitely changed my mind. It’s so buttery and has the right amount of sweetness to it. The outside is crisp enough for texture while the inside is so soft and moist. Saved the recipe for future use!
To avoid dealing with leftover egg whites, could these be made with only 1 egg or two full eggs? If so, any other changes to the recipe? Thanks so much!
Joel
Hi Joel! I recommend making the recipe as written and simply freeze the leftover egg white for later use – but if you don’t want to do that, I recommend skipping the extra yolk, rather than adding the full egg. Too much egg white creates paler, cakier cookies that aren’t as chewy and delicious to eat. Let us know what you think of these cookies once you have given them a try 🙂