

This post may contain affiliate links. Read our disclosure policy.



Tessa’s Recipe Rundown
Taste: Just enough chocolate to balance the tang of the cream cheese filling.
Texture: The cookies are soft yet sturdy and the cream cheese is ultra smooth and creamy.
Ease: A little time-consuming to make and assemble but super fun and doable.
Why you’ll love this recipe: A festive treat that actually tastes good!
These adorable Jack-o’-Lantern Chocolate Sugar Cookies are the best treat for your Halloween dessert table!

To be honest, Halloween isn’t my favorite food holiday because I’m not a big candy person. I’d take chocolate over candy (especially candy corn) all day, every day.
Despite that, when Hocus Pocus season rolls around, I still want to bake and enjoy something festive and fun.
This is where these Jack-o’-Lantern Chocolate Sugar Cookies come into play! These Halloween cookies have the perfect amount of chocolate flavor and stay soft for days. Sandwich them with a thick layer of festive orange cream cheese frosting and you’ll be wishing it were Halloween year-round.

In fact, you could totally remake this recipe for just about any holiday. All you’d need to do is switch up the cookie cutter shape and opt for a different shade of gel food coloring.
Reader Love
This recipe was easy to follow and was a fun alternative to classic sugar cookies. I love the cream cheese filling and how it complements the chocolate cookies. They were delicious!
The dough was easy to work with and spread very little. I couldn’t believe how soft and chewy the cookies turned out! I will definitely be adding this recipe to my cookie arsenal
Key Recipe Ingredients
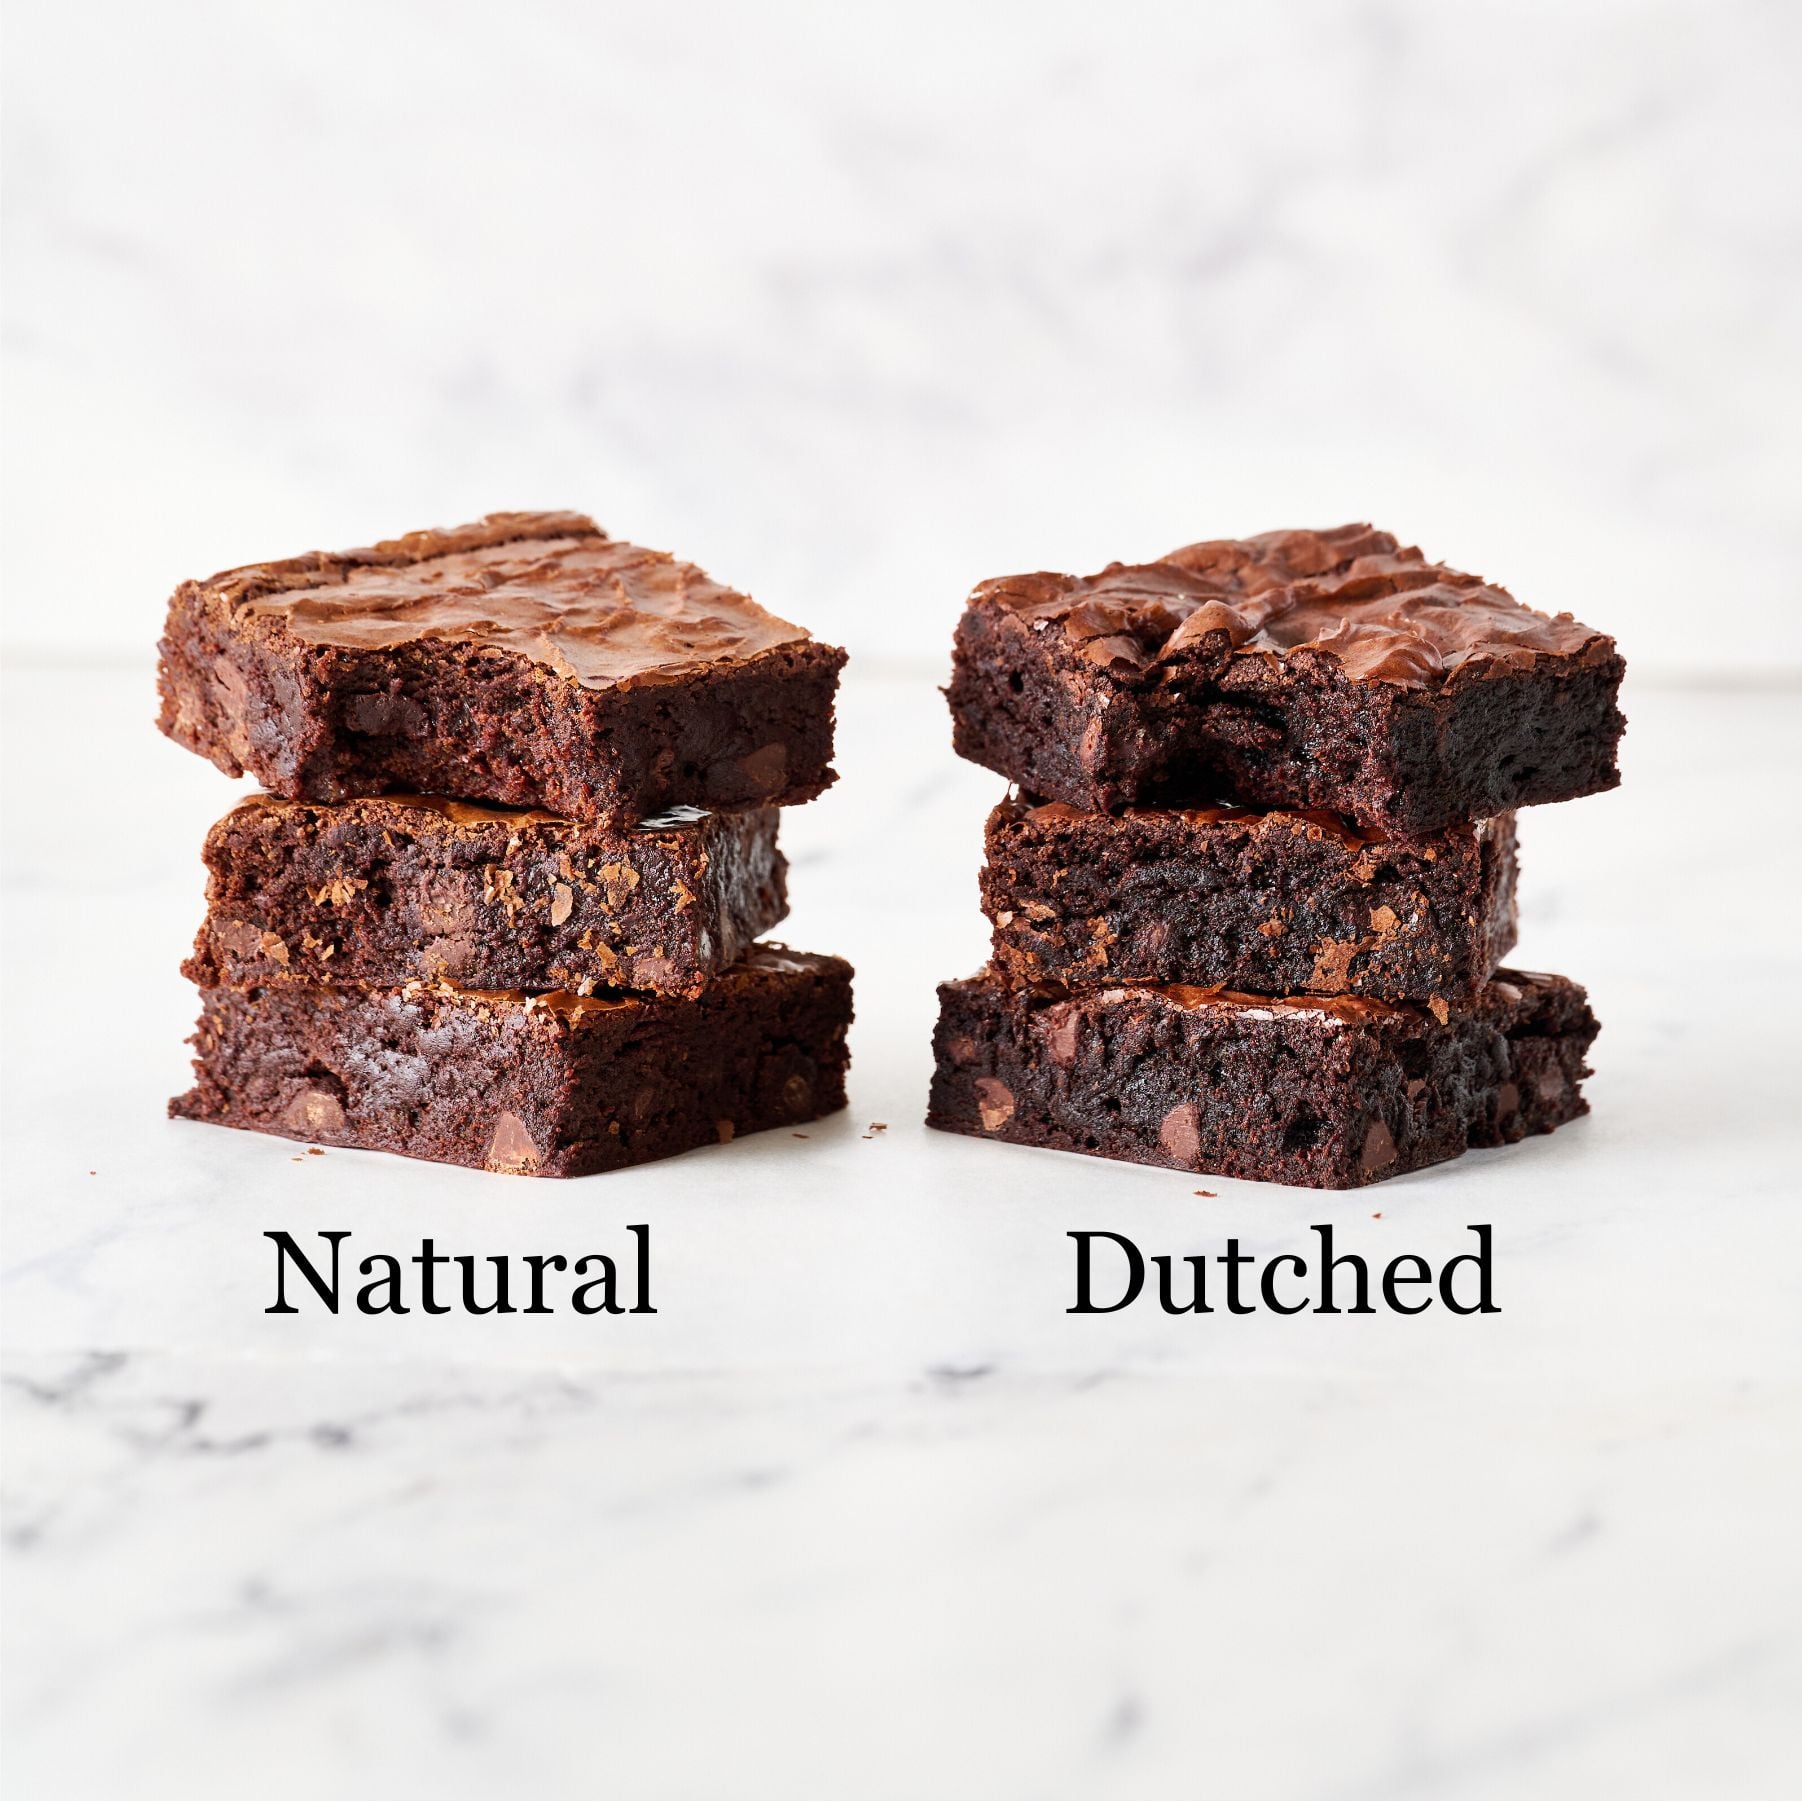
Dutch-Process Cocoa Powder: I recommend this for its higher fat content, which helps create richer, softer cookies. It also gives the cookies a deeper color and less acidic chocolate flavor that pairs especially well with cream cheese frosting. You can substitute natural cocoa 1:1, but the cookies may be slightly drier and lighter in color. Learn more about the differences between natural and Dutch-process cocoa here.
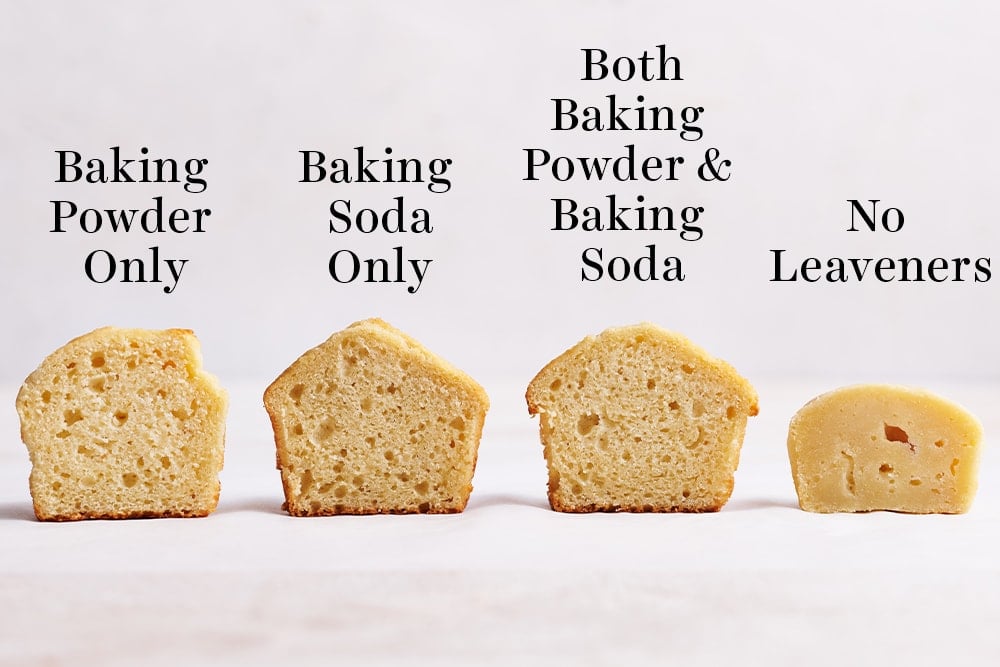
Baking Powder: Helps the cookies rise slightly while keeping them tender and soft without losing their shape.
Cream Cheese: Creates a rich, tangy frosting that pairs perfectly with the chocolate cookies. Use full-fat brick-style cream cheese and not the spreadable kind.
Powdered Sugar: Sift the powdered sugar for the smoothest frosting.
Gel Food Coloring: Gel coloring is more concentrated than liquid food coloring, so you only need a few drops to create a vibrant orange frosting without adding excess liquid.
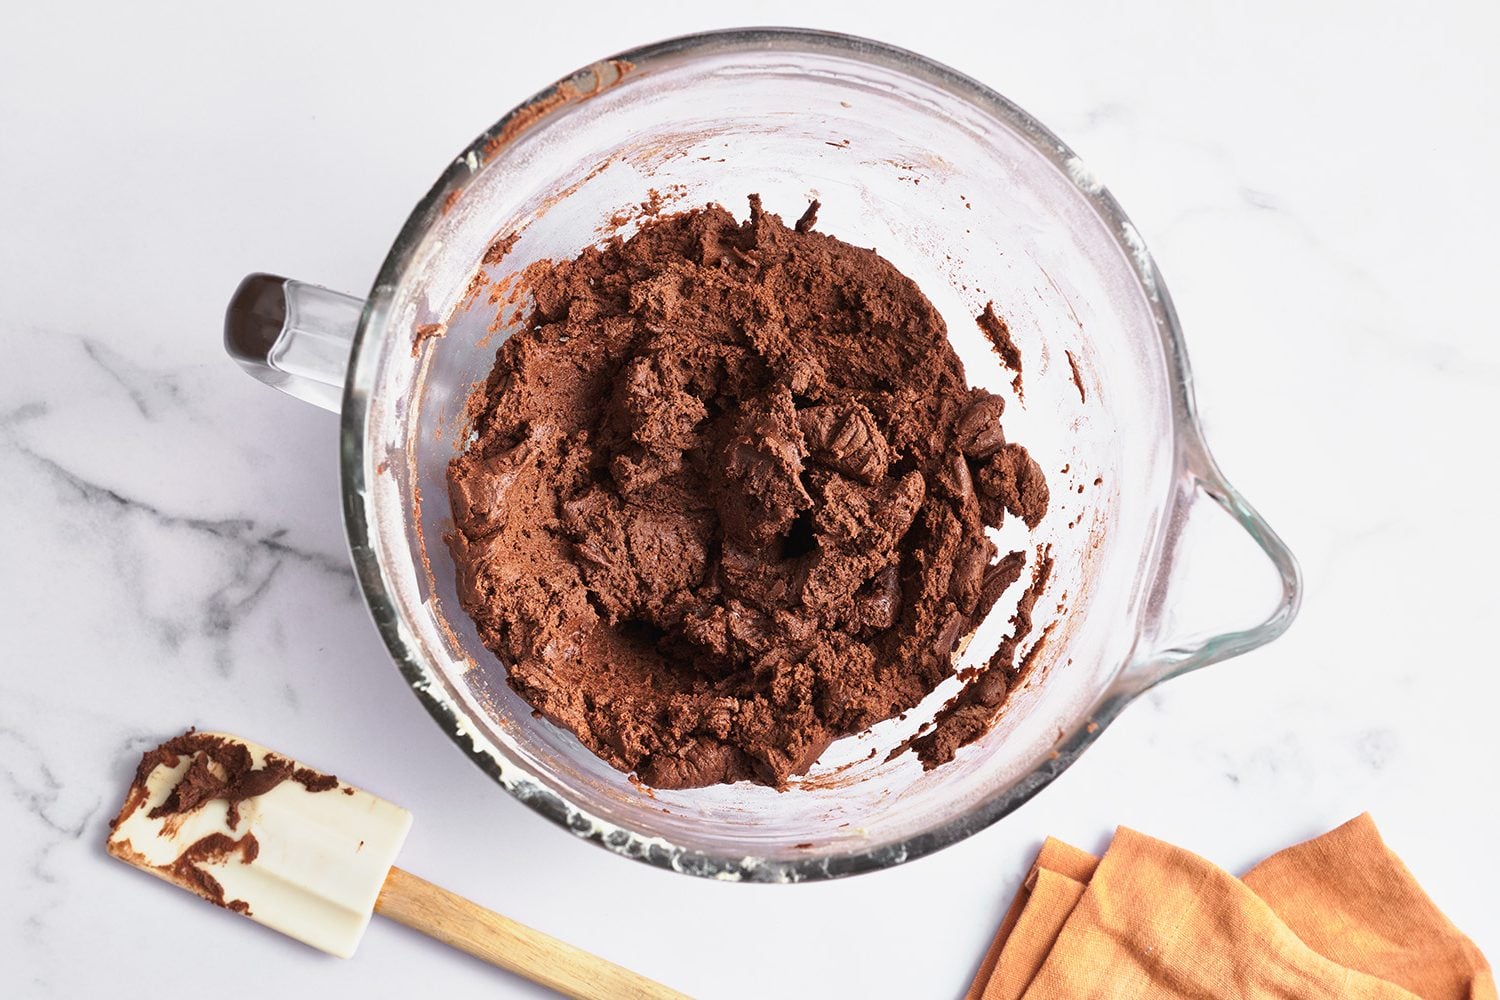
Tools for Jack-o’-Lantern Chocolate Sugar Cookies:
- Jack-o’-lantern cookie cutter – This cookie cutter set is so easy and fun to use!
- Light-colored aluminum baking sheets – Avoid dark nonstick pans altogether as they cook too aggressively and may burn the bottoms of your cookies.
- Sharp paring knife – for cutting out the jack-o’-lantern shapes (if you’re not using a cookie cutter).
- Icing spatula – I like this one from Ateco.
- Parchment paper – I prefer parchment over silicone baking mats for these cookies. Avoid dark baking sheets and nonstick cooking spray, which can cause the cookies to brown and spread too much.
No Cookie Cutter?
No problem! Use my free Jack-o’-lantern printable template here. You could also use my Easy Cookie Icing recipe to make the Jack-o’-Lantern design with icing instead!

Tips for Perfect Halloween Cut-Out Cookies
- Measure your flour correctly. Use a digital scale for the best results, or use the spoon-and-level method. Too much flour can make these cookies hard, dry, or crumbly.
- Don’t reduce the sugar. Sugar contributes more than sweetness, so reducing it can affect the texture. Learn more about how sugar works in baking here.
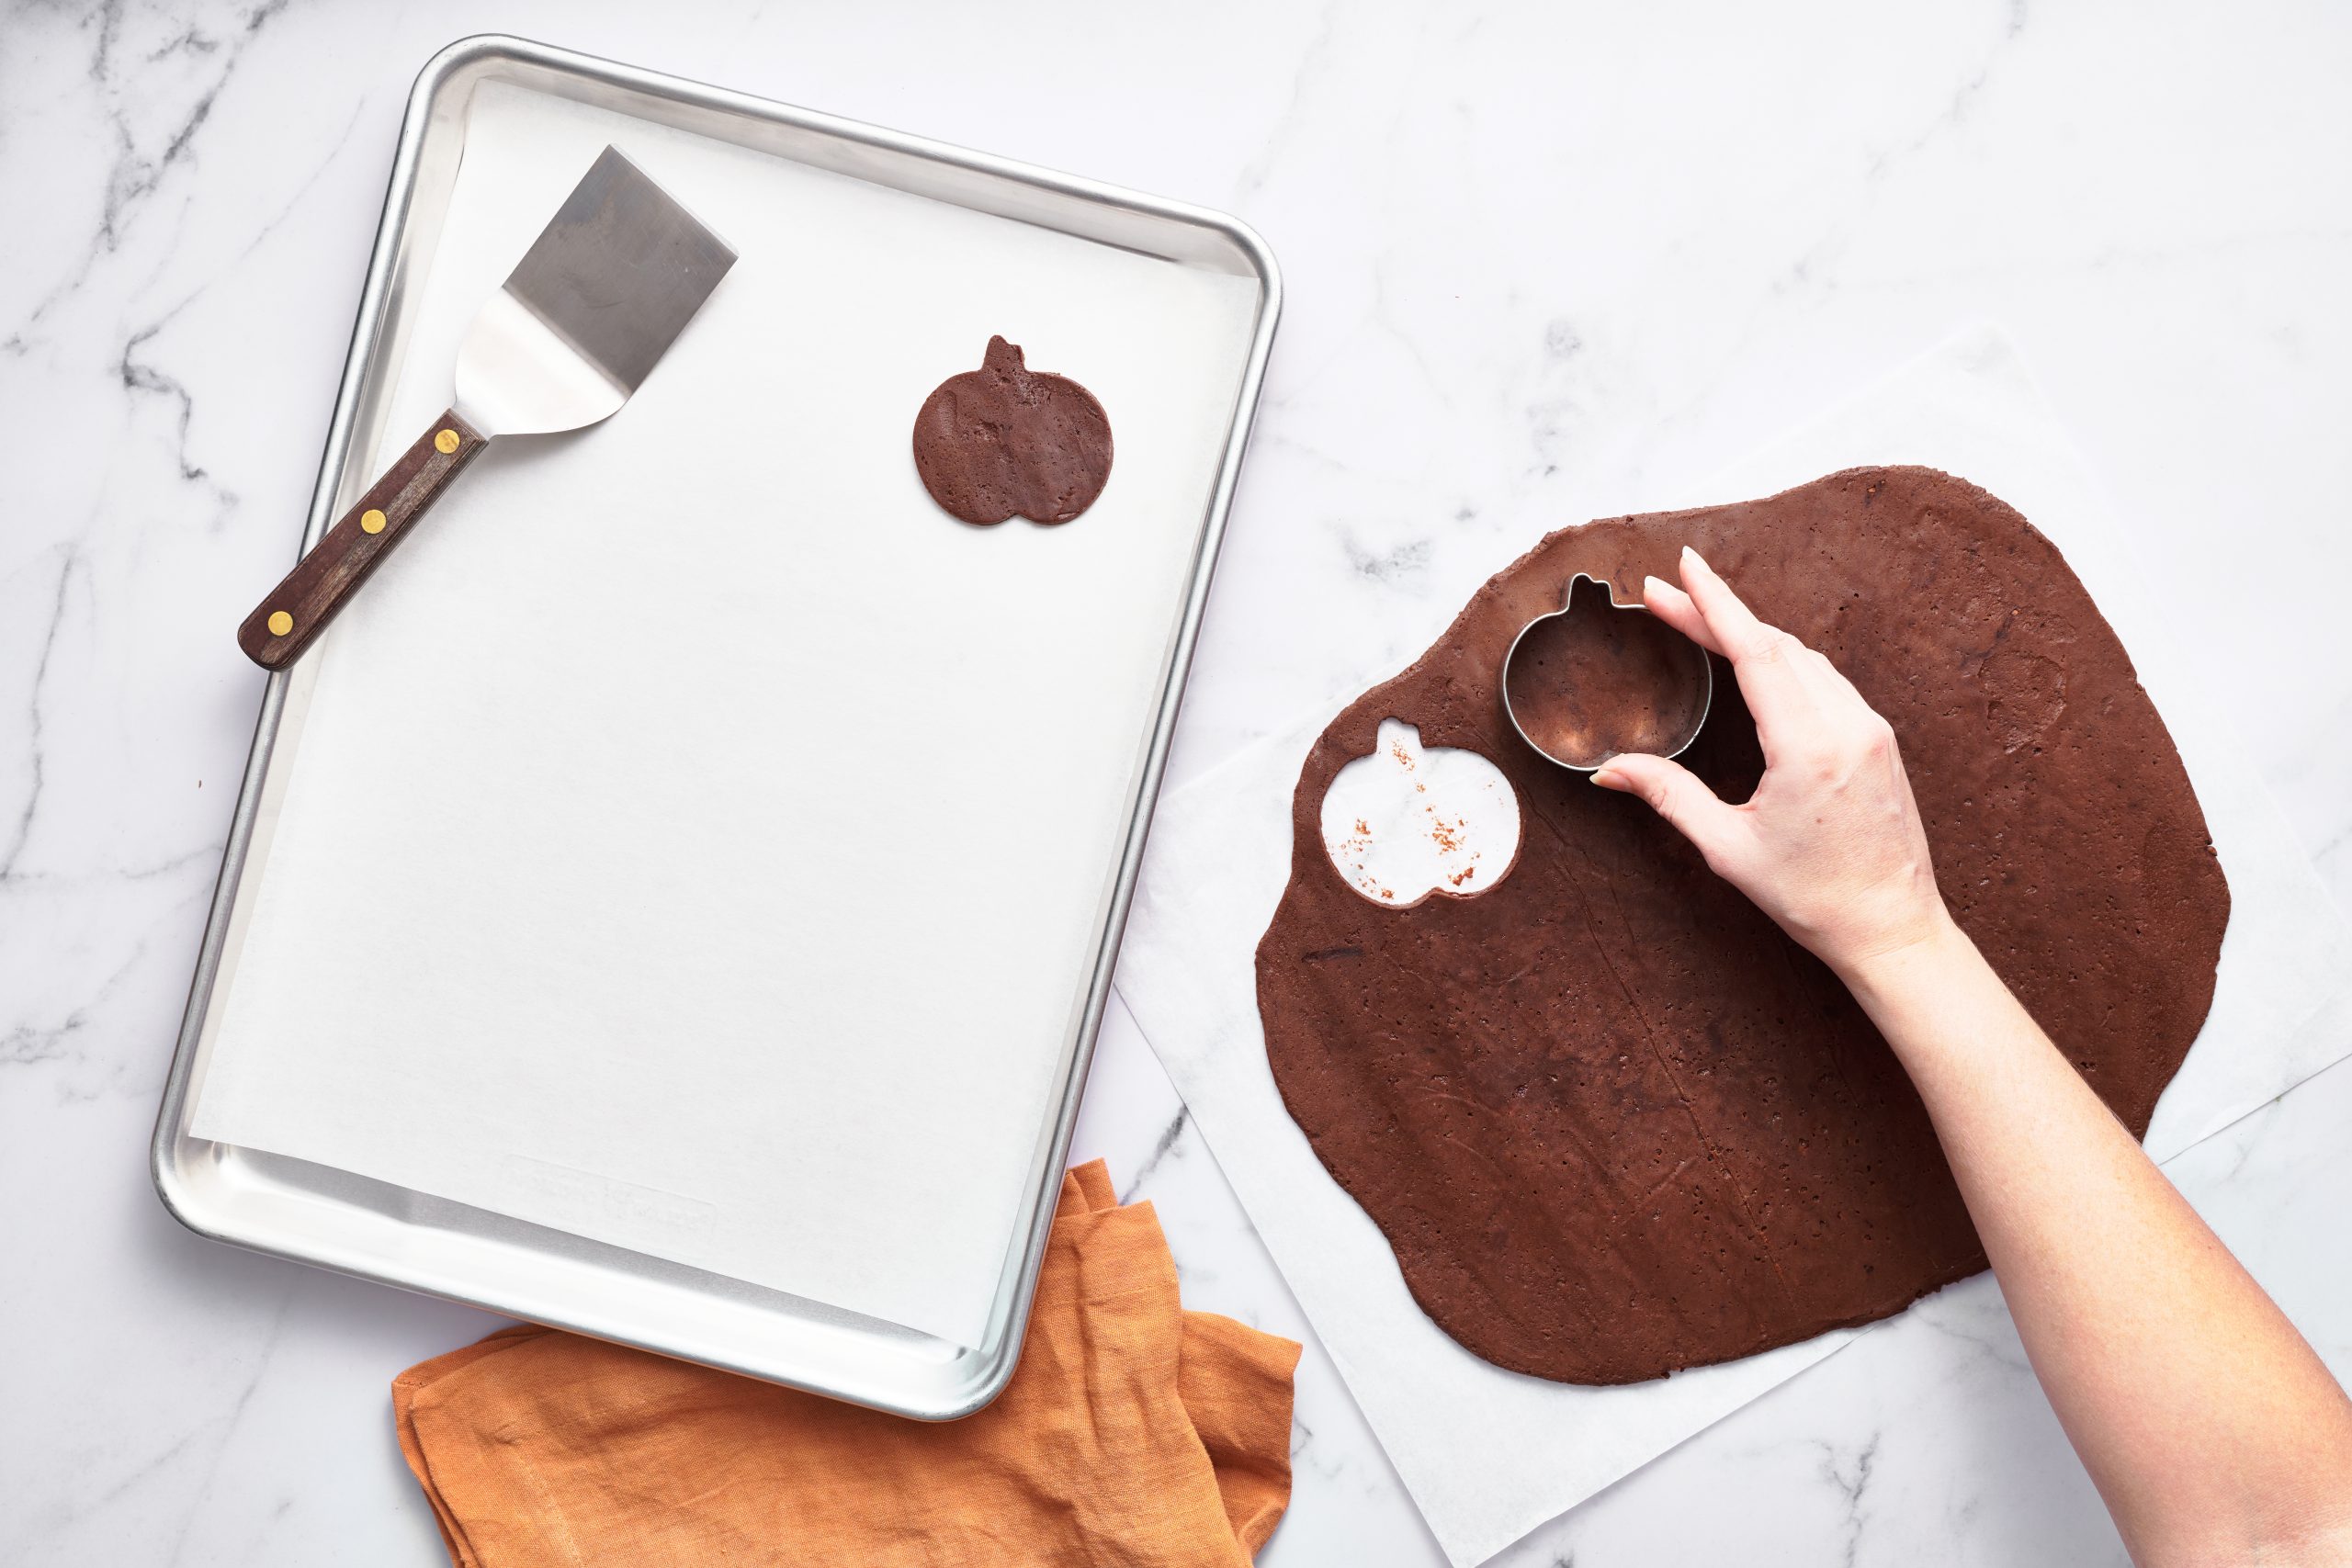
- Roll, chill, then cut. Roll the dough at room temperature, then chill the rolled sheets before cutting out the shapes. This makes the dough easier to work with and helps the cookies hold their shape.
- Chill before cutting the faces. Make sure the pumpkin shapes are cold and firm before cutting out the eyes and mouth.
Storage & Make ahead
Storage: Store unfrosted cookies in an airtight container at room temperature for up to 3 days. Once filled and frosted, store the cookie sandwiches at cool room temperature for up to 2 days. I don’t recommend refrigerating the frosted cookies as they can dry out faster.
Make-Ahead: The unfrosted cookies freeze especially well. Store in an airtight container in the freezer for up to 2 months, protecting them from getting damaged. Thaw at room temperature before filling and decorating. I have not tried freezing the fully assembled cookies.

Frequently Asked Questions
Yes. Natural can be substituted 1:1, but the cookies may be slightly drier and lighter in color.
Gel food coloring is best. Add a couple of drops at a time until you reach your desired color.
Yes! Use my free Jack-o’-lantern printable template here, or you could use my Easy Cookie Icing to decorate the cookies with a jack-o’-lantern design instead.


Email This Recipe
Enter your email, and we’ll send it to your inbox.
Ingredients
For the chocolate sugar cookies:
- 2 1/2 cups (318 grams) all-purpose flour
- 1/2 cup (50 grams)
Dutch-process cocoa powder * - 1 teaspoon baking powder
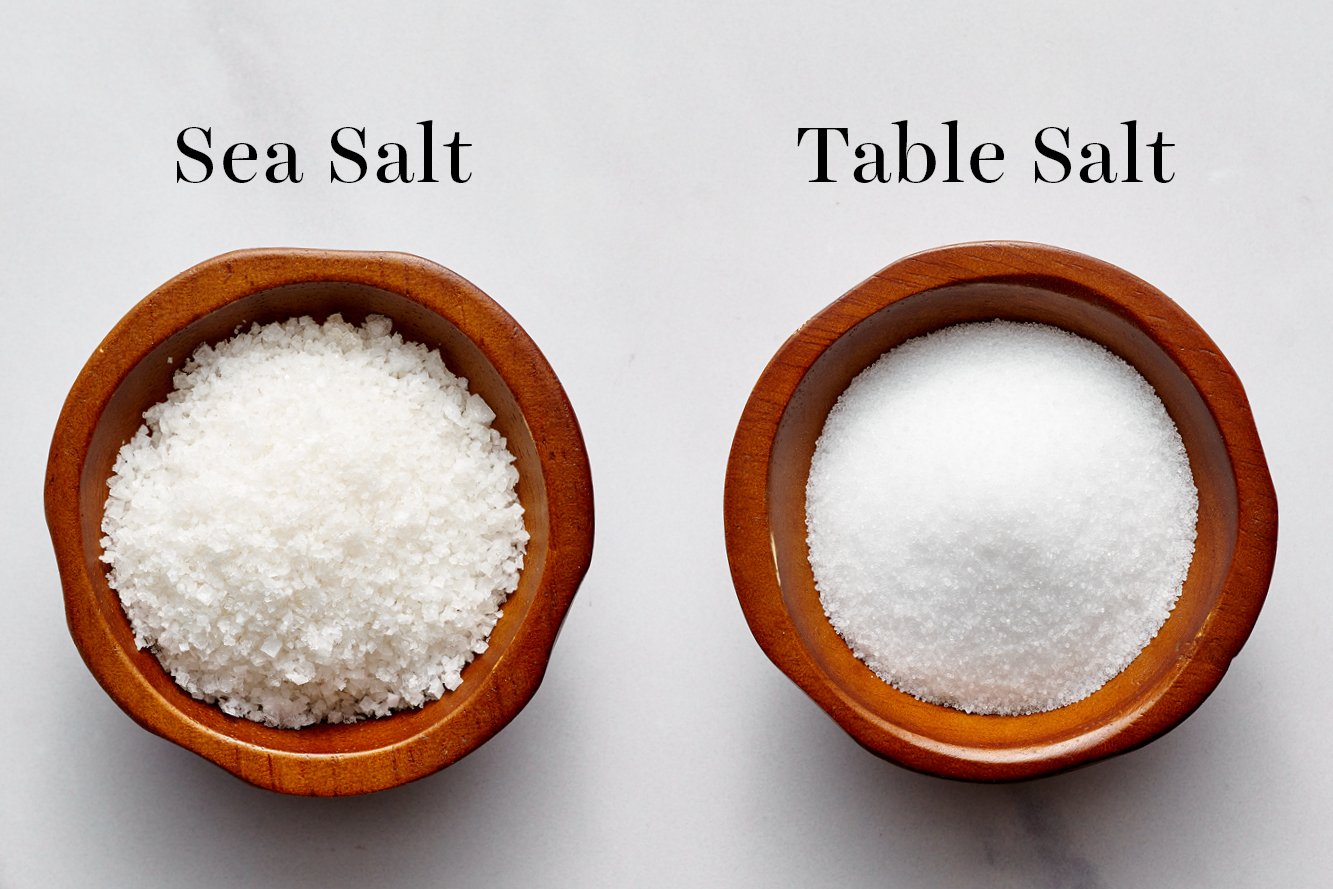
- 1/4 teaspoon fine sea salt
- 1 1/2 sticks (170 grams) unsalted butter, at cool room temperature
- 1 cup (200 grams) granulated sugar
- 2 large eggs, at cool room temperature
- 1 teaspoon pure vanilla extract
For the cream cheese frosting:
- 4 ounces (113 grams) cream cheese, at room temperature
- 4 tablespoons (57 grams) unsalted butter, at room temperature
- 2 teaspoons vanilla extract
- 1 1/2 cups (188 grams) powdered sugar, sifted (don't skip sifting!)
- A few drops of
Orange gel food coloring
Instructions
Make the cookies:
- In a medium bowl, sift together the flour, cocoa powder, baking powder, and salt.
- In a large bowl, use an electric mixer to beat the butter and sugar on medium-high speed until smooth and well combined, 1 to 2 minutes. Add the eggs, one at a time, until well combined. Add the vanilla extract. On low speed gradually add the flour mixture and beat until thoroughly combined.
- Place the dough in between two large pieces of parchment paper or silicone mats on a work surface. Roll the dough out to a 1/4-inch thickness. Chill in the refrigerator until firm, at least 1 hour, or in the freezer until firm, about 30 minutes.
- Line large baking sheets with parchment paper. Use a pumpkin cookie cutter or paring knife and template to cut out shapes from the dough and place on prepared baking sheets. In half of the pumpkins, cut out the triangle eyes and mouth shape.
- Gently reroll remaining scraps of dough to a 1/4-inch thickness and repeat the process. If the sheet of dough softens too much at any point, place it back in the freezer or fridge until firm again before cutting and moving more shapes.
- Chill the baking sheets of cut cookie dough in the refrigerator for 30 minutes or freezer for 15 minutes, or until dough is firm. Meanwhile, preheat the oven to 350°F.
- Bake for 8 to 9 minutes, or until the cookies are set but not overbaked. Let cool on baking sheets for 5 minutes before removing to a wire rack to cool completely. Plain cookies can be stored in an airtight container at room temperature for up to 3 days or in the freezer for up to 2 months.
Make the cream cheese frosting:
- In the bowl of a stand mixer fitted with the paddle attachment, beat the cream cheese, butter, and vanilla on medium-high speed until very light, creamy, and smooth, about 2 to 3 minutes. On low speed, gradually add in the sugar and beat until fluffy, about 2 minutes more. Add in a few drops of orange gel food coloring until desired shade is reached.
Assemble the sandwiches:
- Place a dollop of cream cheese frosting on the center of the top of the plain pumpkin shaped cookies. Don’t frost the bottom side, otherwise the pumpkin stem shapes won’t line up. Place a jack o’lantern cookie on top of each, pressing down slightly to sandwich the filling. Serve or store in an airtight container at room temperature for up to 2 days (the sugar in the cream cheese frosting acts as a preservative, but they should not be stored at room temperature for longer than that).
Notes
Photos by Joanie Simon.



Frosting seemed a little loose. Made way more than needed. Difficult to cut eyes and mouth of Jack-o-lantern. About 3 cookies before dough was too soft to work. Can’t imagine doing without pumpkin cookie cutter. Otherwise, good. My neighbors loved them.
So fun to make! They were a hit!
These were fun to make. Mine turned out very large (used a 4″ cookie cutter from Sur La Table). They look adorable for Halloween!
Deliciously soft and easy to cut out as long as you keep the dough chilled.
Tasty cookies! Hard to do without cutters.
I’d like to be able to find a cookie cutter for these but they turned out wonderfully!
Here’s a link to the one we used for this recipe! So glad you enjoyed this recipe.
The dough was easy to work with and spread very little. I couldn’t believe how soft and chewy the cookies turned out! I will definitely be adding this recipe to my cookie arsenal
super yummy. my 4 year old loved them
These came out awesome! Only issue is the cutting out faces is way too tedious and difficult. I just frosted the cookies but they were still amazing! will adapt these for other holidays
I made these for a Halloween event happening at my local brewpub. Used the 3″ template which sized to my cookie cutter size well. I opted to make a double batch, which gave me 21 sandwich cookies.
Cookies themselves came out delightful, smelled wonderful, and were softer than I thought they might be! Dough came together well, and the buttercream was tasty and smooth (remember to check your temp on the butter and cream cheese!)
I DEFINITELY recommend getting a cookie cuter set that includes the eyes and mouth–the paring knife method took quite a long time…the dough would soften quickly, and I could only get 2 done per tray before I would have to put them back in the fridge and switch to another tray and let the one I’d been working on re-chill. Across 21 cookies, this took hours. Work smarter, not harder! 🙂
The chocolate cookie is a great base cookie for so many things, especially with frosting! Not too sweet so you can add other sweet additions.
manually cutting out the face was far too tedious for me. love the cookie flavor, but the creme filling was too sweet for me. glad I did it, but don’t think I’ll be doing this one again.
Hi there! Feel free to use a cookie cutter next time – we link our favorite above the recipe! 🙂